Ark-M : GDPR Center for Management Admin
GDPR CENTER
GDPR center is one of the main module in our system. It allows Management Admin and Client to configure all things related to GDPR for their Ark-Sites, and also Ark Management platform.
Under GDPR center, there are several componentscomponents:
1. AV Contract
AV Contract is aan e-contract prepared by Management User,Admin. everyEvery Client who subscribes to our system, should view and agree on this contract, before they start to use our system.system Itmodules. is
Under featurethe toArk-M allow> AV Contract, it allows Management UsersAdmin to create, edit, and review andthe alsocontract. offer
Contract will then be visible for Client tounder give confirmation to this agreement online.
Workflow
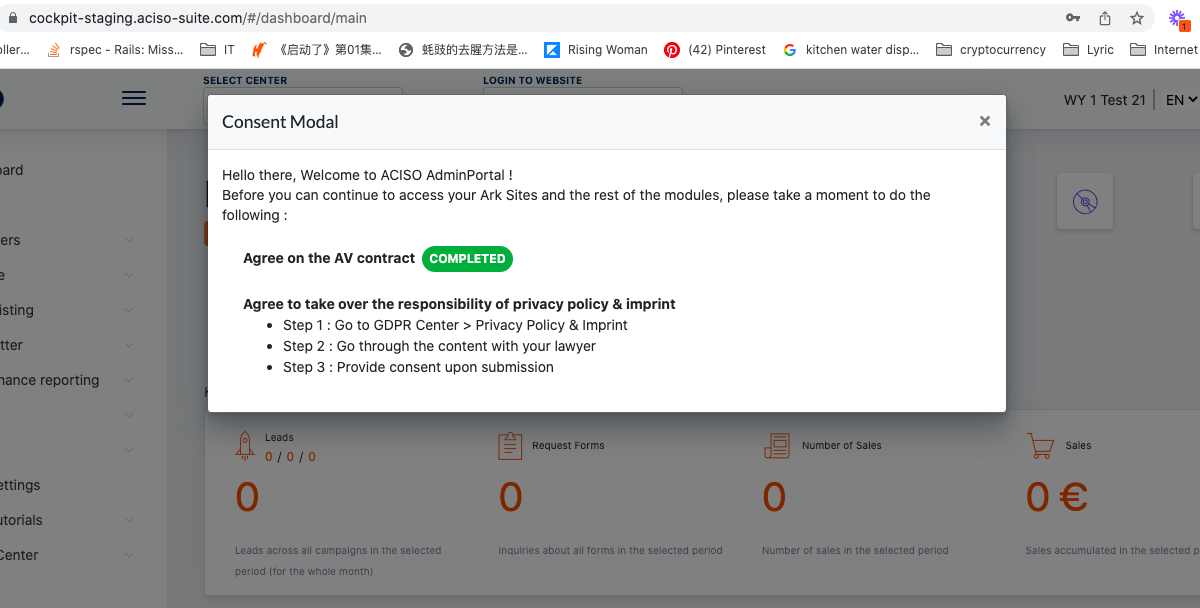
Management User configure the AV contract for different client on AMCockpit > GDPR Center > AV Contract. This is where our client downloads, reviews and signs off the contractEveryonline. Clientwillisneednot allowed tosignuseoneanycontract only.When the Client first login to the Admin Panel. A modal will pop up to request the user to agree on the AV contract,modules beforehe/shesigningcanthisaccess the rest of the modules.
Screenshot of the modal (only appear if AV contract is not agreed)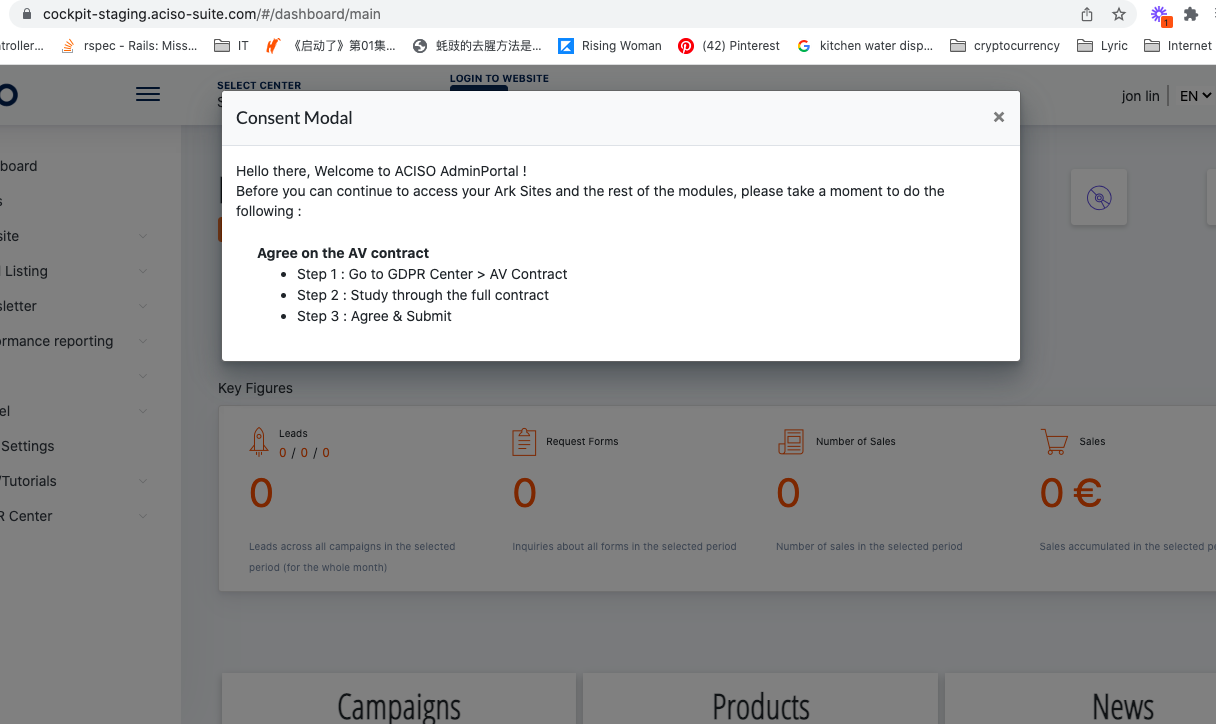
Rules & Permission:
Clients are allowed to view the contract and provide confirmation.
- It’s compulsory for Client to tick the checkbox and agree before they can start using any modules.
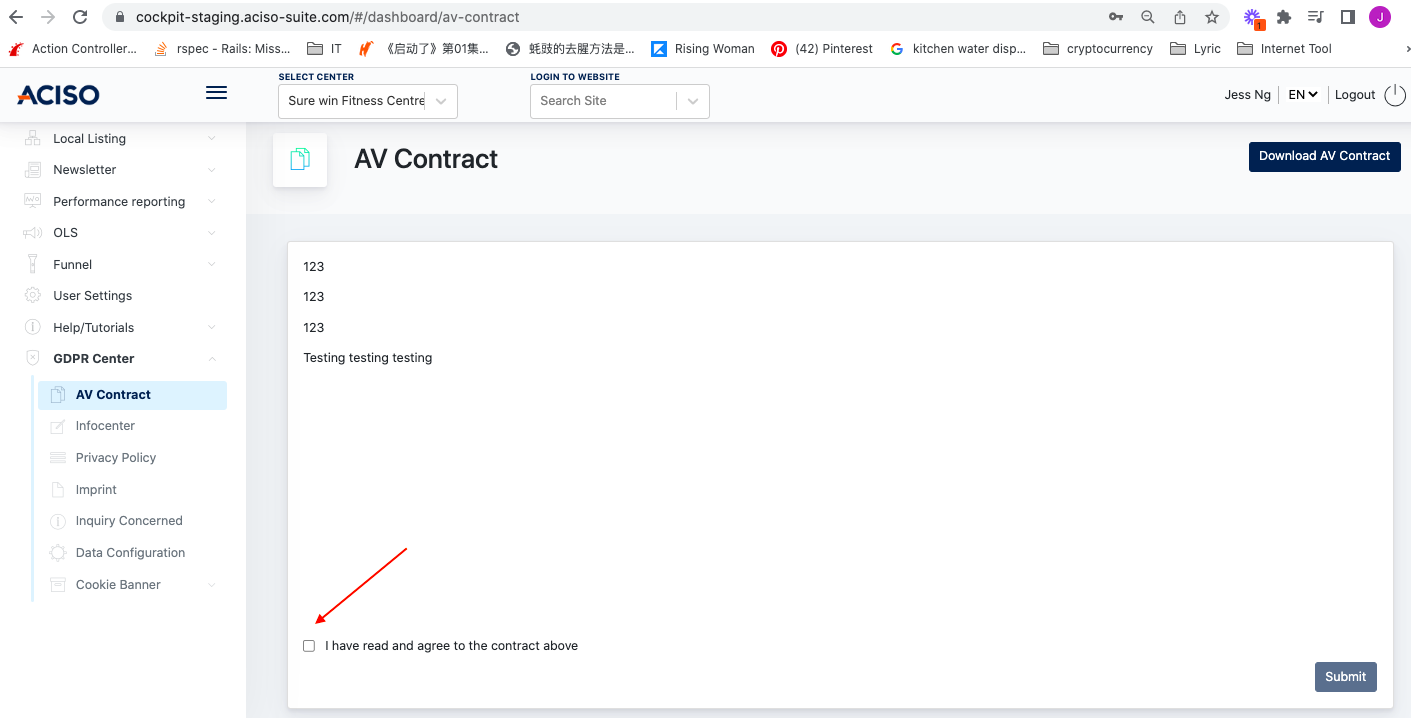
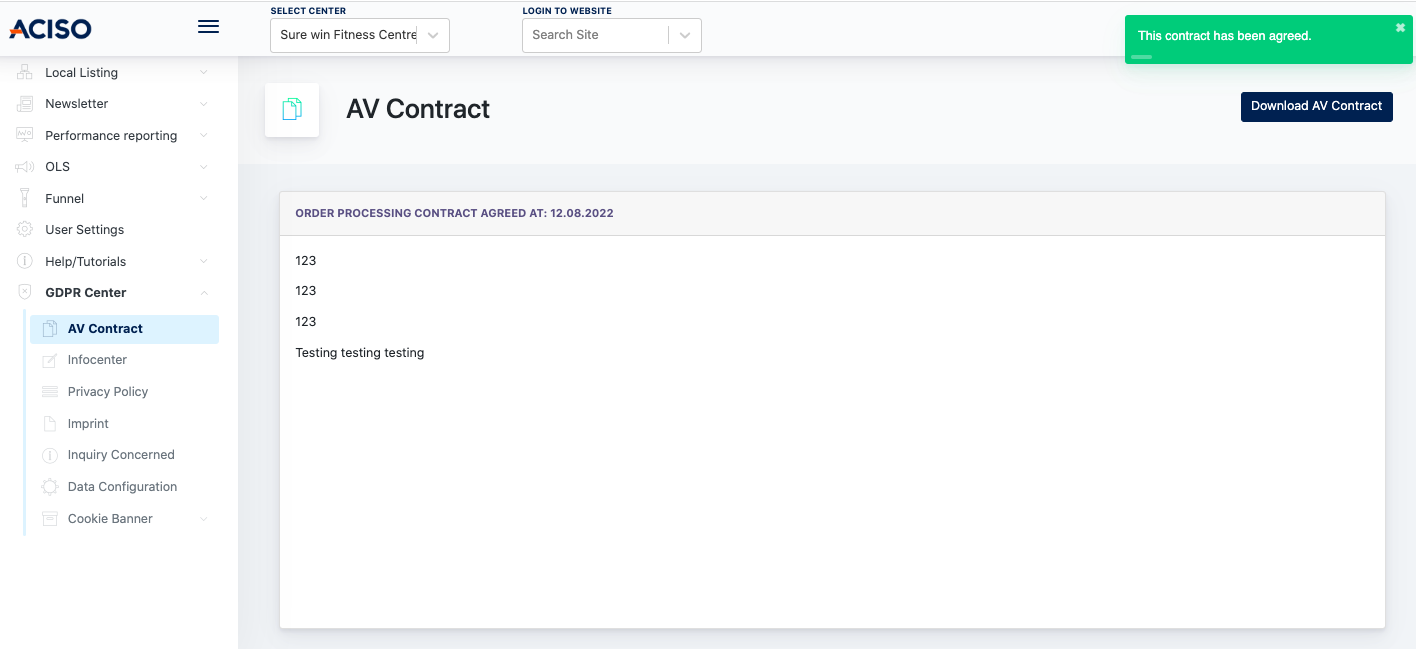
- After submitting, the checkbox will disappear. Clients can come back here to view the contract, or Download the contract in PDF. From this time onwards, the Client can start using the modules subscribed.
AV CONTRACT
> How to configure an AV Contract ? <
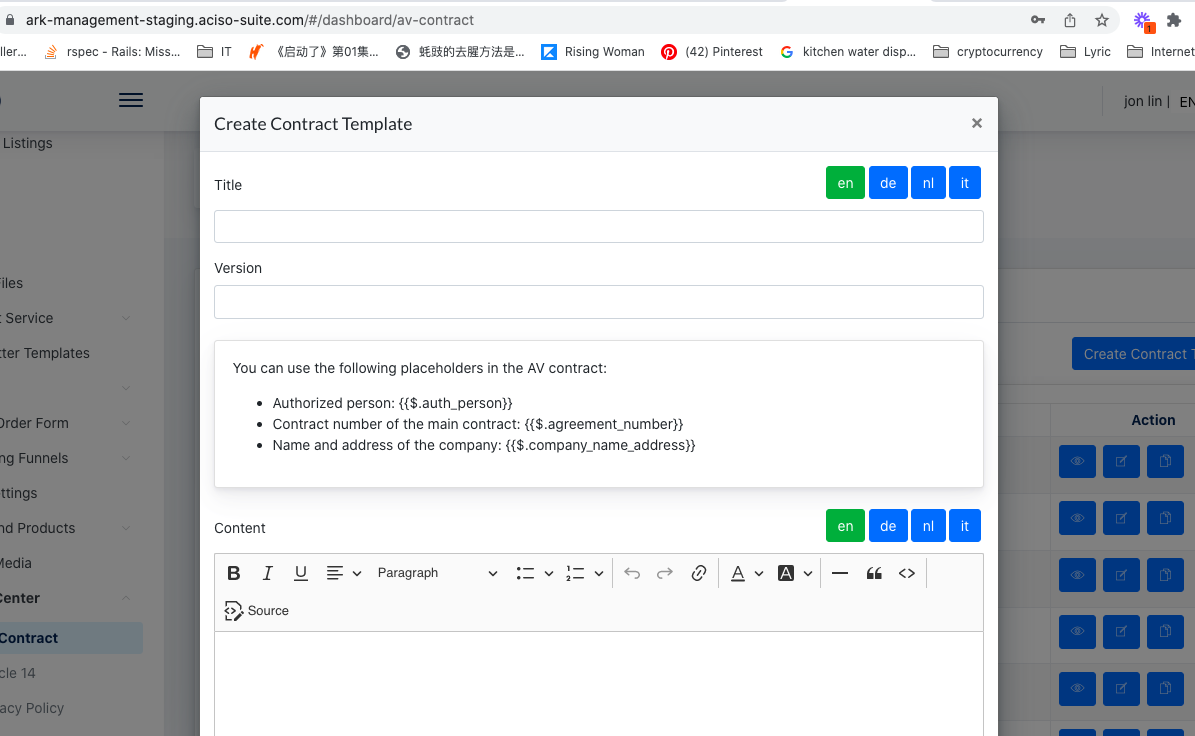
Go to GDPR Center > AV Contract > Templates to create a new template for this contract.
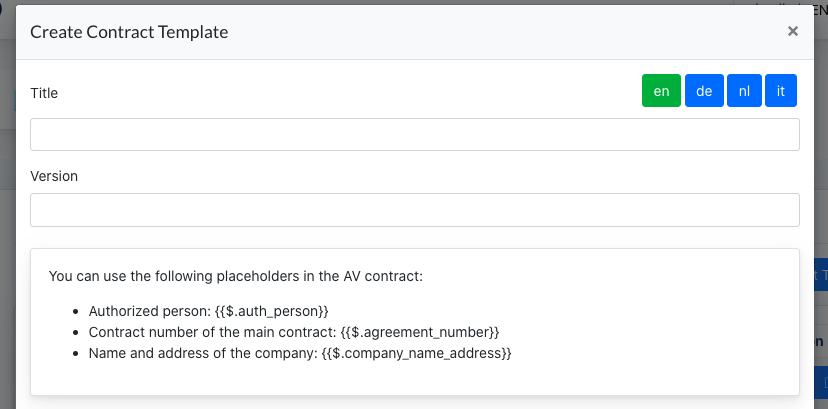
- Go to [ Create Contract Template ]
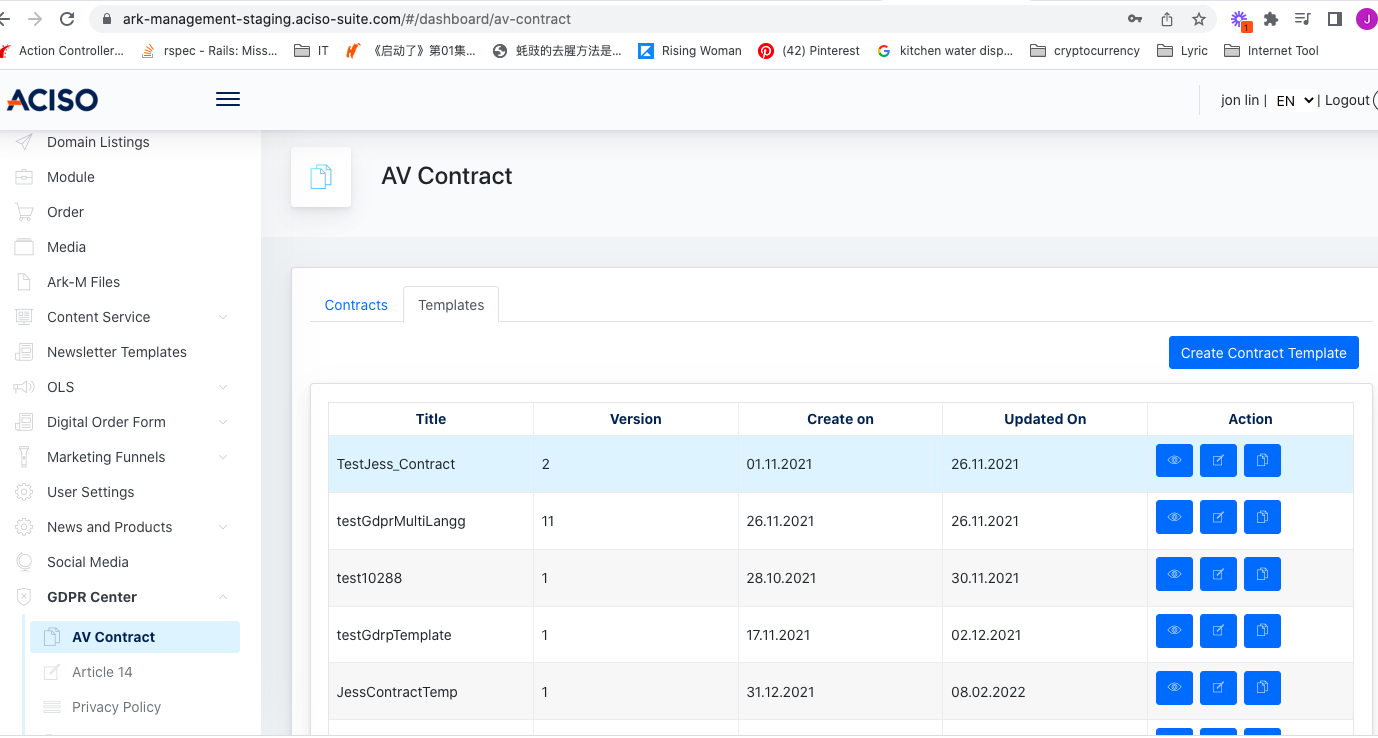
- Fill up all fields here. You may create different versions of the contract as well.
- After a template is created, you may now create the contract.
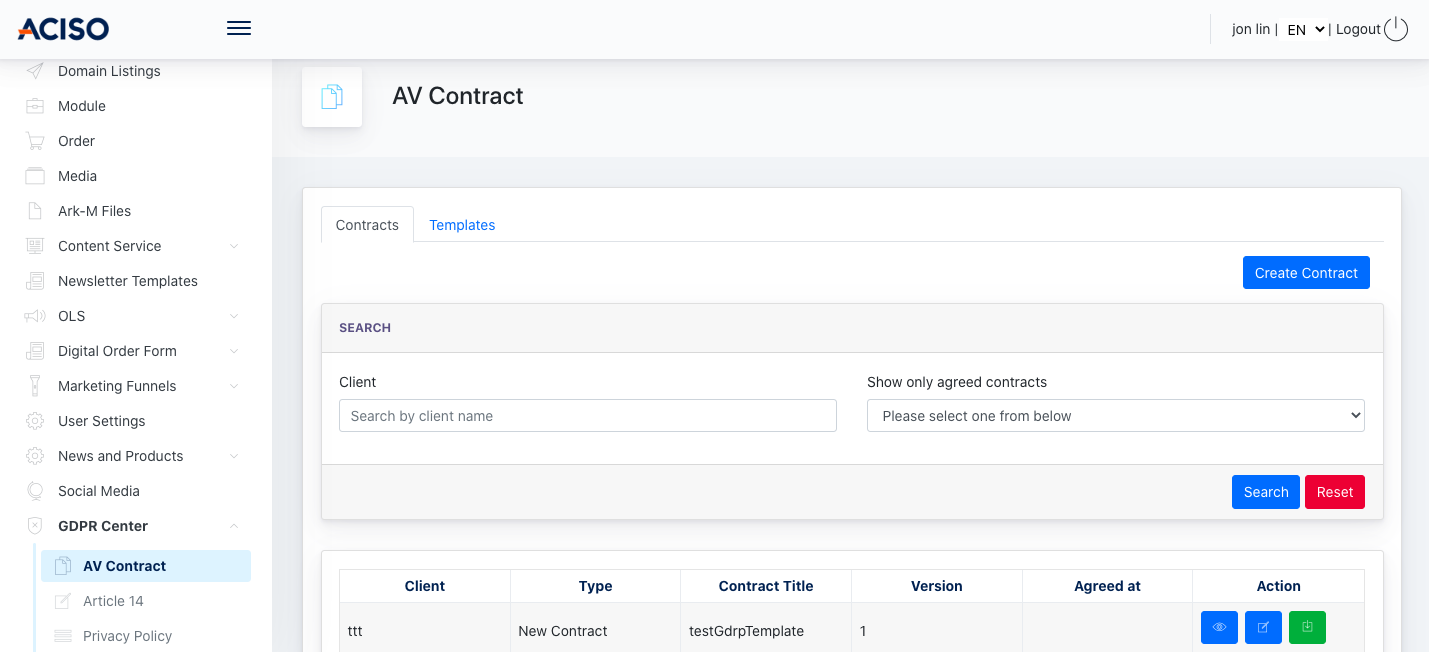
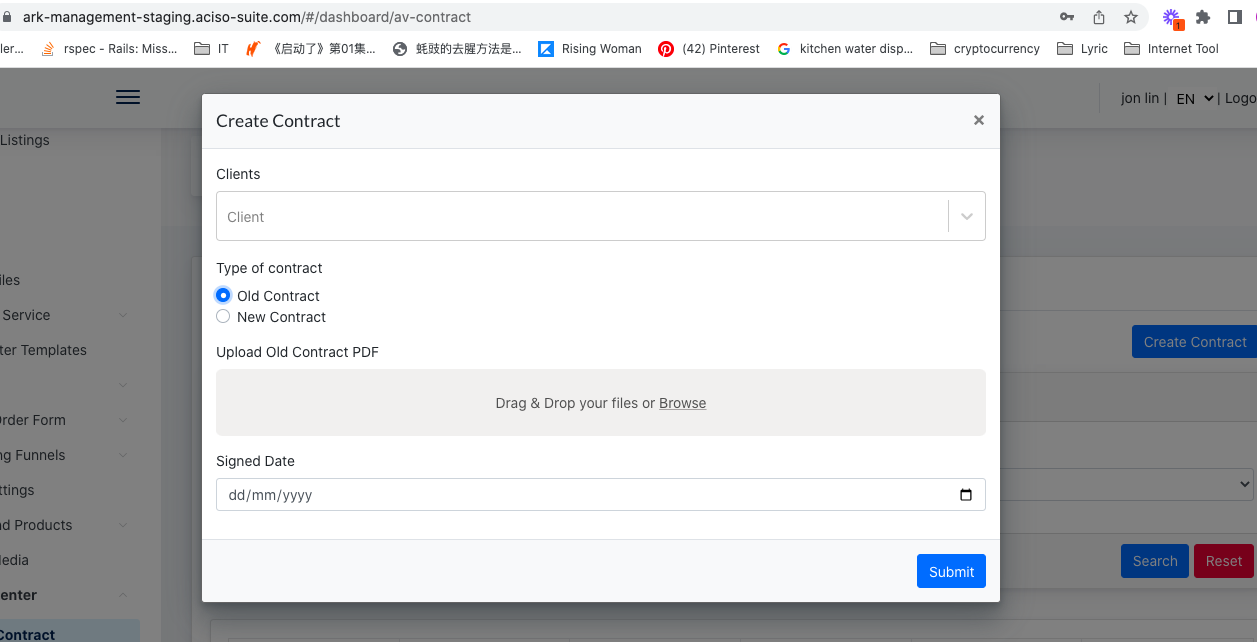
- [ Create contract ] opens up a modal where you can choose if you want to create an old or new contract.
- Old contract - this option is to upload an old contract which is signed on paper. They can scan and upload the PDF copy of the signed contract via here, and input the signed date.
- New contract - this option is to create an AV contract via the system.
- The user may select the contract template created earlier, and assign this contract to a particular client.
- The client will see this contract under: Admin Panel > GDPR center > AV contract when first logged in.
Examples of creating an old/new contract.
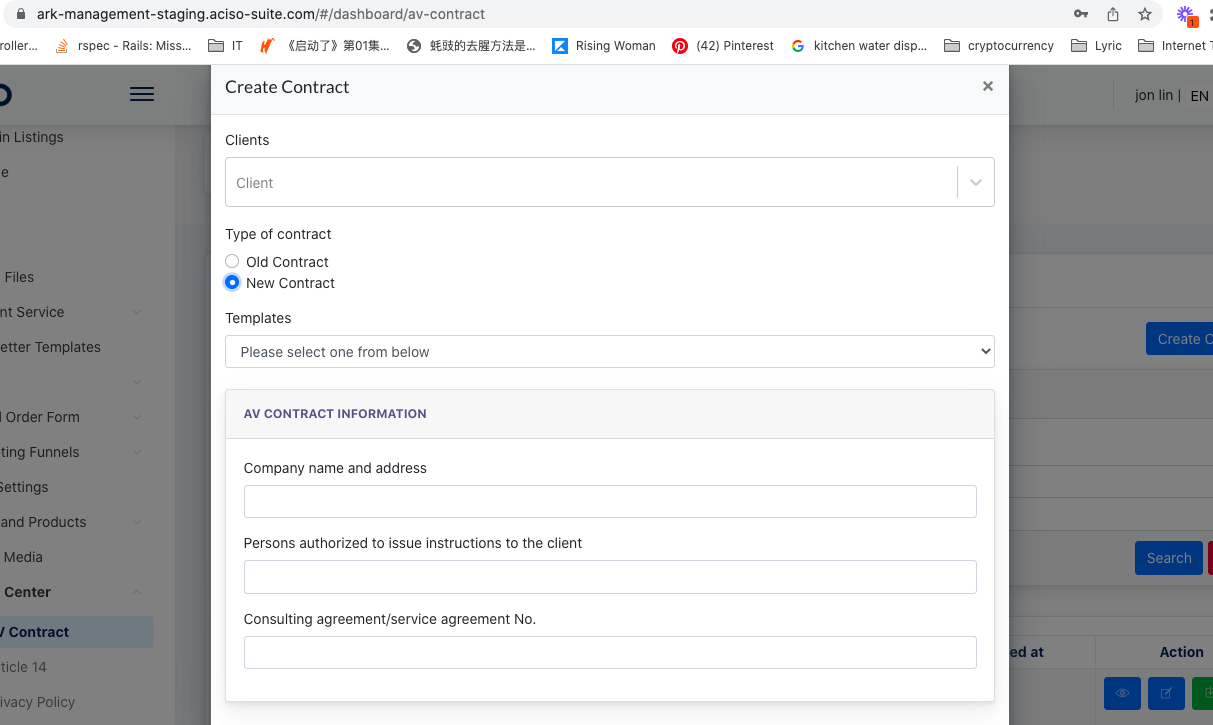
The AV contract information above will be displayed inside the contract, created using placeholder, under the [ Create Contract Template ] form.
—-------------------------------------------------------------------------------------------------------------------
2. ARTICLEArticle 14
Staging URL : https://ark-management-staging.proof-point-suite.com/#/dashboard/article-14
Articles 14 is a component that allows Management UserAdmin creates GDPR related articles. The content will createthen articlesbe relateddisplayed toin GDPR complianceCockpit for theirclient's clients to view on the Admin Panel, as a source of reference.
Article 14 @ Admin Panelviewing.
Workflow :
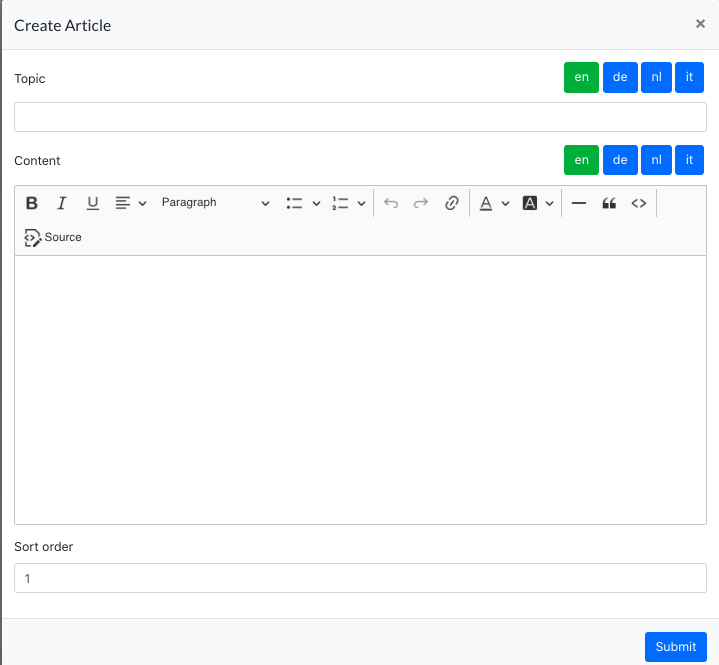
- Go to [ Create Article ]
- Enter the Topic & the content
forofyourthe article,youmaymaychoose to also configure the SortOrder for this article.Number. YouArticlemaycancomebebackupdated latertoviaupdate[thisEditarticle.] button
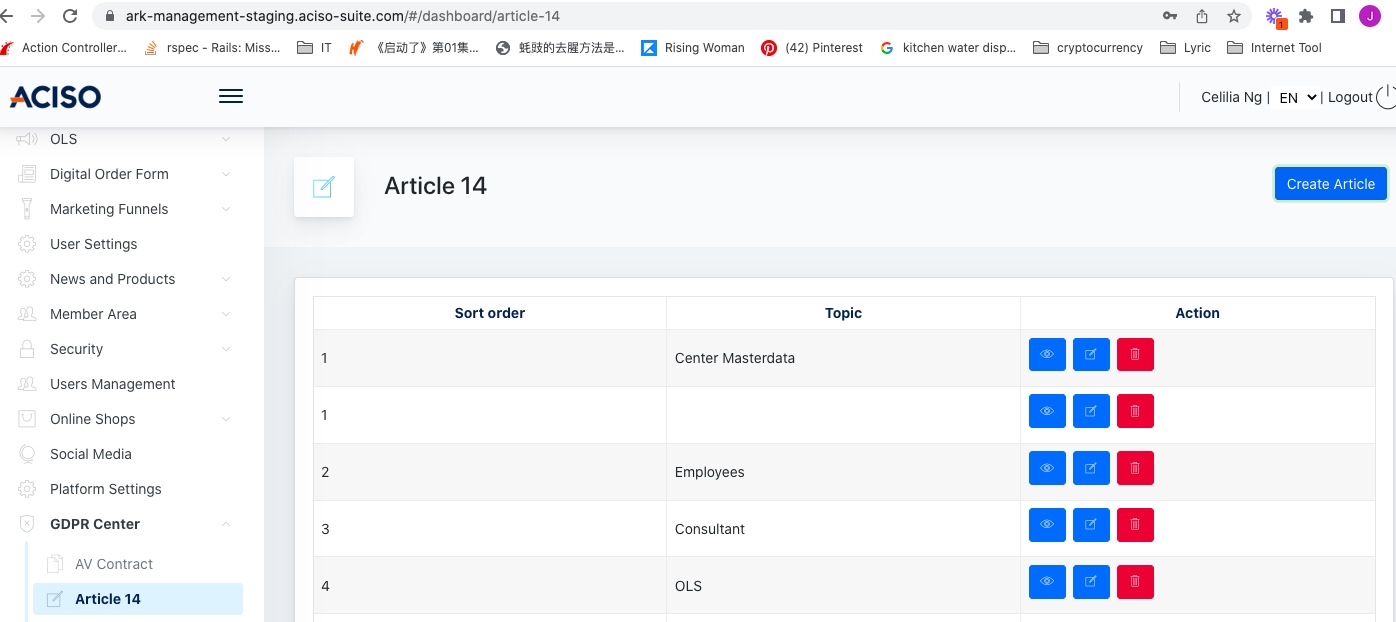
ScreenshotClick ofon creating'Create aArticle' newbutton article::
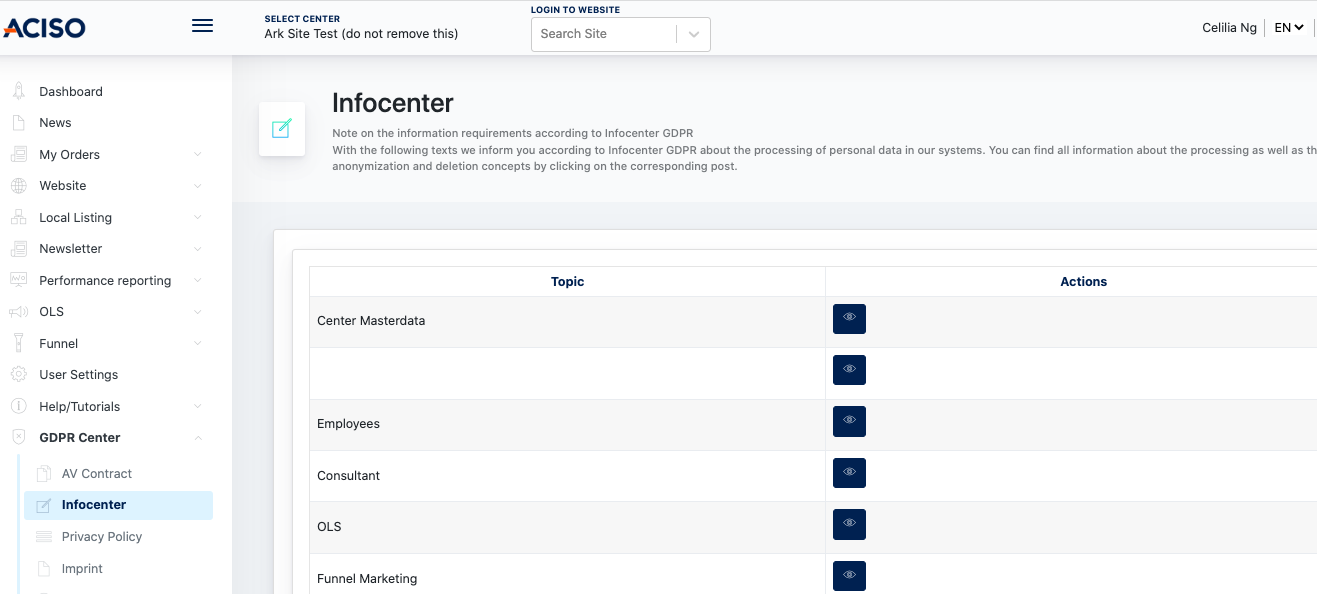
All the articles created underwill Managementbe Panellisted on Cockpit > ArticleGDPR 14 appear as lists of articles in Admin PanelCenter > Info Center.Infocenter
3. PRIVACY POLICY / IMPRINT
This feature is to allow Management Users to createPrivacy Policy / Imprint
A Privacy Policy is a legal document on a website that explains how user data is collected, used, shared, and protected. It often includes information on data types collected, storage duration, user rights, and security measures. A Privacy Policy is required by law in many regions.
An Imprint (mainly in Europe) is a legal requirement that provides company identification information, including the business name, address, contact details, and regulatory information. It ensures transparency and provides users with a point of contact for business-related inquiries.
Both documents are essential for compliance and transparency on websites.
This component allows Management Admin to create Privacy Policy & Imprint documents, which later accessed by Client can use and edit,provide andagreement agreethat they agreed to take over the responsibility of their contentwebsite to their Ark Panel.content.
Workflow :
ManagementGoUsertocreate[contentPrivacy Policy ] or [ Imprint ] page.- Search for the center which the documents are assigned to
- Click on the
Admin[PanelEdit ] button when center is displayed on the listing ClientFillLog-on to Admin Panel, check and editin the contentof Privacy Policy & Imprint.Tick the checkbox &and submit.
Privacy Policy / Imprint @ Admin Panel

Search for the website, and input the content via the [ Edit ] button.
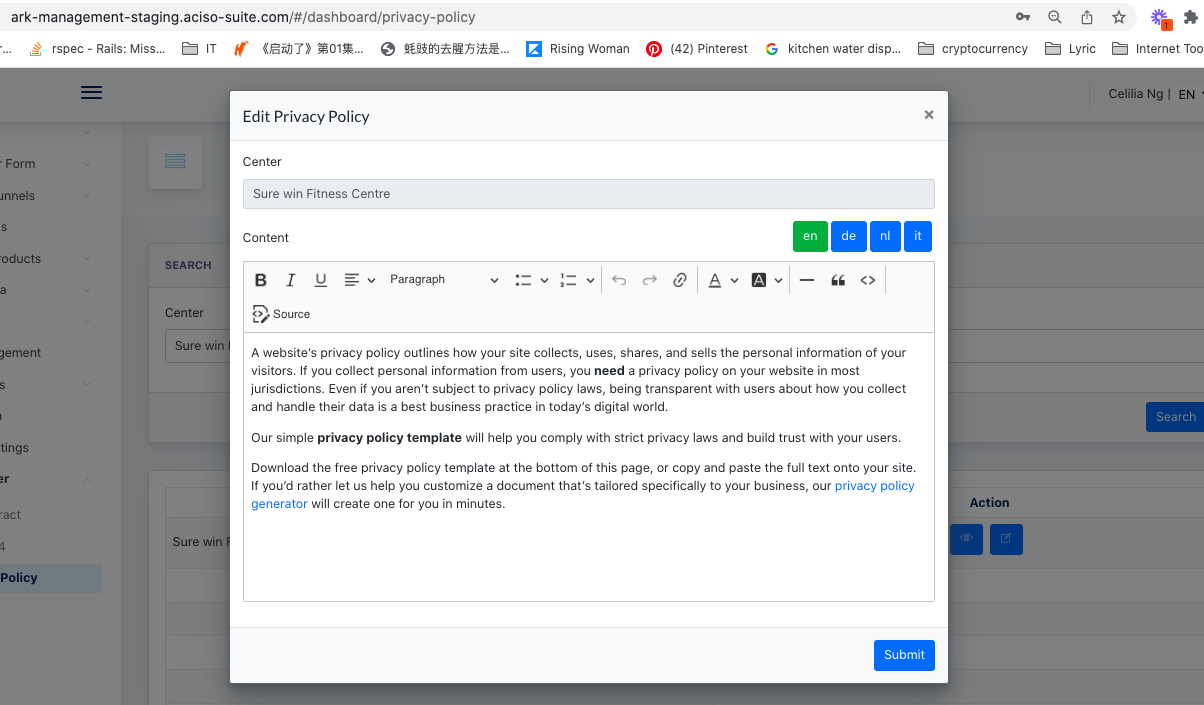
After clicking [ Submit ], this content will appearbe onavailable under Cockpit > GDPR center > Privacy Policy / Imprint under Admin Panel > GDPR Center.
PrivacyScreenshot Policy / Imprint
If a Client subscribes to Ark Panel, [ Client ] is required to read, edit and take over the responsibility of the content via Admin Panel upon first login. Example screenshot shown as below:
[ Client ] should come to the Admin Panel : Privacy Policy / Imprint page to read, update the content, and tickexample on ‘ICockpit assume responsibility for the legally correct formulation of the text’.:
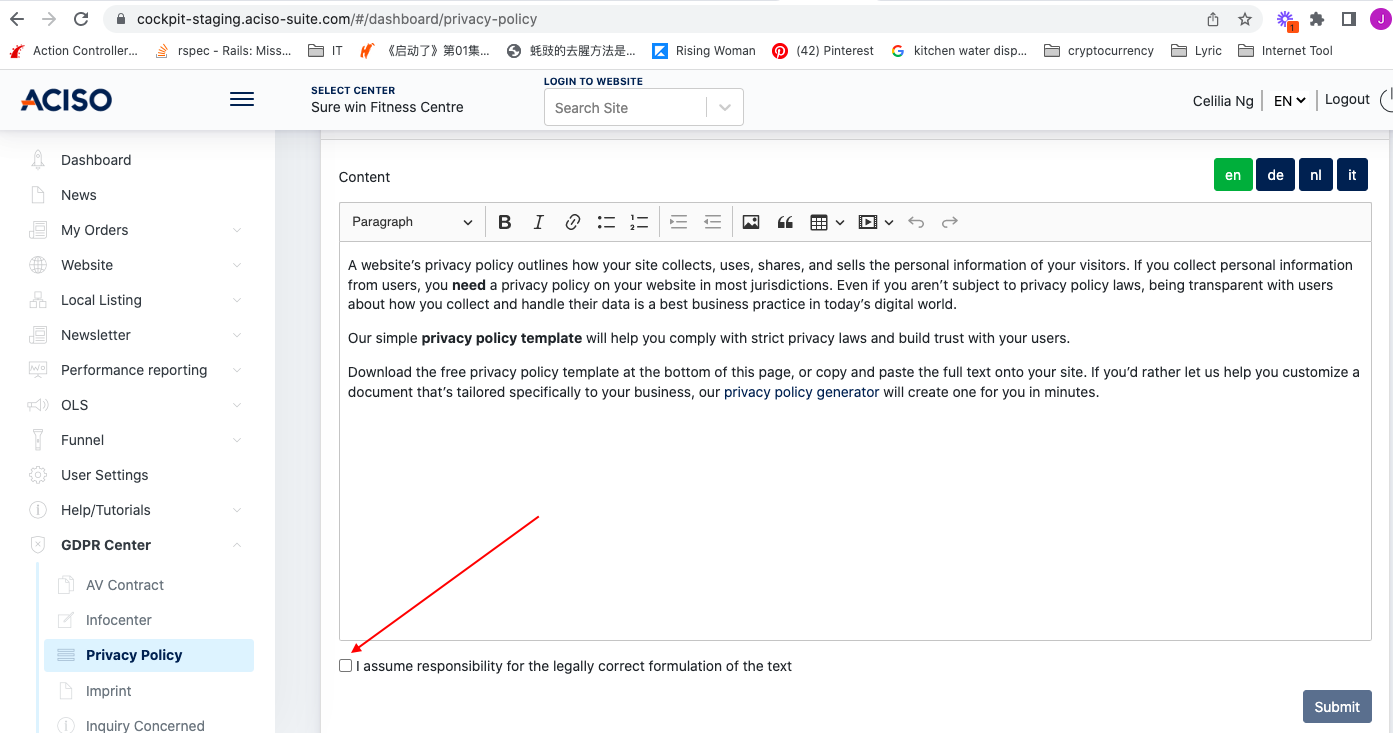
After this step, Client has taken over- the responsibilityend of the Privacy Policy / Imprint. At the same time, this content will be displayed on the Center’s website.
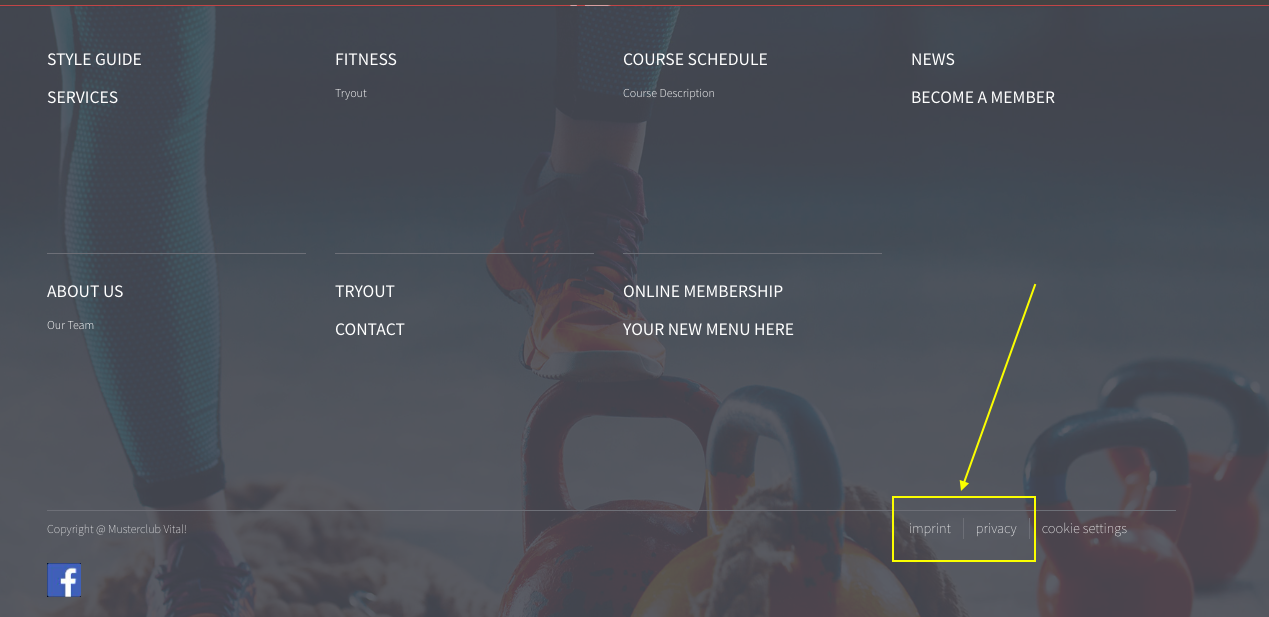
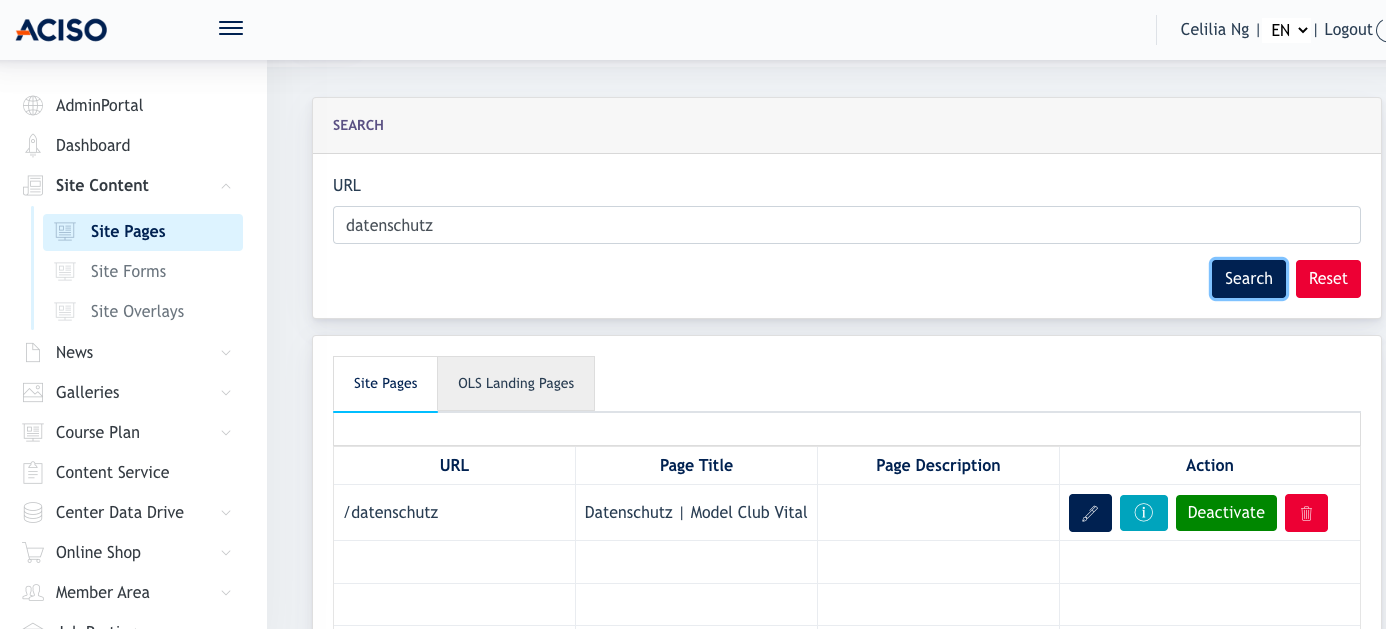
Imprint content will appear in the Ark Panel as [ Impressum ]Privacy Policy content will appear in the Ark Panel as [ Datenschutz ]
Screenshots from the Ark Panel > Site pages
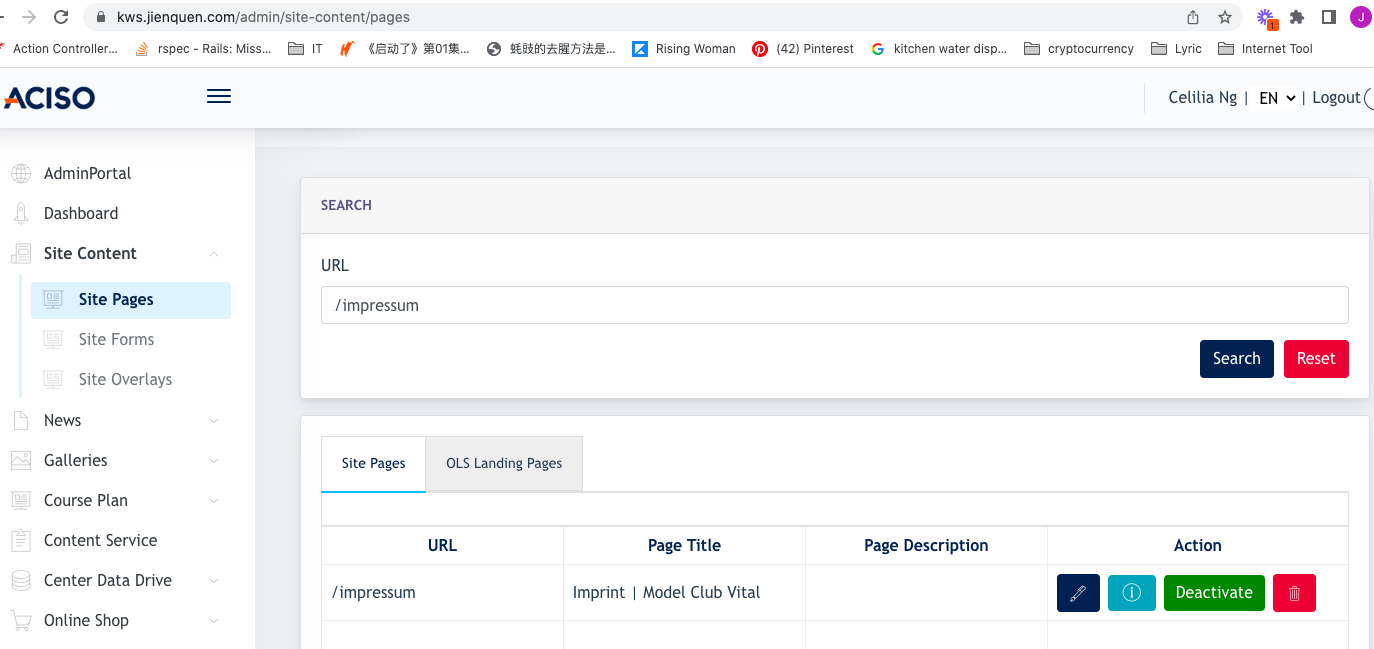
To edit the privacy / Imprint content, the Client may go back to the Admin Panel to make changes, and it will be reflected over here as well.
Privacy Policy & Imprint is displayed on the website in the Footer. 
4. INQUIRIES CONCERNED
5. DATA CONFIGURATION
This page allows the Client to configure when shall the data be anonymized.
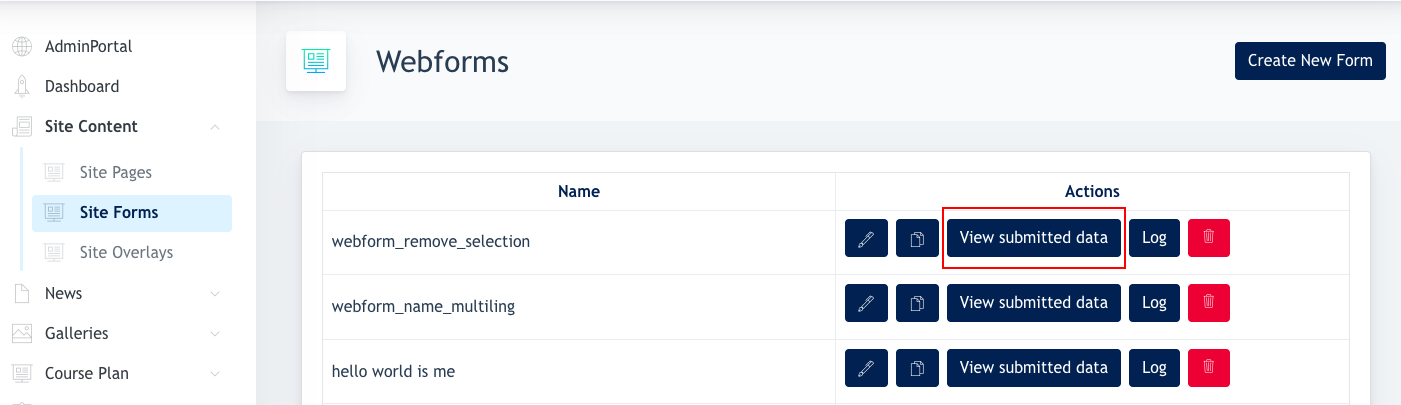
5.1 Webform
Configure no. of days the webform data is kept inside the Ark Panel.

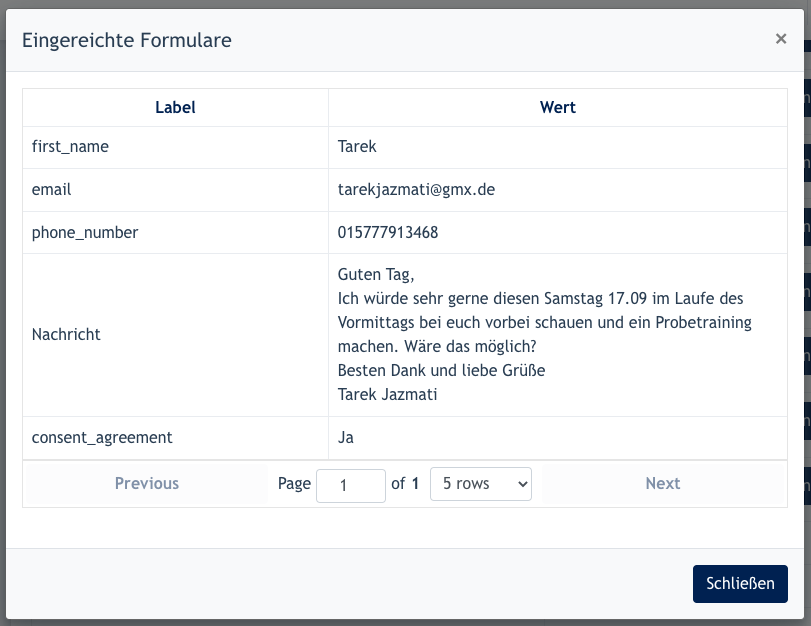
Below is an example of Submitted form data.
When you click on [ View submitted data ] , it should only show a form that is submitted within 7 days. The data will be completely deleted from here after the 7th day.
5.2 SHOP
Configure no. of days the shop order personal data is kept in the system. After the 2 days ( based on below example), personal data of the shoppers are anonymized in the system.

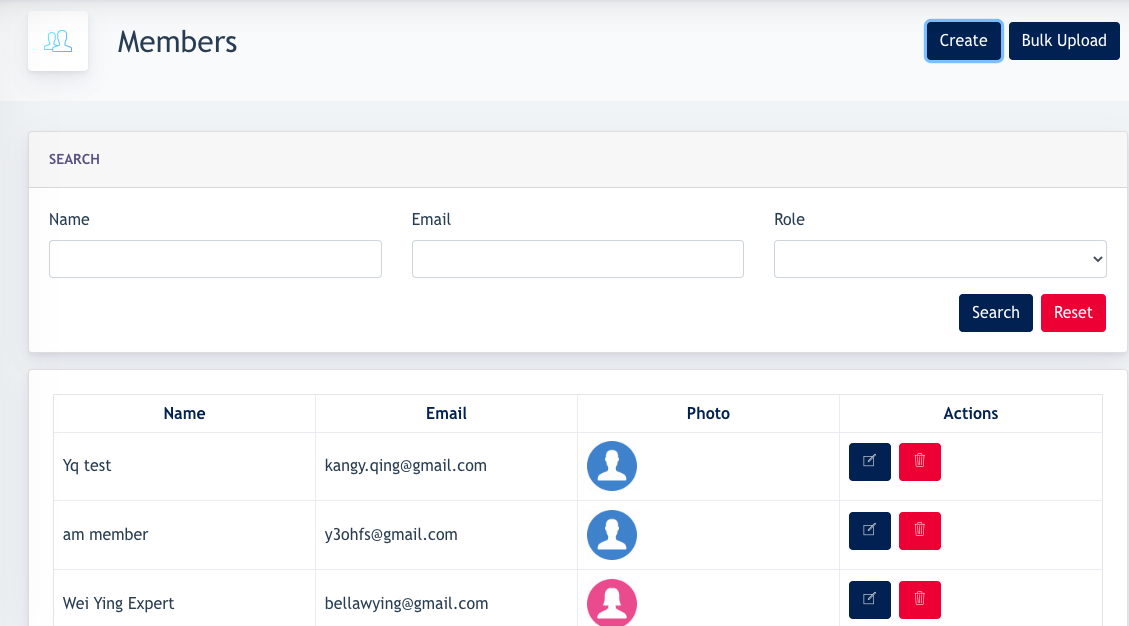
5.3 MEMBER LOGINS
Configure no.of days the user account data will be anonymized after his/her account is expired.

When the data is anonymized, it will be removed from the Member Listing below.
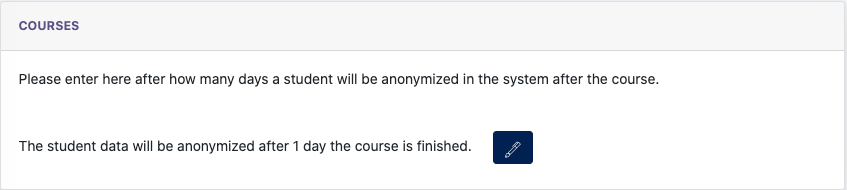
5.4 COURSES
Configure the number of days after a course is finished, the student data will be anonymized. Only the personal data is anonymized, course data is still in our backend so that a statistical report can be generated.
5.5 FUNNEL MARKETING
Configure the no. of days that the funnel's user data is anonymized after the funnel is completed. Remarks : This has nothing to do with the newsletter’s recipient, they remained active until they unsubscribed or changed to blacklist.

6. COOKIE BANNER
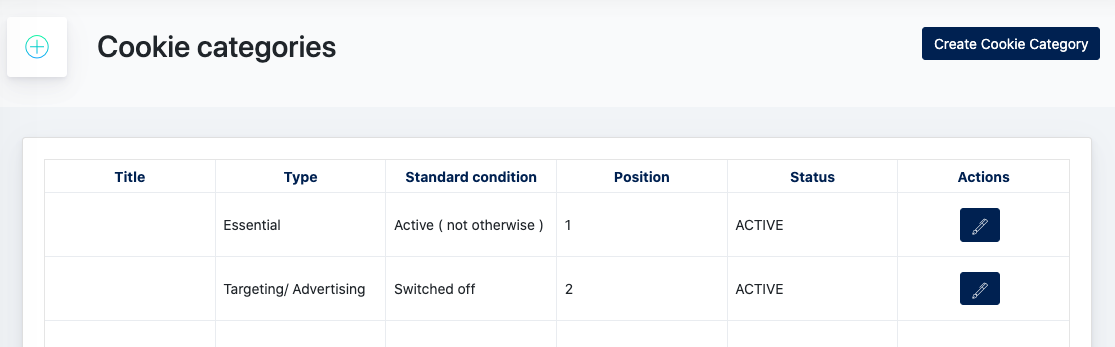
6.1 CATEGORY
This is where the Client configures cookies categories as well as its content.
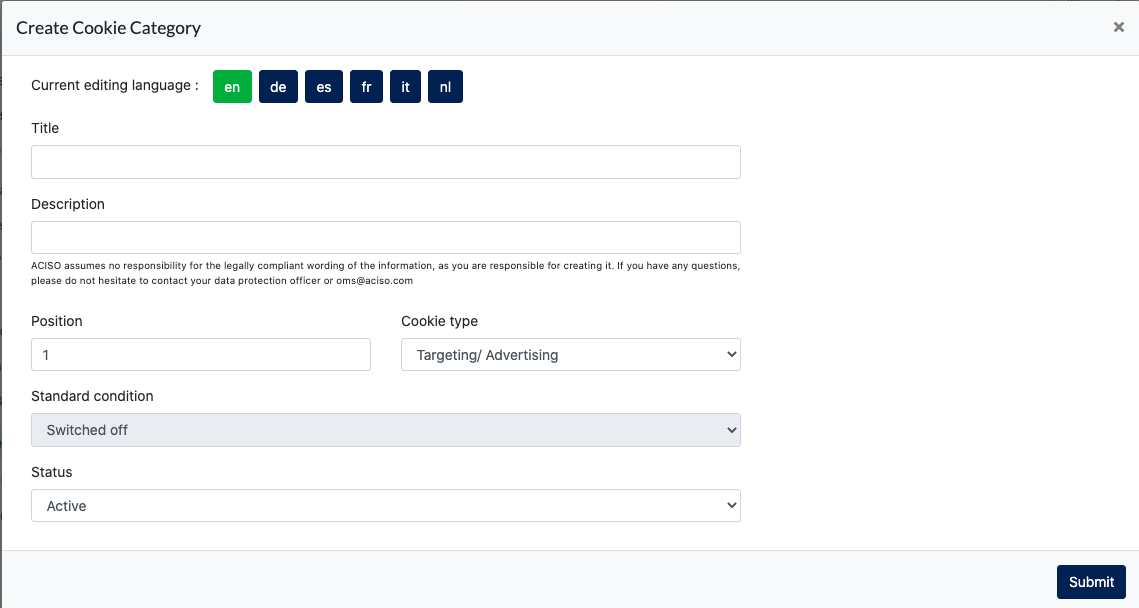
Form :
Title: key in a title for your cookie categoryDescription: Description for your cookie categoryPosition: to configure this cookie position on the banner. Example : if the position = 1, then it will be the first to appear on the banner. In this screenshot below is [ Essenziell ]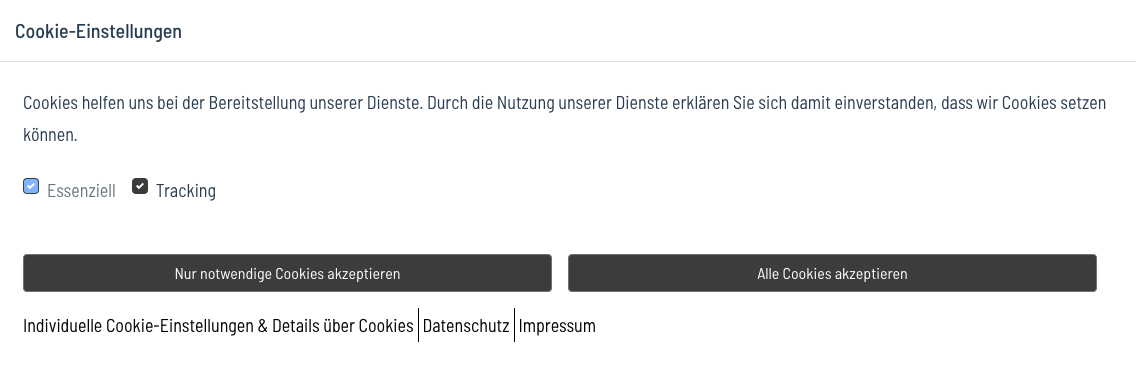
Standard Condition: There are 2 types of conditions, they can Active/Switched offActive : When this option is selected, it will always be checked. ( As shown below = Ezzenziel )Switched off: it can be checked/not checked ( As shown below = Tracking)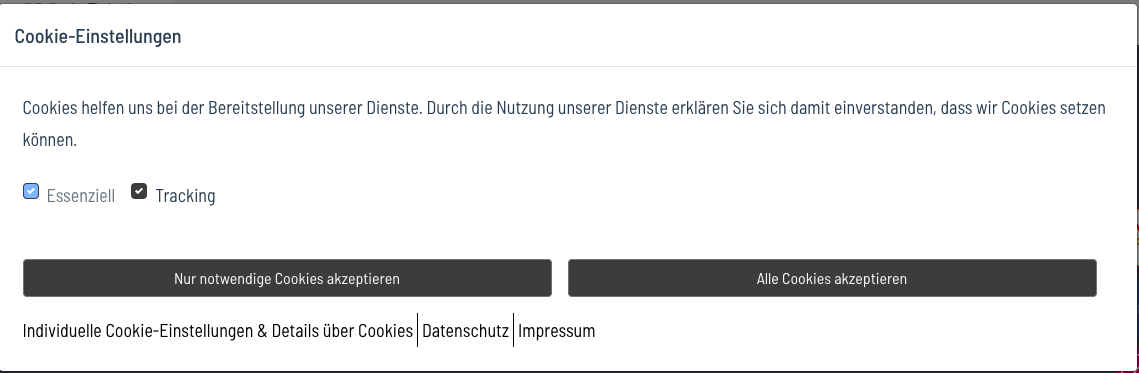
Status: Set as inActive, and it will be taken down from the cookie banner.
6.2 CONTENTS
This is where you add the contents for each cookie category.
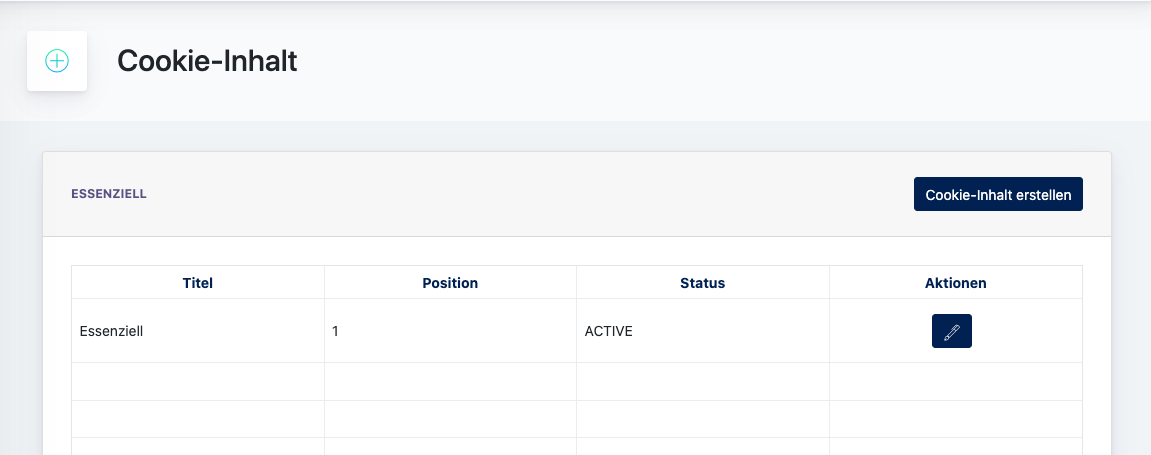
Click on [ Create Cookie Content ] on the top right. Depending on what is the type of Cookie you have set. The button will initiate the correct forms for you to fill in.
6.2a. Essential Cookie (Example forms)
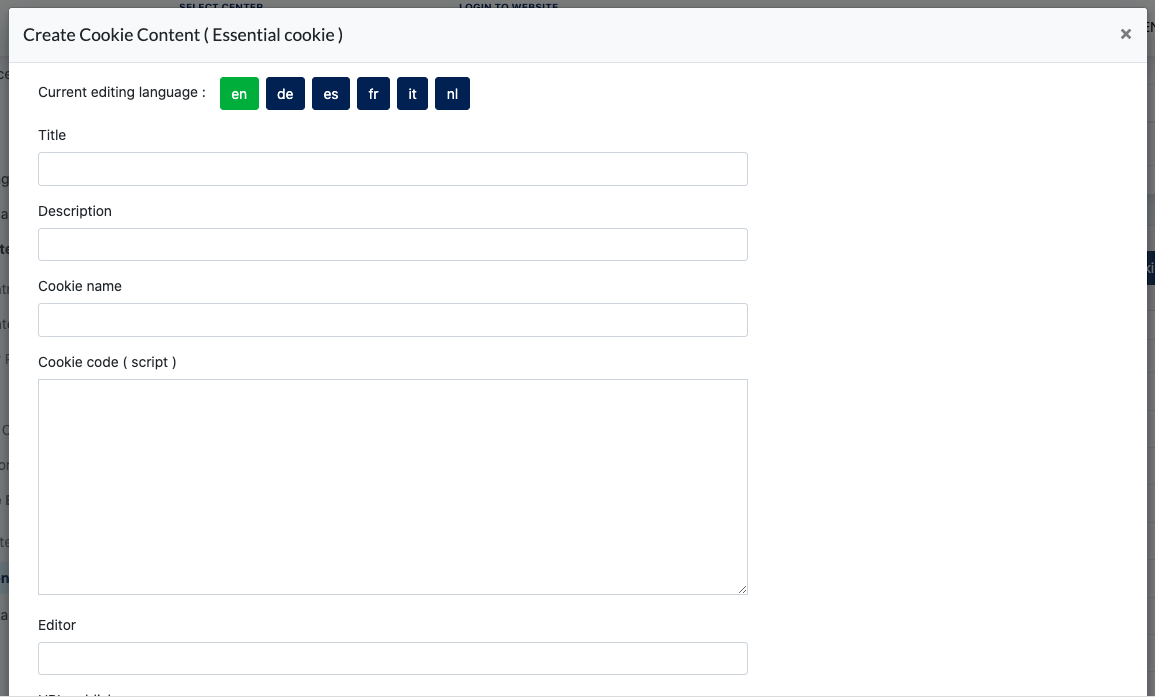
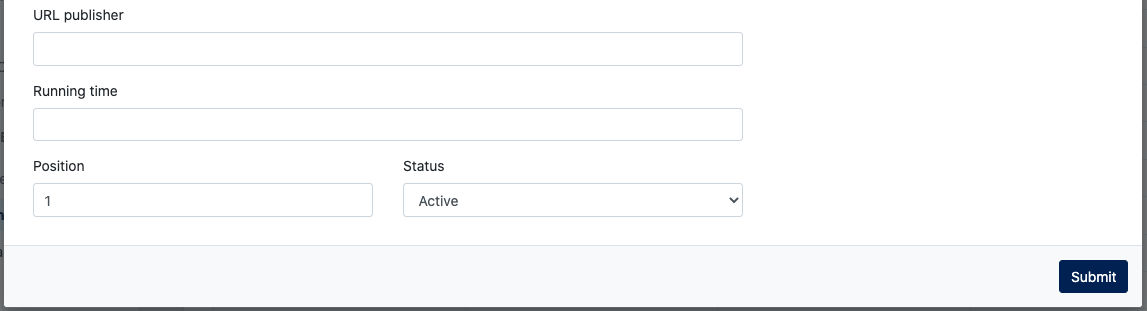
Title: A title for this cookie contentDescription: Further description on this cookieCookie name: Name of the cookieCookie code: Specific code of the cookieEditor: Editor of this cookieURL publisher: Who published this cookieRunning time: The duration for this cookie to take effectsPosition: The position of this cookie content under a specific categoryStatus: Active / Inactive
All these are information of the cookie, every cookie must have content in order to be displayed on the cookie banner. If the content is empty, the cookie will not be displayed on the banner.
All the cookie content is viewable via: Individual Cookie setting & details about cookies 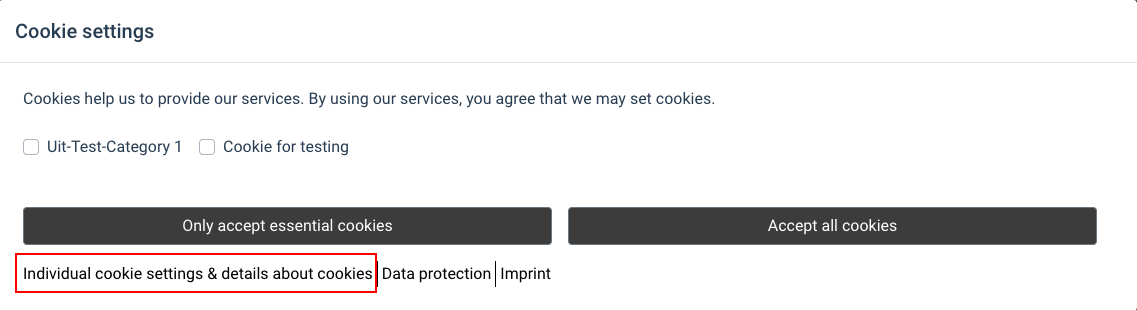
Click on the link & it will go to this content modal :
This modal shows all the cookies created. Buttons on the left show all the cookie categories type according to the sorting order set. When clicking on each cookie cat, cookie content will display on the right. There can be more than 1 cookie content, depending on the configuration.
Except Essential Cookie, the rest you may choose [ Accept ] for individual cookie content in this modal.
-