Cockpit : Funnel Marketing for Client
Cockpit: Funnels
This component on Cockpit allow Client to create and manage marketing funnels for their campaigns.
1. Creating a funnel
GoStaging toURL Cockpit: > Funnel > Listing > Create funnel https://cockpit-staging.proof-point-suite.com/#/dashboard/marketing-funnels/listings/funnels
There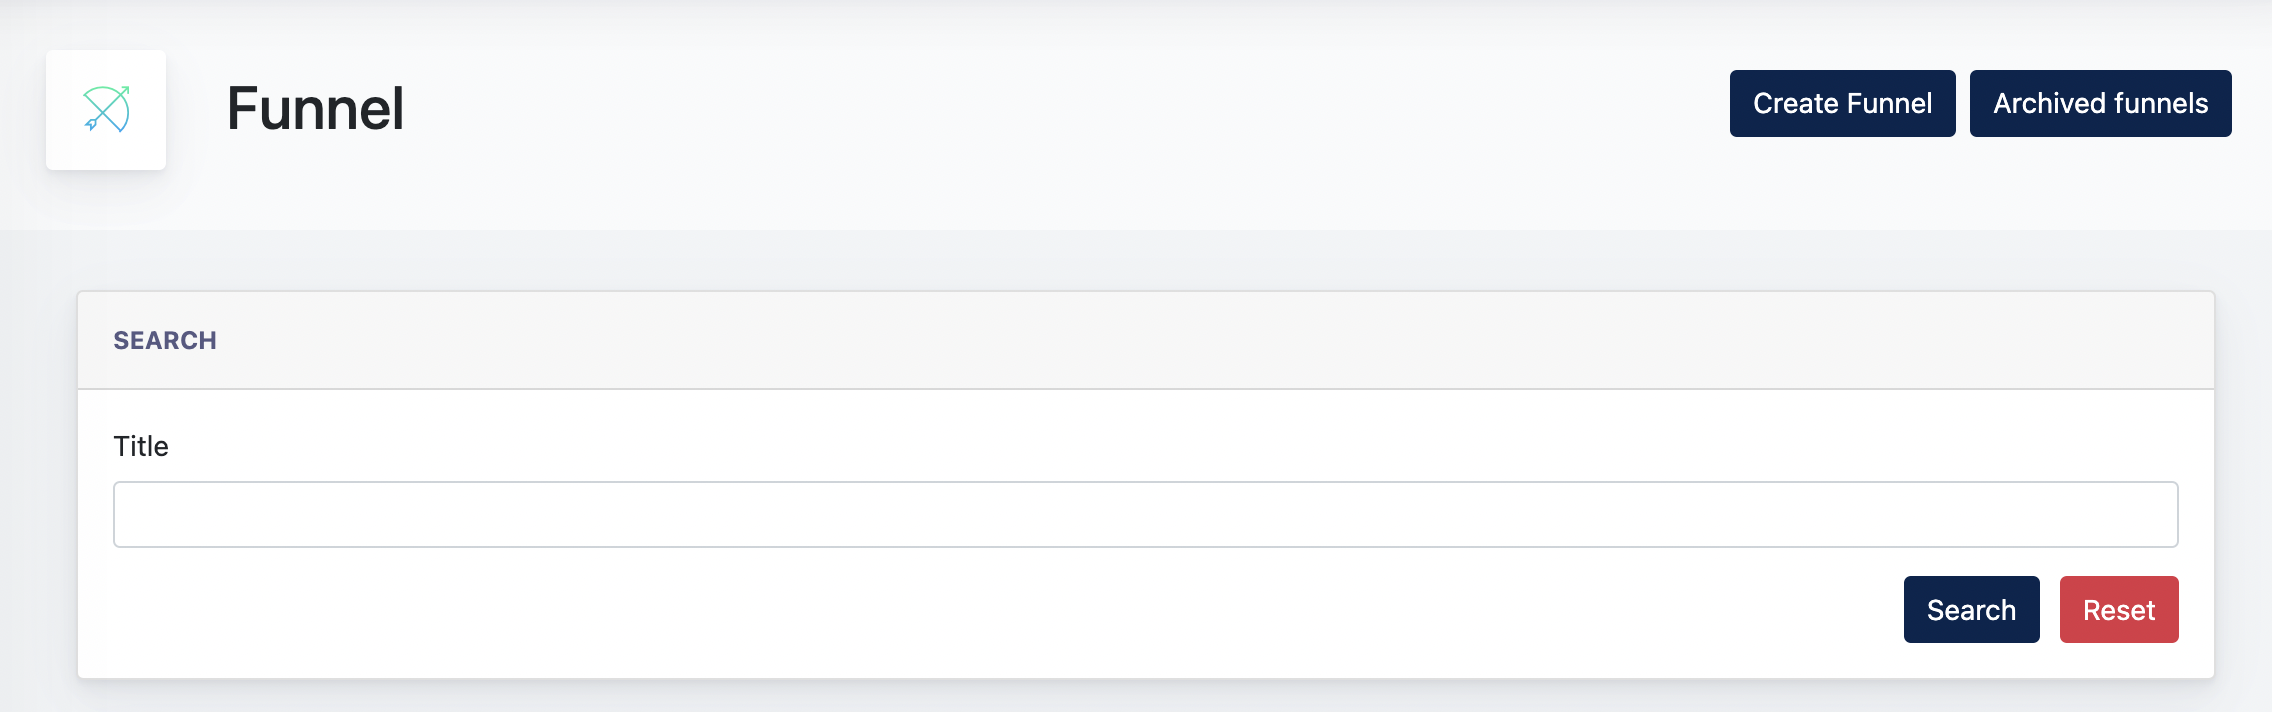
Click 2on ways"Create to create a funnel :Funnel"
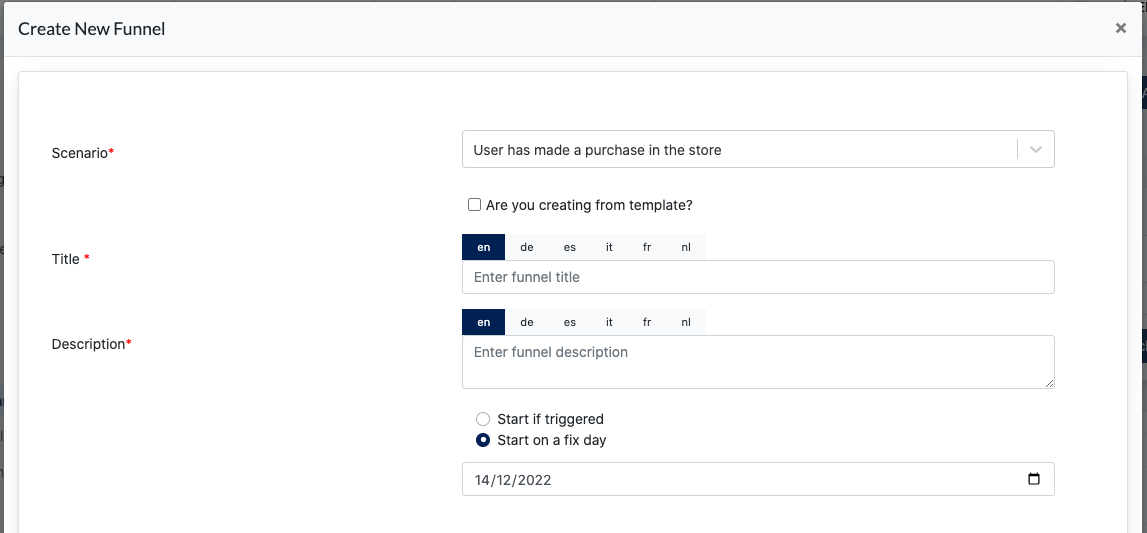
CreateScenariofrom:scratchChoose the Scenario for your funnelCreatedTitlefrom: Give this funnel atemplatetitle- Description
template:isGivecreatedthisbyfunnelUseraanddescription - Select
be used byhow theClientsfunnelasstart sending Mailings --> Choose [ Start if triggered ] or [ Start on aguidelinefixordayexample to further edit and make this their own funnel. This is part of a content service provided by Management User for their Clients )]
1.1 Creating a funnel from scratch
1.
- Stop
youFunnelselect:yourthisscenario.featureScenarioallowsisconfiguration of ending this funnel ( Stop sending thetriggerMailingspoint)forwhen any of the funneltorecipientsstart.enters another Funnel.

2.
- Time
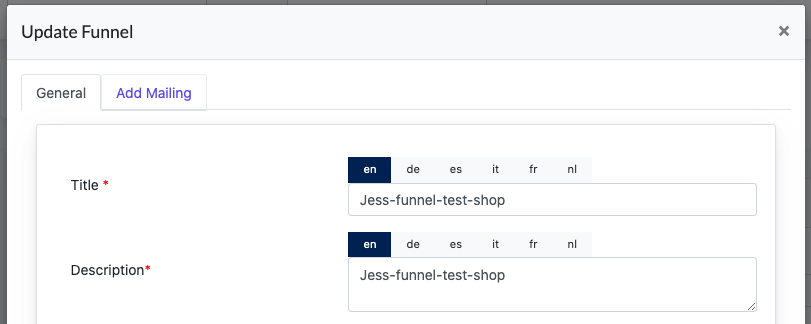
the Title and Description of your funnel.Select if you want to startrange this funneli)istriggeredactiveby:scenarioAllowstartsCenterorAdmin/Clientbasedtoonconfigure afixeddurationdate after the scenario has started.
Active.3. Configure the time range ofwhen this funnelwhen itisactive - Status : Allow Center Admin/Client to set a status for this funnel
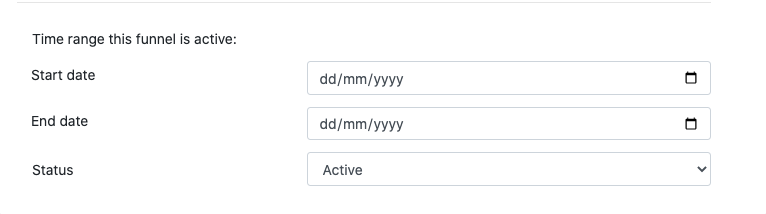
When a funnel passes the end date, the status will automatically change to“Inactive”. And mailings(under this funnel) will not be sent out after this date.
What is Stop a Funnel ?
On the same [Create funnel] form, there is a configuration where you can stop this funnel if the recipient under this funnel has joined another funnel.
The reason for this function is: when a user receive a mailing to promote them on a membership ( for example ) , if on the secound mailing, the user has decided to join membership, in that case, this action will trigger another set of funnel mailings, and this initial funnel will no longer needed. Due to the objective of selling the user a membership has been achieved.
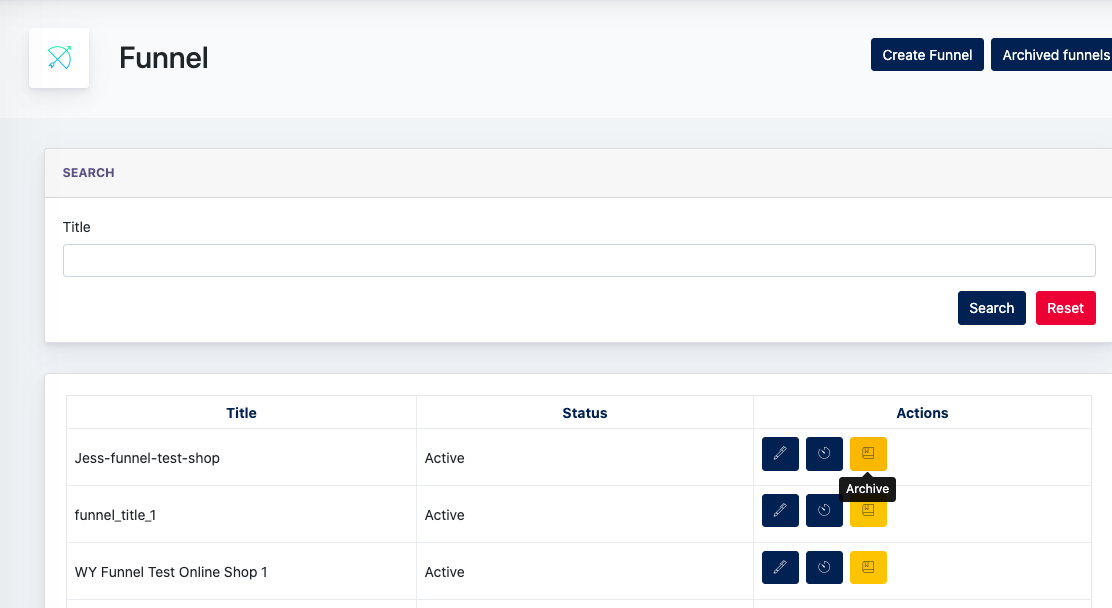
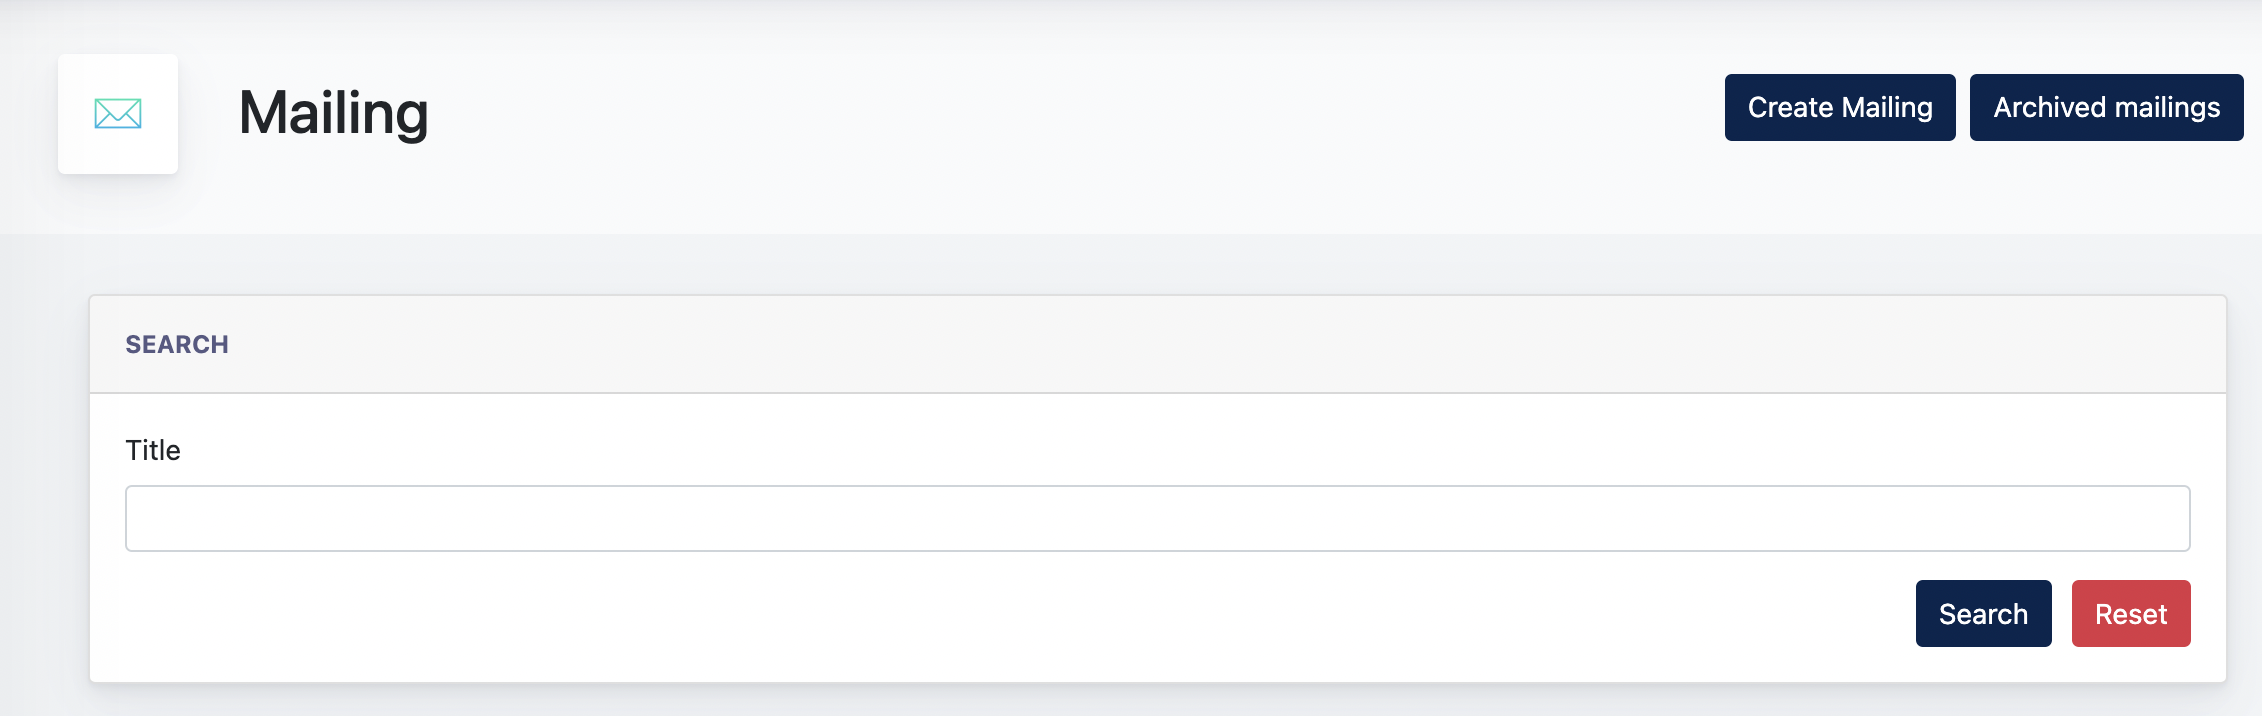
After a funnel is created, it will appear on the funnel listing.
2. Creating Mailings for a funnel
One funnel canconsists includeof multiple mailings. ThusMailing clickpage is where Center Admin/Client creates these mailings and manage them.
Staging URL : https://cockpit-staging.proof-point-suite.com/#/dashboard/marketing-funnels/listings/mailings
Click on { 'Create MailingsMailings'
- Subject
create:themSetoneabysubjectone.for this Mailing. This is the email subject for funnel recipients. - Title : Set a title for this Mailing.
- Status : Status configuration
- Select Senders: Select which senders are this Mailing from
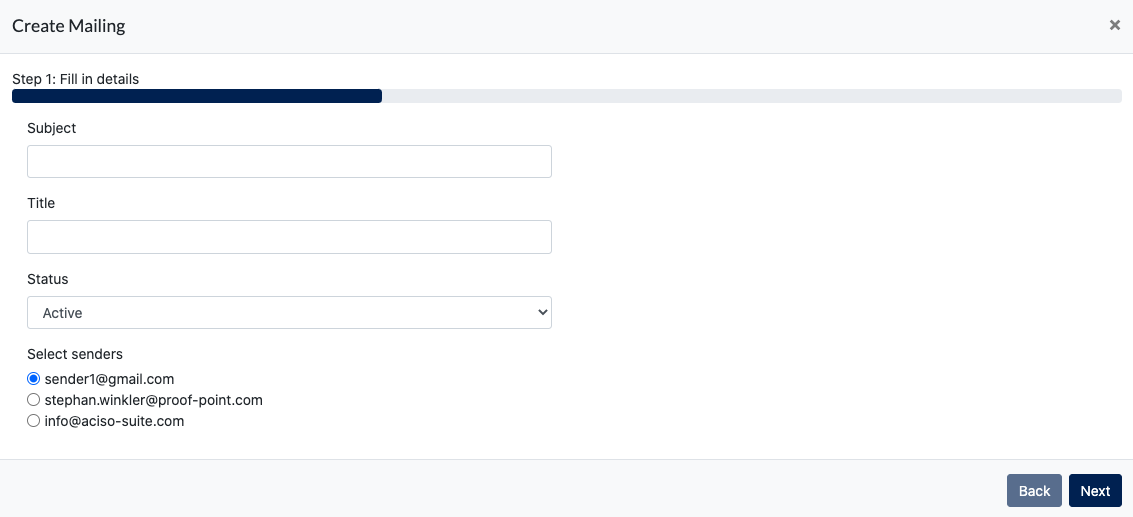
STEPAfter 1 : Createfilling the Subjectabove, ofclick your'Next' mailing:
Here, Center Admin can choose to 'Select a template' and the title of your mailing. Then selectbuild the sendersMailings offrom this mailing.template, 
STEP 2 : Choose a template (mailing template) to edit or design the mailingbuild from scratch by skipping this, and click NEXTscratch.
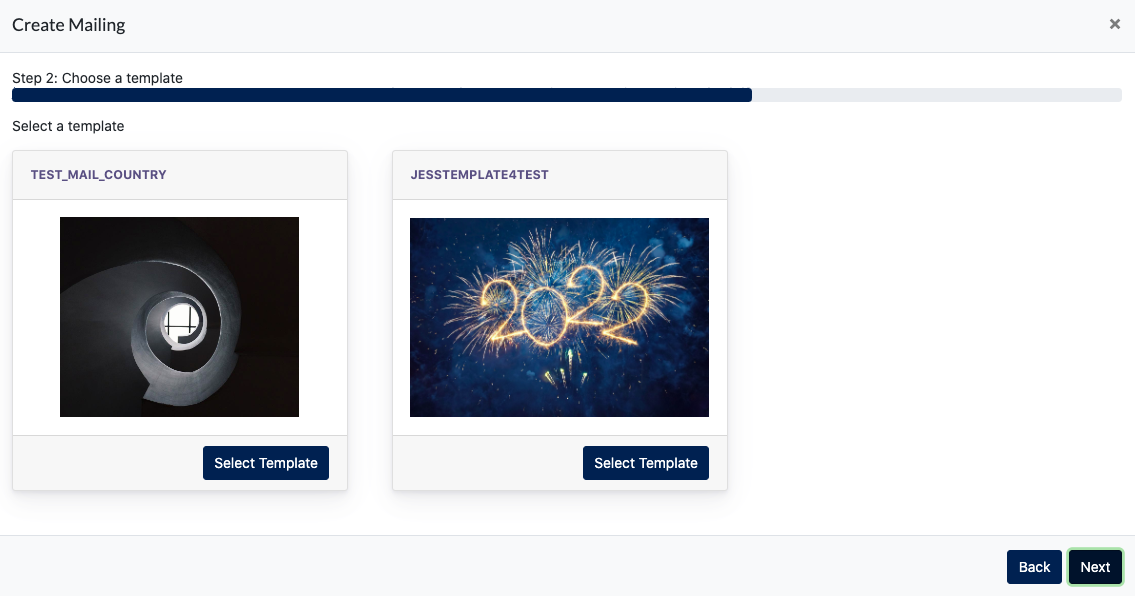
STEPIf 3no :template Createis yourchosen, mailingclick via'Next' and Center Admin/Client will enter the next page which has the editor for creating the Mailing content.
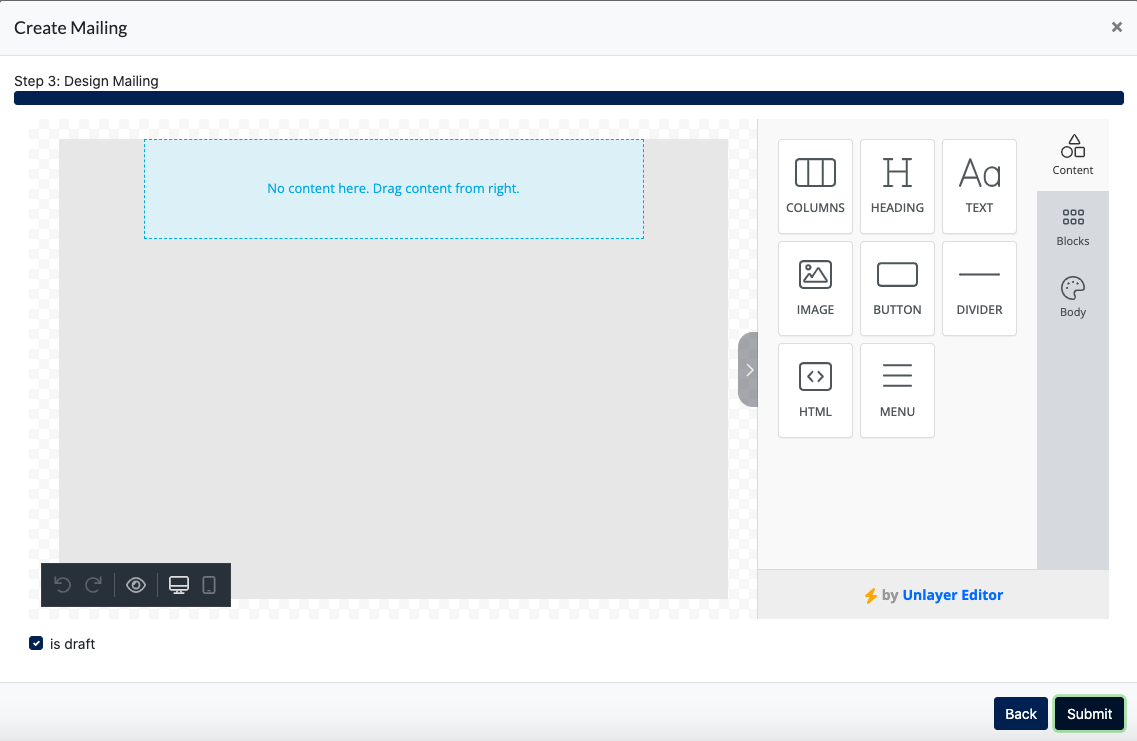
 After finished building the content, click 'Submit'
NEXT : Finished up this mailing by clicking {submit} !
When a mailing is successfully created, it appears under Funnel > Mailing > Listing
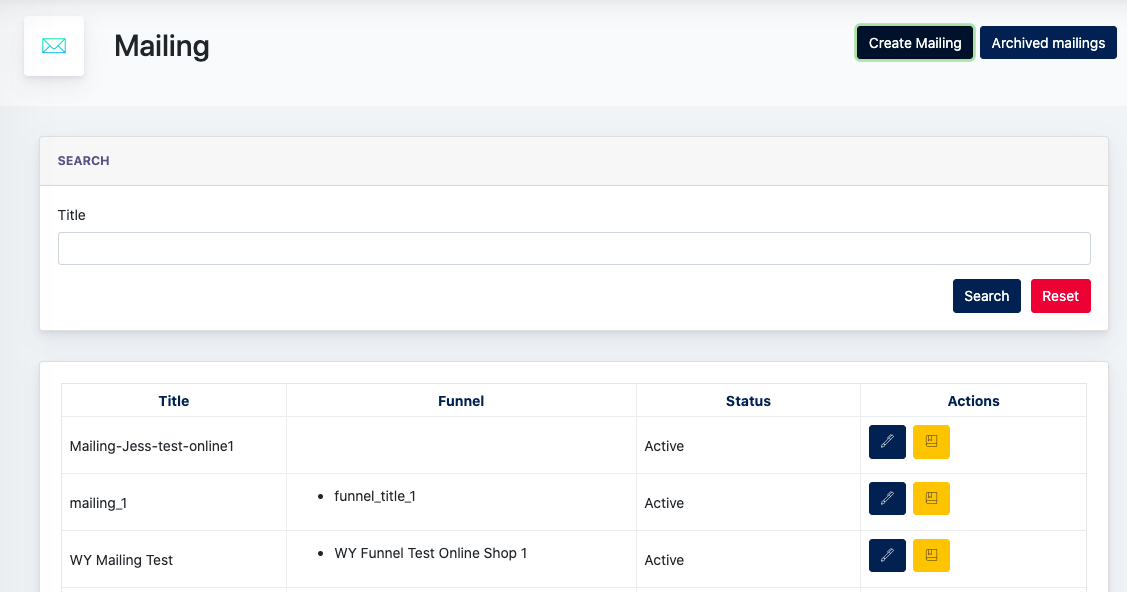
3. Assign Mailings to a funnel
A funnel is incomplete without any mailings assignedGo to it.the Funnel Listing :
WhenStaging you’veURL finished: creatinghttps://cockpit-staging.proof-point-suite.com/#/dashboard/marketing-funnels/listings/funnels
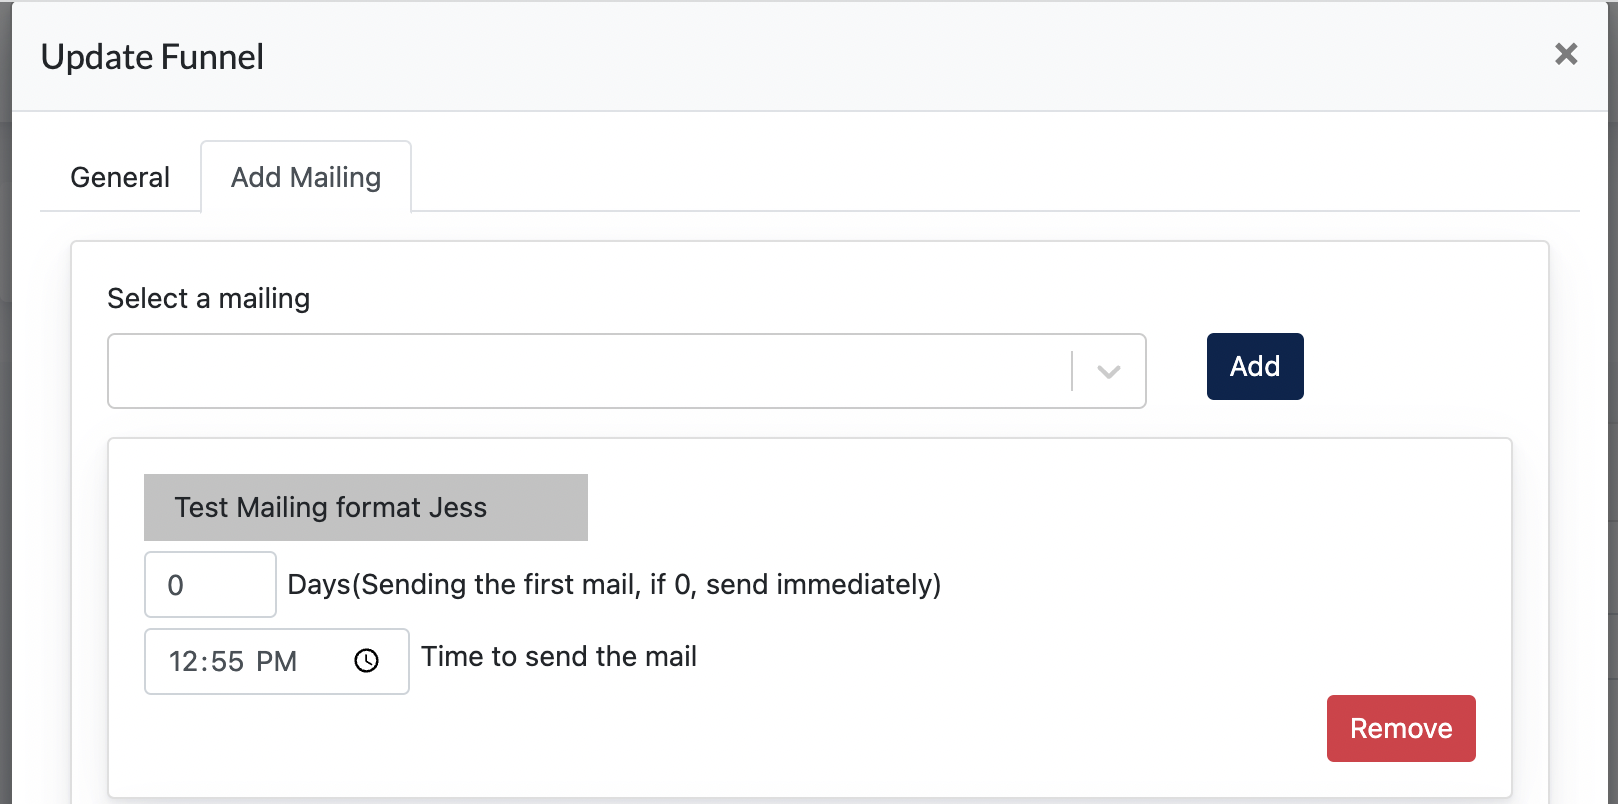
Click mailings, now'Edit', go to Funnel'Add >Mailing' Updatetab Funnel to do the magic.:

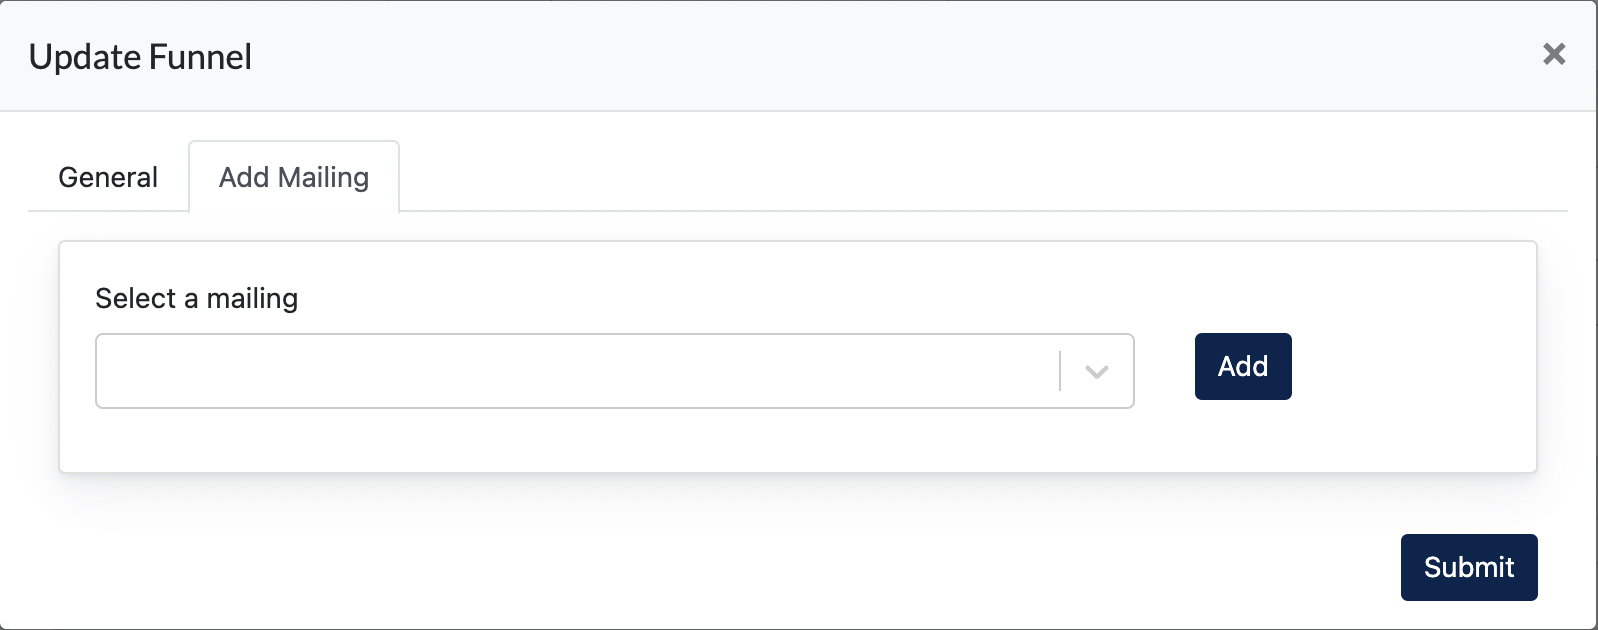
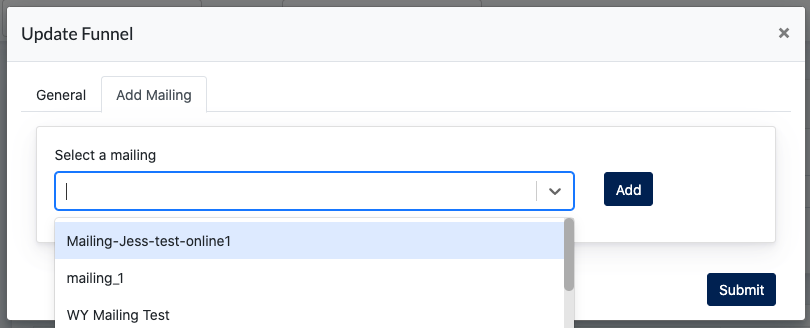
ClickAll Mailings created earlier will be shown on thethis Pencildropdown iconmenu. of the funnel, go to { Add Mailing } tab:
Select a mailing fromand click 'Add'.
Here, Center Admin can set the pullMailing downfrequency, menu.same Inas thisthe example,steps IHERE selected Mailing-Jess-test-online1.:
3.1 Setting the frequency of the mailings
- There are a few configuration here :
[ x ] day (sending the first mail) → for this, if no value is added, then the first mail will be sent out immediately after triggered by scenario orsent on the Date configured.- As for the secound mail or the rest of mailing, we can set the mail to send out [ x ] days after the previous mail is sent.
- Example, if the value keyed in is [3] days, then the secound email is sent out three days after the first email.
- Time to send the mail → this is to configure what time you like the mail to be sent. By default, this is set at 8am based on your local computer time.
Note: the time here follows the setting of your computer time
4. Funnel Recipients
4.1 Active Recipients
All users who perform a certain action on the webpage that matches the scenario, and will receive mailings from the funnel…these users are Funnel Recipients.
Once a user enters a funnel, they will become { Active Recipients ]

4.2 Blacklist Recipients
Blacklist Recipients here are sync from Newsletter blacklist recipients.
If a user is blacklisted, it has to be displayed here as well, and this user will not receive any mailings from the Clients.
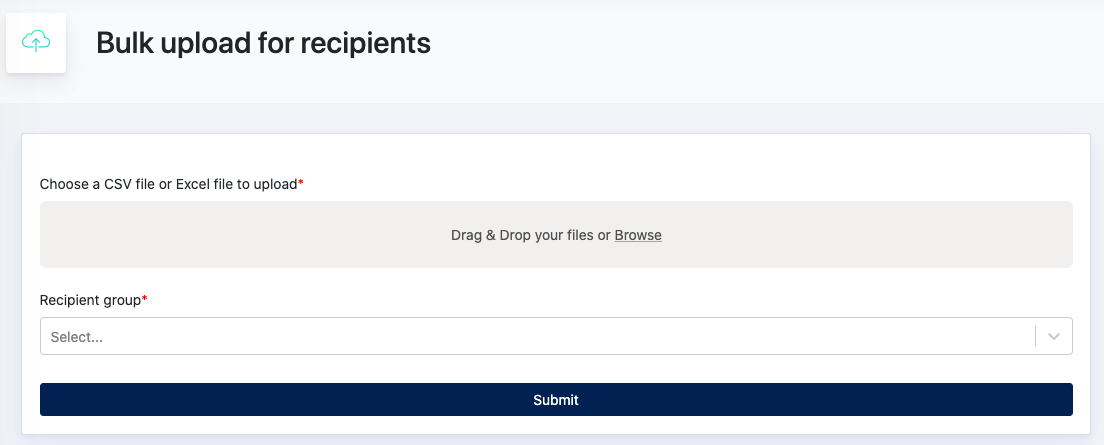
4.3 Upload Bulk Recipients
This is where Users can bulk upload Recipients into existing funnels. Once a recipient is added to the funnel, then he/she will start receiving the mailings.
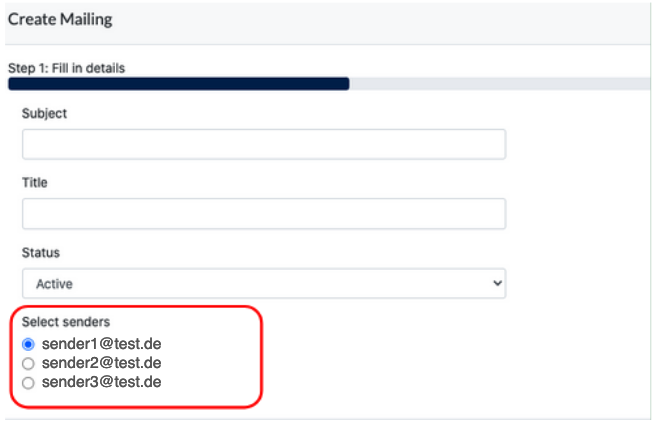
5. Creating Senders
This page allows you to add senders to the funnels → where you can configure during STEP 1 of Creating Mailing (screenshot below)
>> Sender - the email address that is sending the mailing
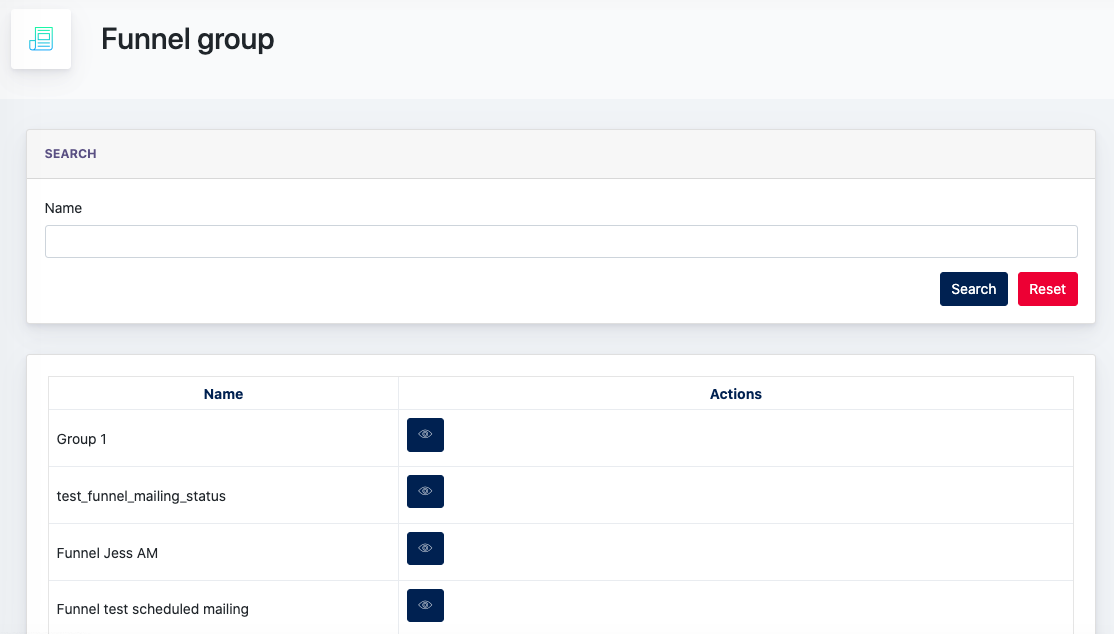
6. Group
This is where you can view the full listing of funnels created, together with the recipients within that group.
7. How to configure Marketing Funnels with different scenario types
Platform: Cockpit
7.1 Scenario B: User Fill in a Web Form
Workflow :
- Create Funnel
- Create Mailings
- Add Mailings
- Above 3 are explained from page 7 to page 12
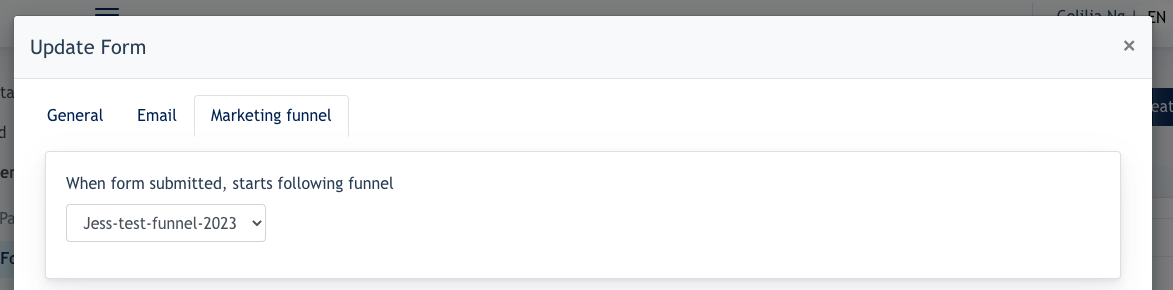
- Create a web form
- On the web form there are 3 things you need to configure :
5.1 Set which funnel will be triggered when a user fills in this web form on any pages of the site, or landing page.
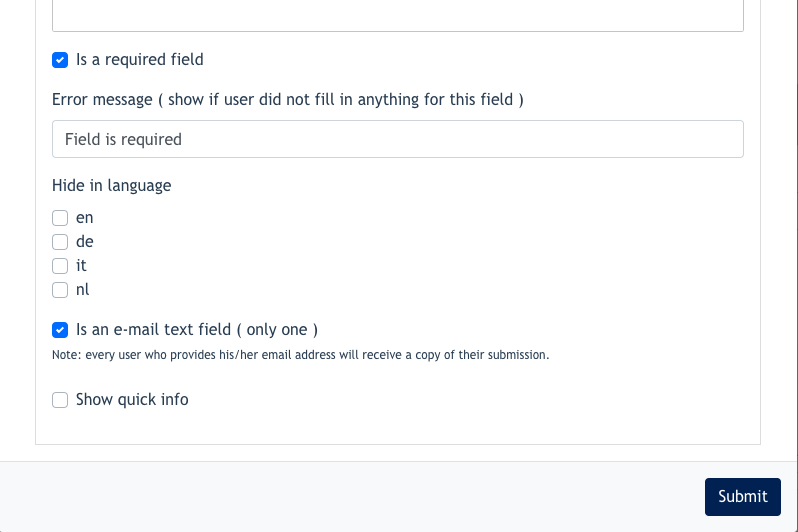
5.2 Add Email Text field as one of the elements
and sets it as a required field
- User’s email is mandatory for the system, if this web form is set as a marketing funnel form

5.3 Create a checkbox element, and set this element as [ marketing funnel checkbox ]
- Checkbox is required in this form, as to allow the user to tick this checkbox and allows the system to trigger funnel mailing and send them out to the email provided in this form.
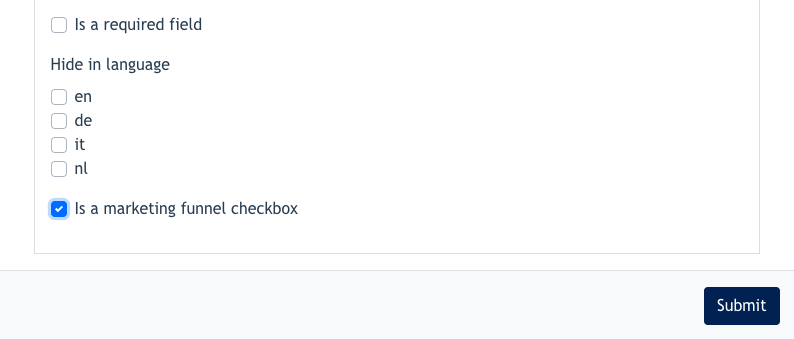
Example of the checkbox :
