Cockpit : Funnel Marketing for Client
Cockpit: Funnels
This component on Cockpit allow Client to create and manage marketing funnels for their campaigns.
1. Creating a funnel
Staging URL : https://cockpit-staging.proof-point-suite.com/#/dashboard/marketing-funnels/listings/funnels
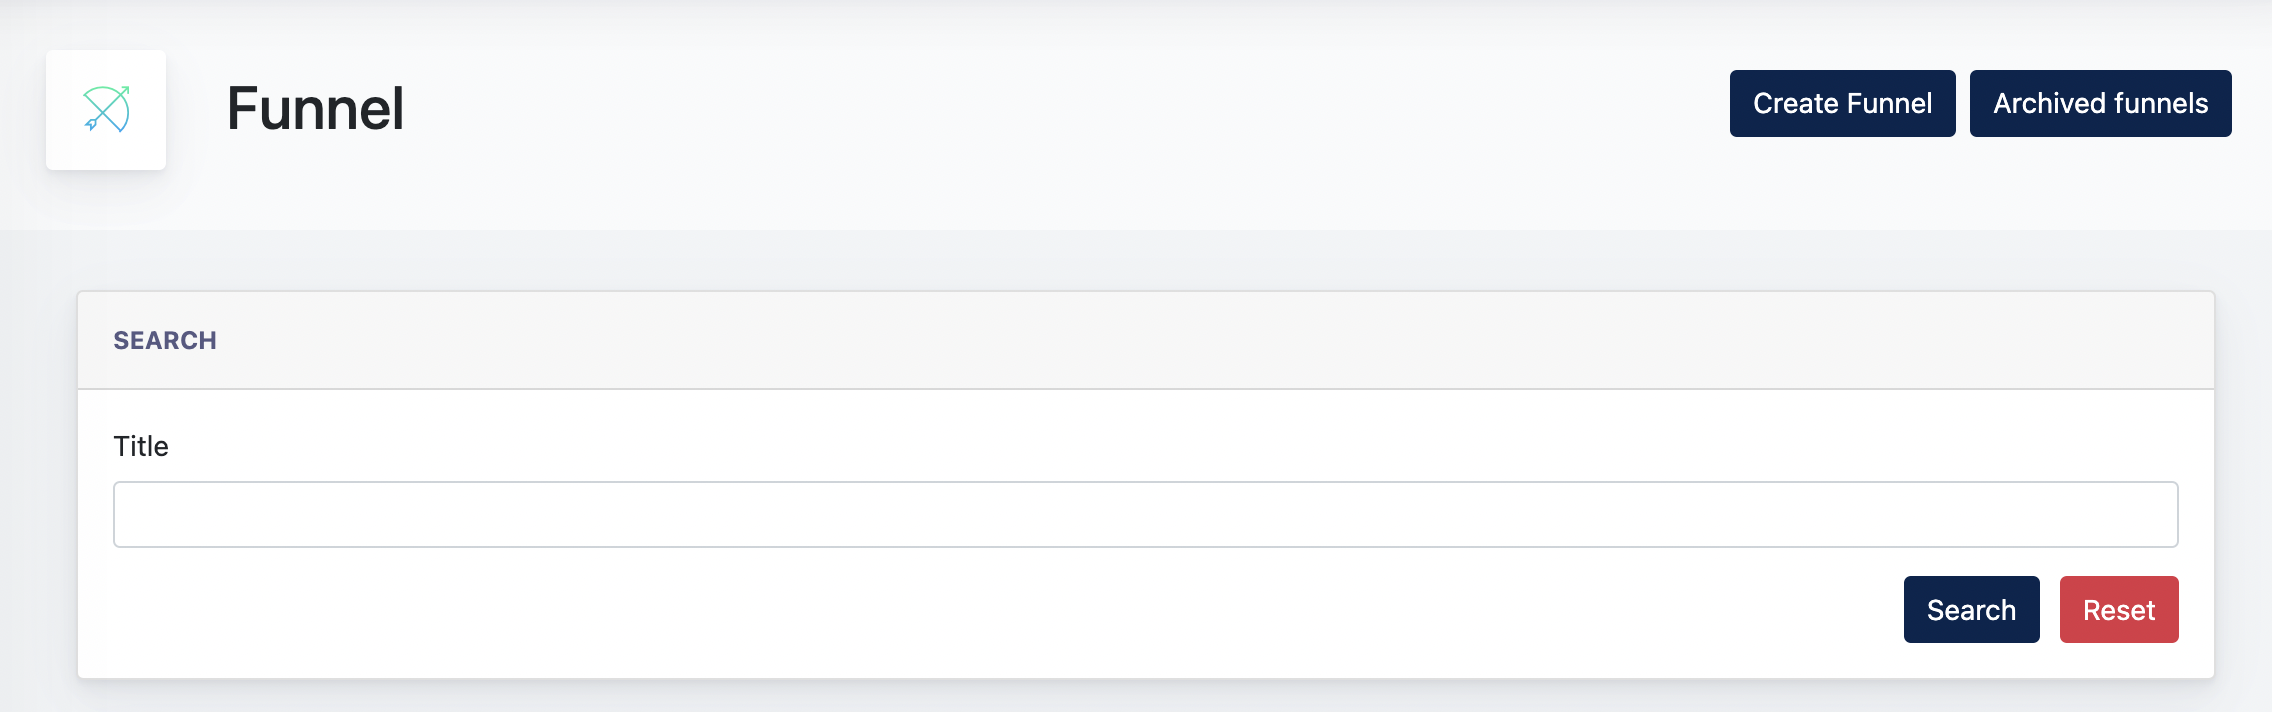
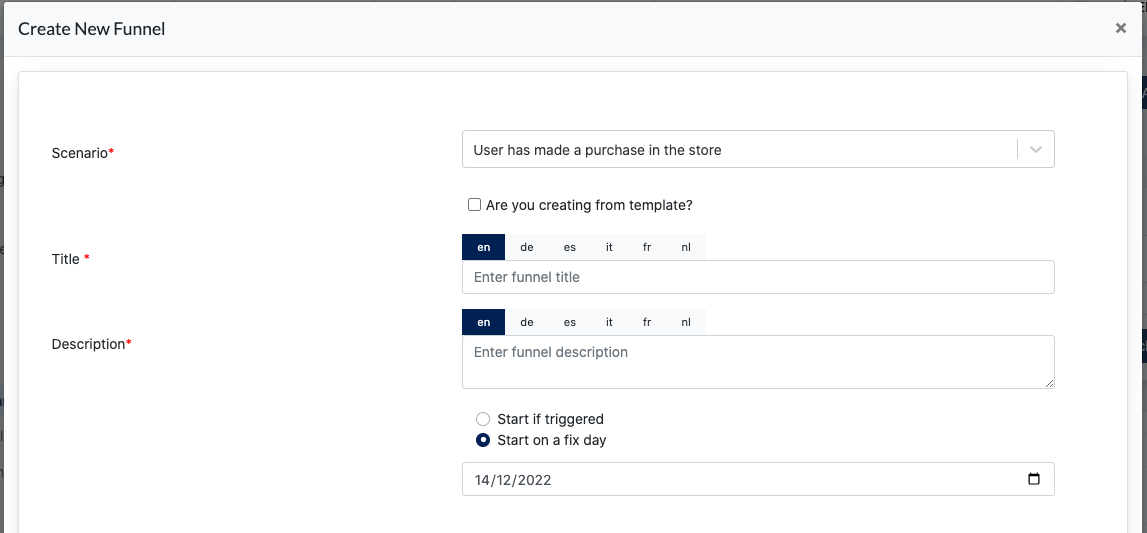
Click on "Create Funnel"
- Scenario : Choose the Scenario for your funnel
- Title : Give this funnel a title
- Description : Give this funnel a description
- Select how the funnel start sending Mailings --> Choose [ Start if triggered ] or [ Start on a fix day ]
- Stop Funnel : this feature allows configuration of ending this funnel ( Stop sending the Mailings ) when any of the funnel recipients enters another Funnel.

- Time range this funnel is active : Allow Center Admin/Client to configure a duration when this funnel is Active.
- Status : Allow Center Admin/Client to set a status for this funnel
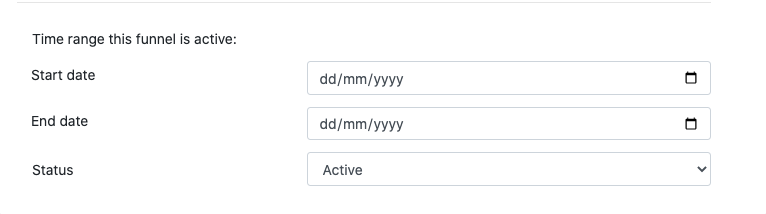
When a funnel passes the end date, the status will automatically change to“Inactive”. And mailings(under this funnel) will not be sent out after this date.
2. Creating Mailings
One funnel consists of multiple mailings. Mailing page is where Center Admin/Client creates these mailings and manage them.
Staging URL : https://cockpit-staging.proof-point-suite.com/#/dashboard/marketing-funnels/listings/mailings
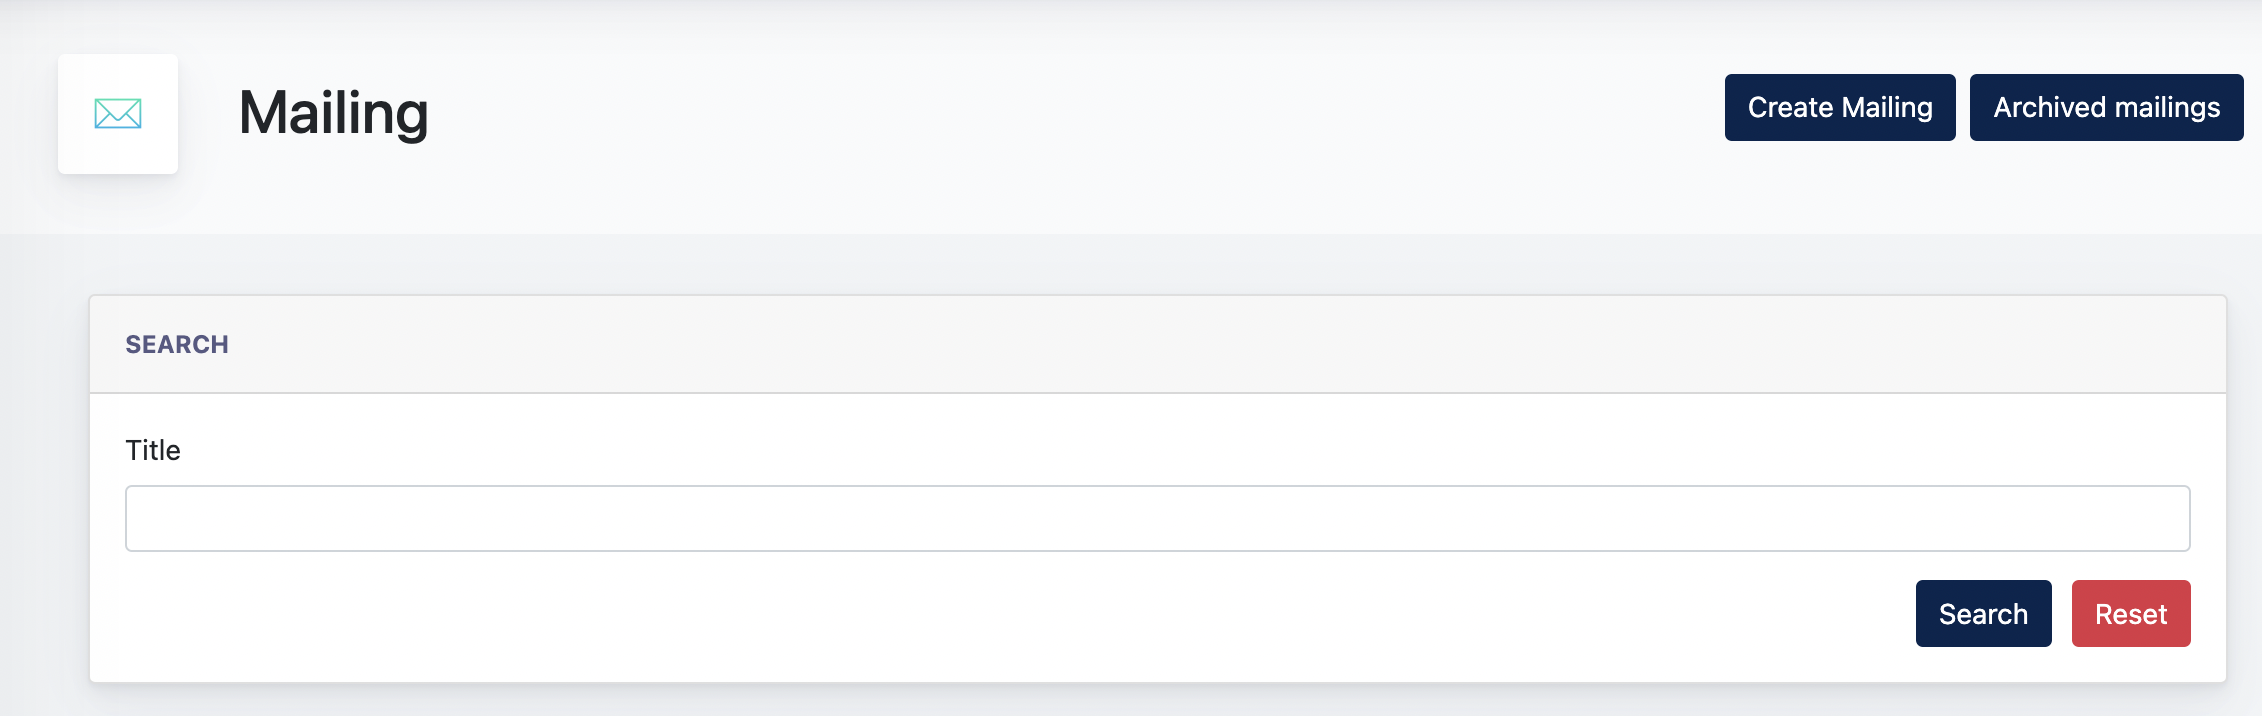
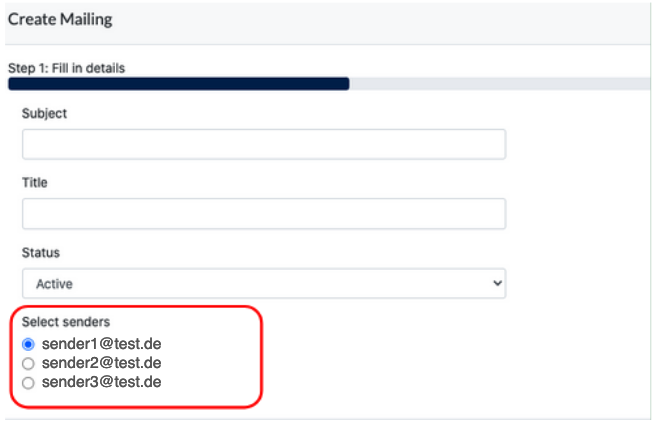
Click on 'Create Mailings'
- Subject : Set a subject for this Mailing. This is the email subject for funnel recipients.
- Title : Set a title for this Mailing.
- Status : Status configuration
- Select Senders: Select which senders are this Mailing from
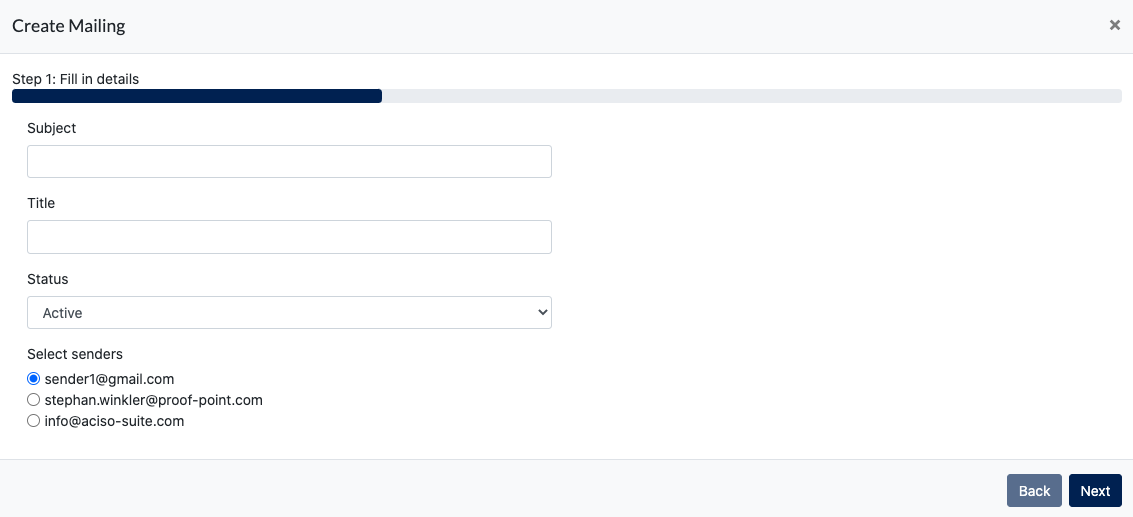
After filling the above, click 'Next' :
Here, Center Admin can choose to 'Select a template' and build the Mailings from this template, OR build from scratch.
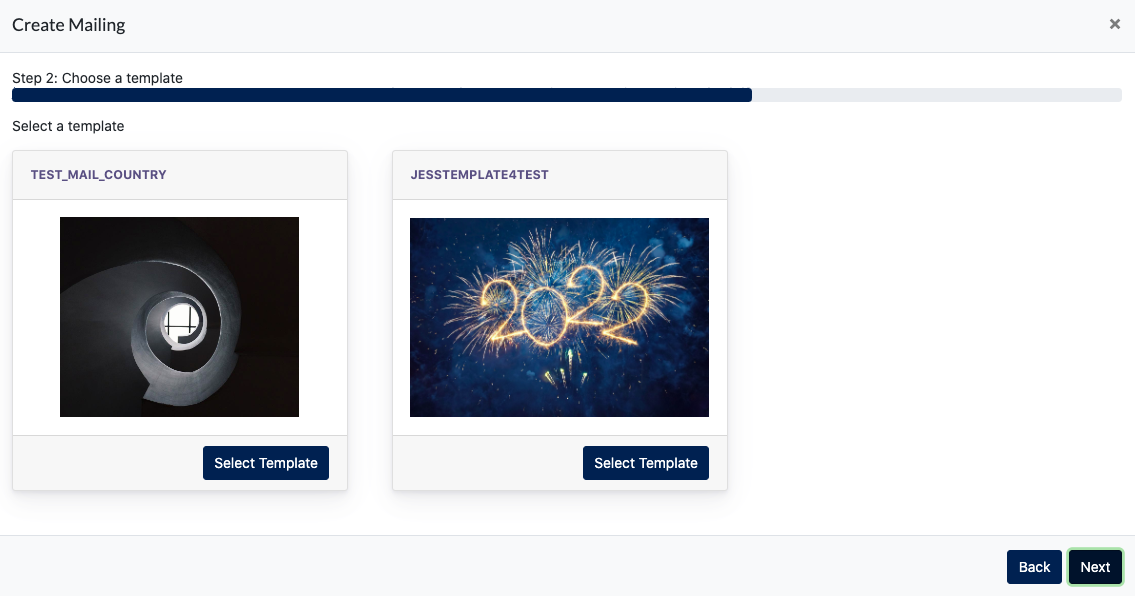
If no template is chosen, click 'Next' and Center Admin/Client will enter the next page which has the editor for creating the Mailing content.
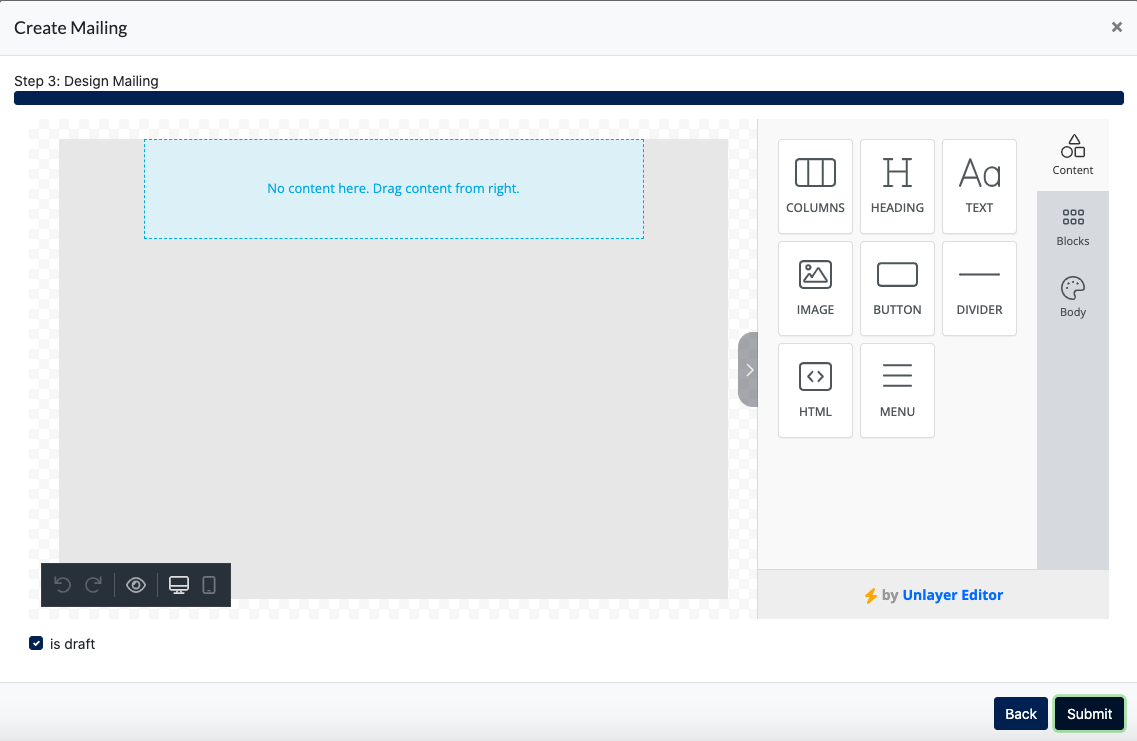
 After finished building the content, click 'Submit'
3. Assign Mailings to a funnel
Go to the Funnel Listing :
Staging URL : https://cockpit-staging.proof-point-suite.com/#/dashboard/marketing-funnels/listings/funnels
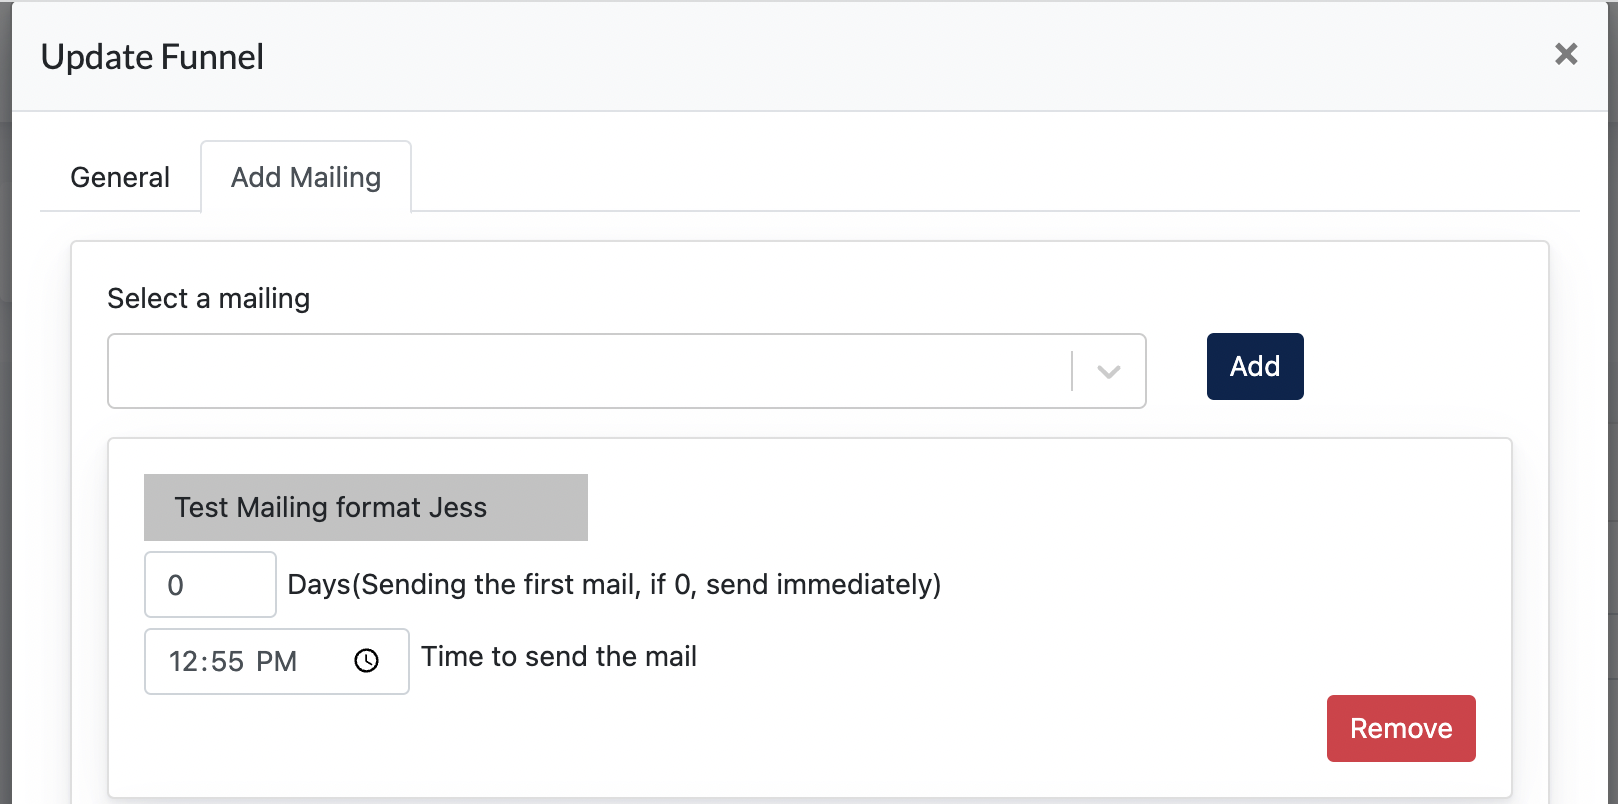
Click 'Edit', go to 'Add Mailing' tab :
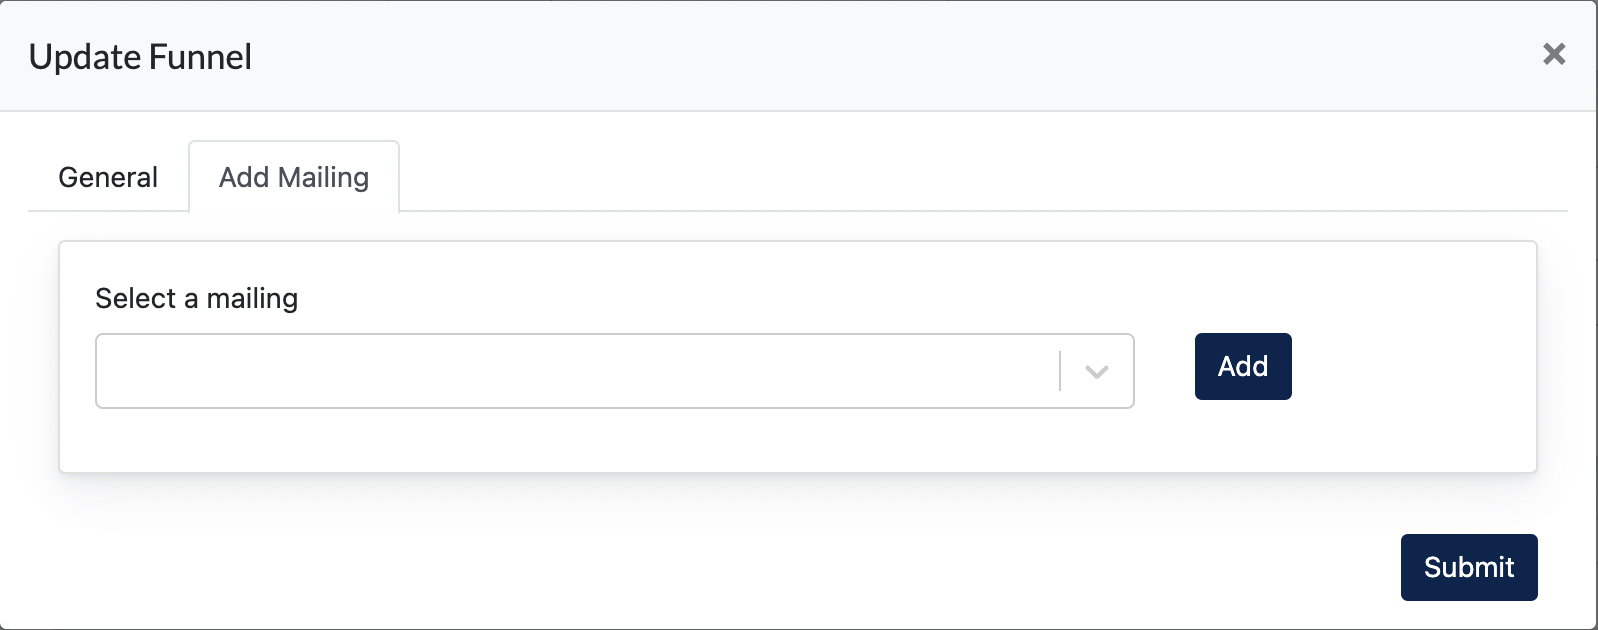
All Mailings created earlier will be shown on this dropdown menu. Select a mailing and click 'Add'.
Here, Center Admin can set the Mailing frequency, same as the steps HERE :.
3.1 Setting the frequency of the mailings
There are a few configuration here :[ x ] day (sending the first mail) → for this, if no value is added, then the first mail will be sent out immediately after triggered by scenario orsent on the Date configured.As for the secound mail or the rest of mailing, we can set the mail to send out [ x ] days after the previous mail is sent.Example, if the value keyed in is [3] days, then the secound email is sent out three days after the first email.
Time to send the mail → this is to configure what time you like the mail to be sent. By default, this is set at 8am based on your local computer time.
Note: the time here follows the setting of your computer time
4. Funnel Recipients
4.1 Active Recipients
AllA usersuser who performis added to a certainfunnel actionis onknown the webpage that matches the scenario, and will receive mailings from the funnel…these users are Funnel Recipients.
Once a user enters a funnel, they will becomeas { Active Recipients ]}.

4.2 Blacklist Recipients
Blacklist Recipients here are sync from Newsletter blacklist recipients.
If a user is blacklisted,blacklisted on newsletter, it has towill be displayedblacklisted hereunder Funnel as well, and this user will not receive any mailings from the Clients.Client.
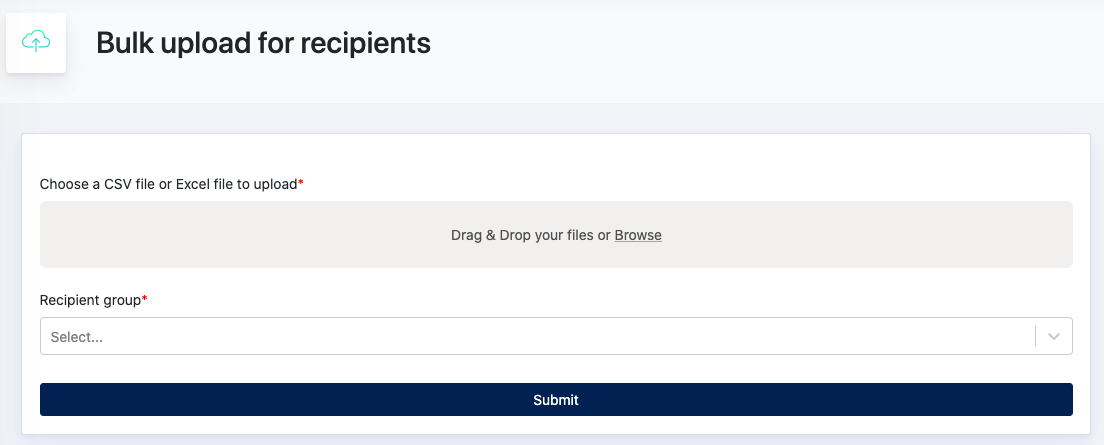
4.3 Upload Bulk Recipients
This is where Users can bulk upload Recipients into existing funnels. Once a recipient is added to the funnel, then he/she will start receiving the mailings.
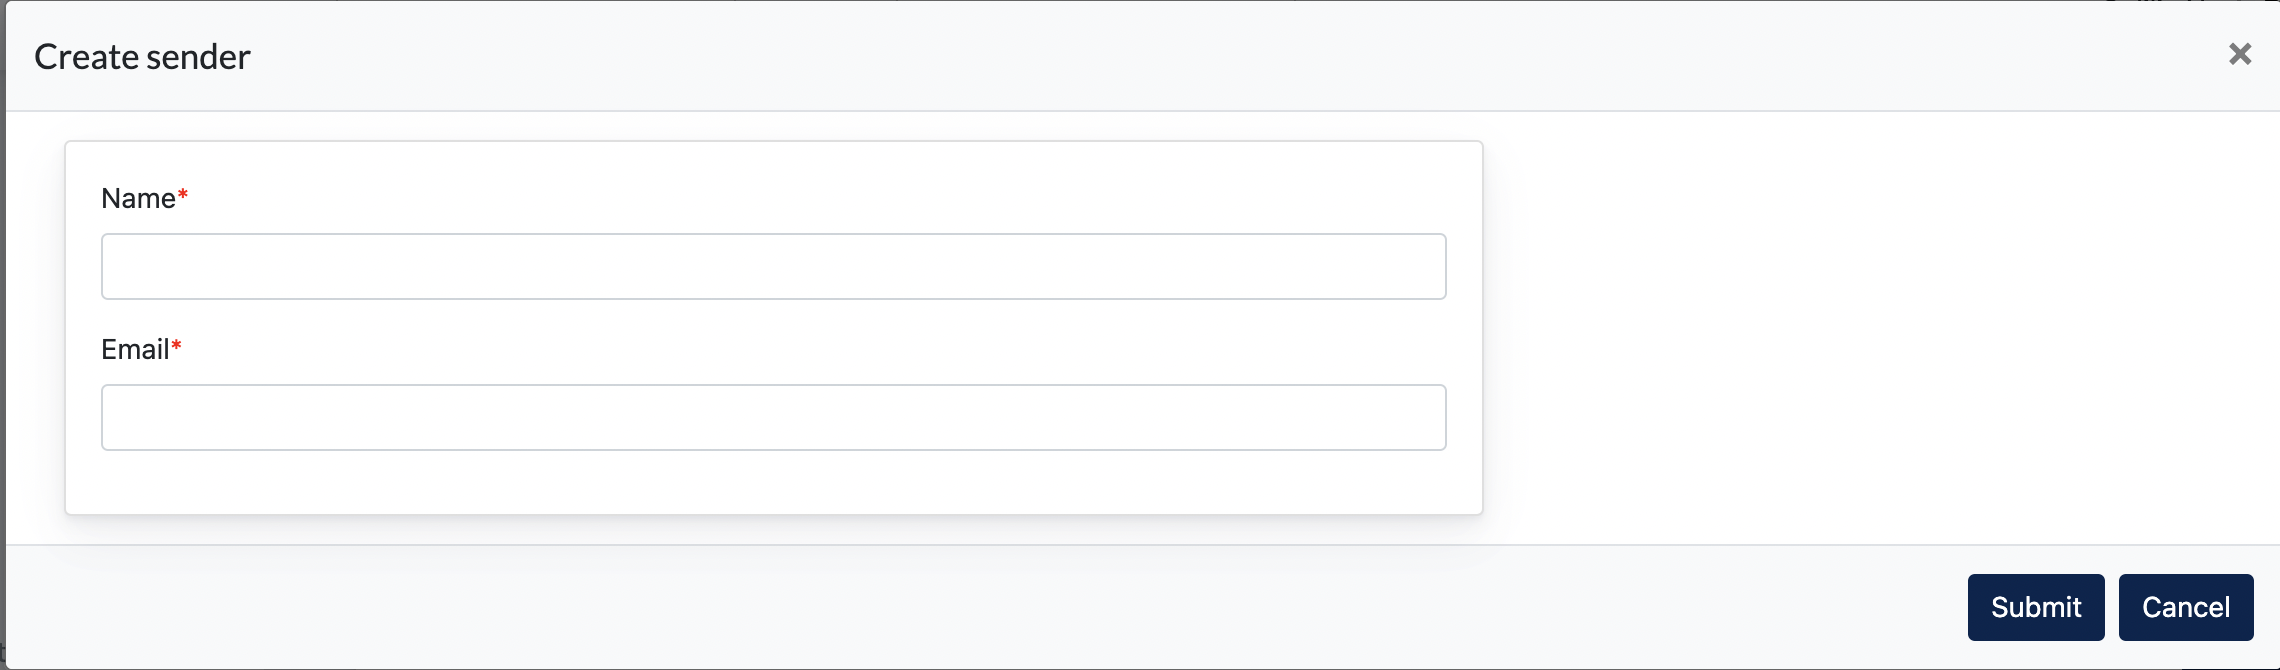
5. Creating Senders
On this page, Center Admin/Client can creates 'Senders Email' , which is mandatory data during Mailing Creation process.
ThisExample pagescreenshot allows you to add senders toof the funnelsMailing →Creation where you can configure during STEP 1 of Creating Mailing (screenshot below) :
>> Sender - the email address that is sending the mailing
Staging URL : https://cockpit-staging.proof-point-suite.com/#/dashboard/marketing-funnels/sender
Click "Create Sender". Fill in the fields and click 'Submit'.
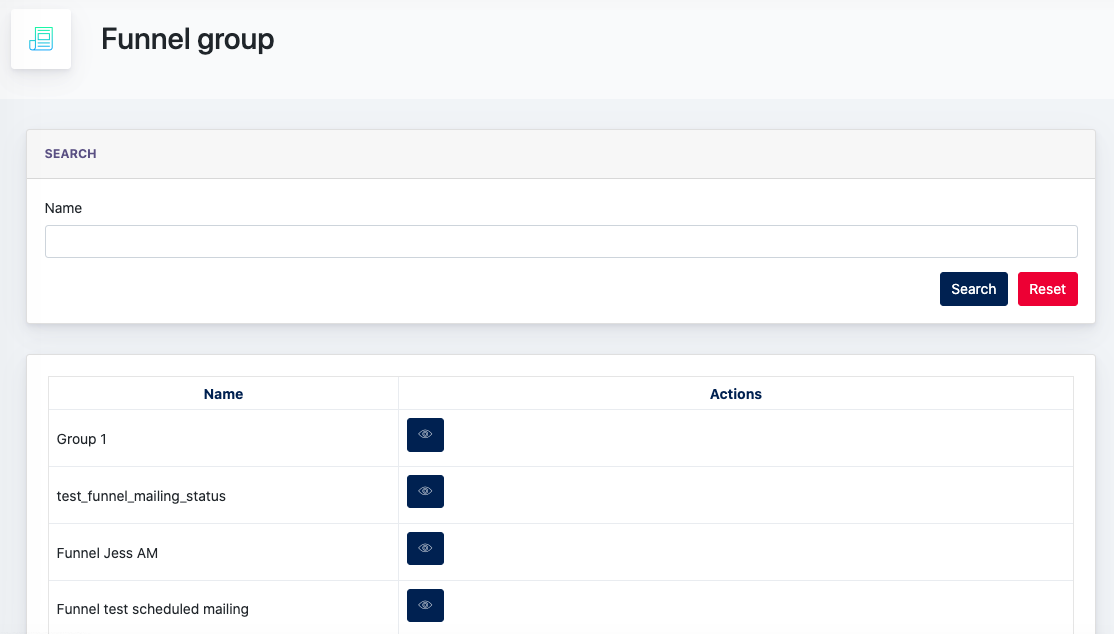
6. Group
A 'Funnel Group' will be created when a 'Funnel' is created.
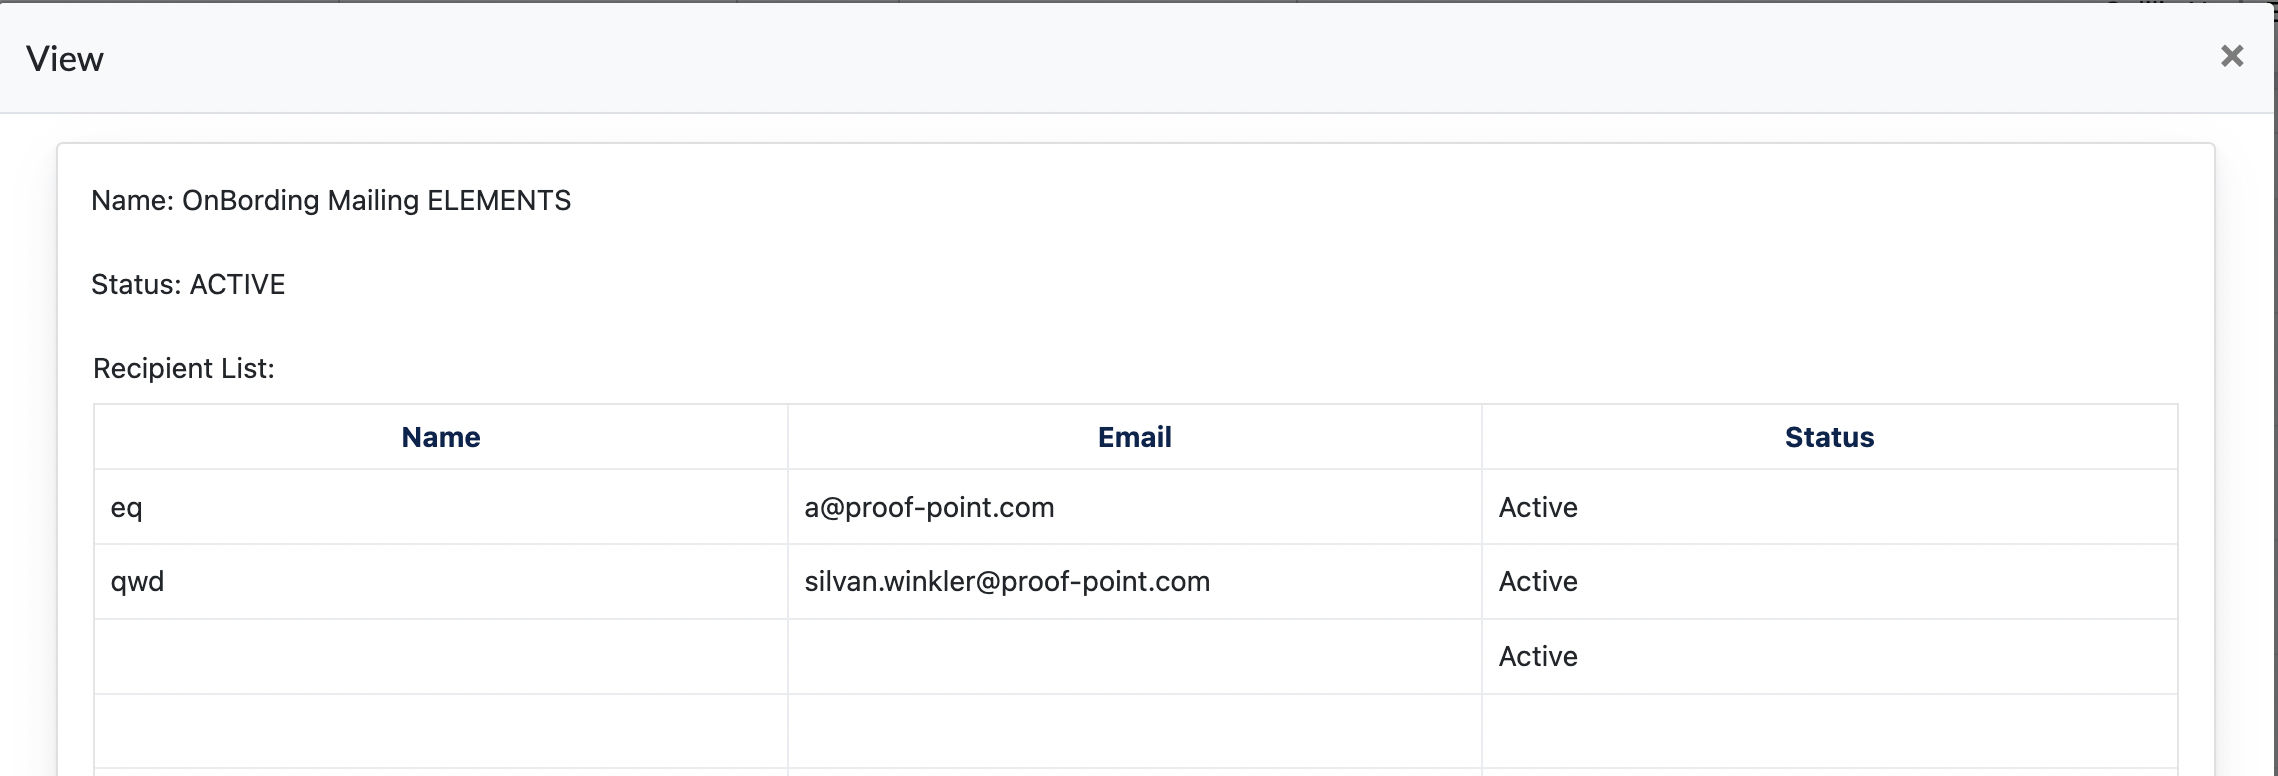
ThisOn isthe wherelisting, youit canwill display all the funnels created by Center Admin/Client. Click on the 'View' buttons to view theActive fullRecipients listingadded ofonto funnelsthis created,Funnel together with the recipients within that group.Group.
7. How to configureConfigure Marketing Funnels with different scenario types
Platform: Cockpit
7.1Webform Scenario B:
Scenario : User Fill in a Web Form
This is the only scenario available in our system. Below are Steps on how to assign a webform to Funnel modules, so that when a visitor fill in and submit the webform, this user is added to a Funnel.
WorkflowStep
:by
- Create
Funnela Create MailingsAdd MailingsWebformAboveThis3webformaremustexplainedhavefromanpage'Email7Texttofield'page 12
CreateConfigureathewebWebformform:- Go to 'Marketing Funnel' tab
OnSelect thewebfunnelformwhichthereyou'vearecreated3earlier
thingsyou need to configure :
5.1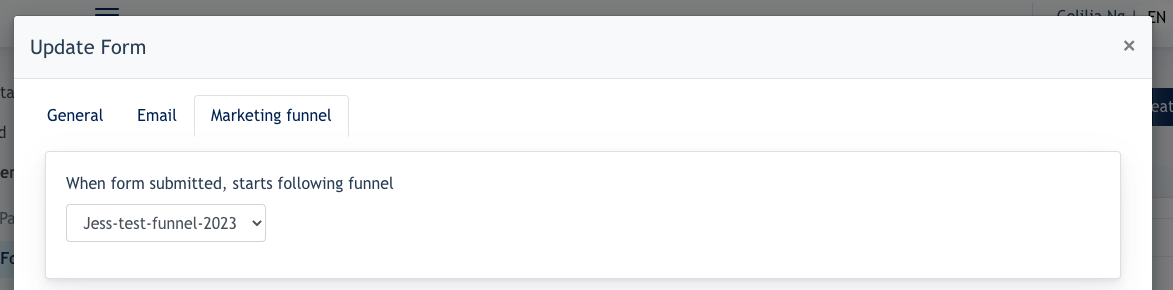
-
funnel- Go
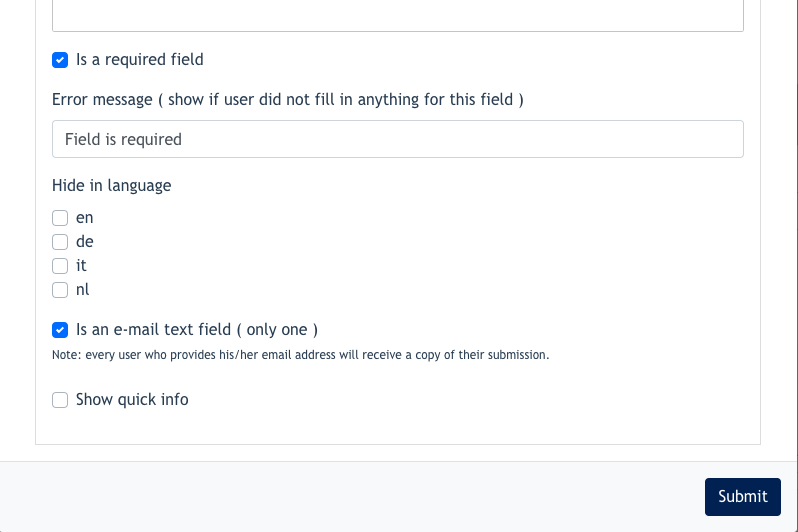
be triggered when a user fills in this web form on any pages ofto thesite, or landing page.5.2 Add'Email TextfieldField'ascreatedoneearlier,of the elementsand
setsset it as arequired'Requiredfieldfield' - Create a checkbox. The function of the checkbox is providing users an option to give approval for Clients to add them into the Funnel.
will - Go
An example of the checkbox are like below :

User’semail- Checkbox Configuration : It is mandatory
fortothechecksystem, if this web form is set as"Is a marketing funnelformcheckbox" so that this webform, after it is assigned to a Funnel, the checkbox allows user to provide approval and allow their email to be added to the funnel.
- Checkbox Configuration : It is mandatory

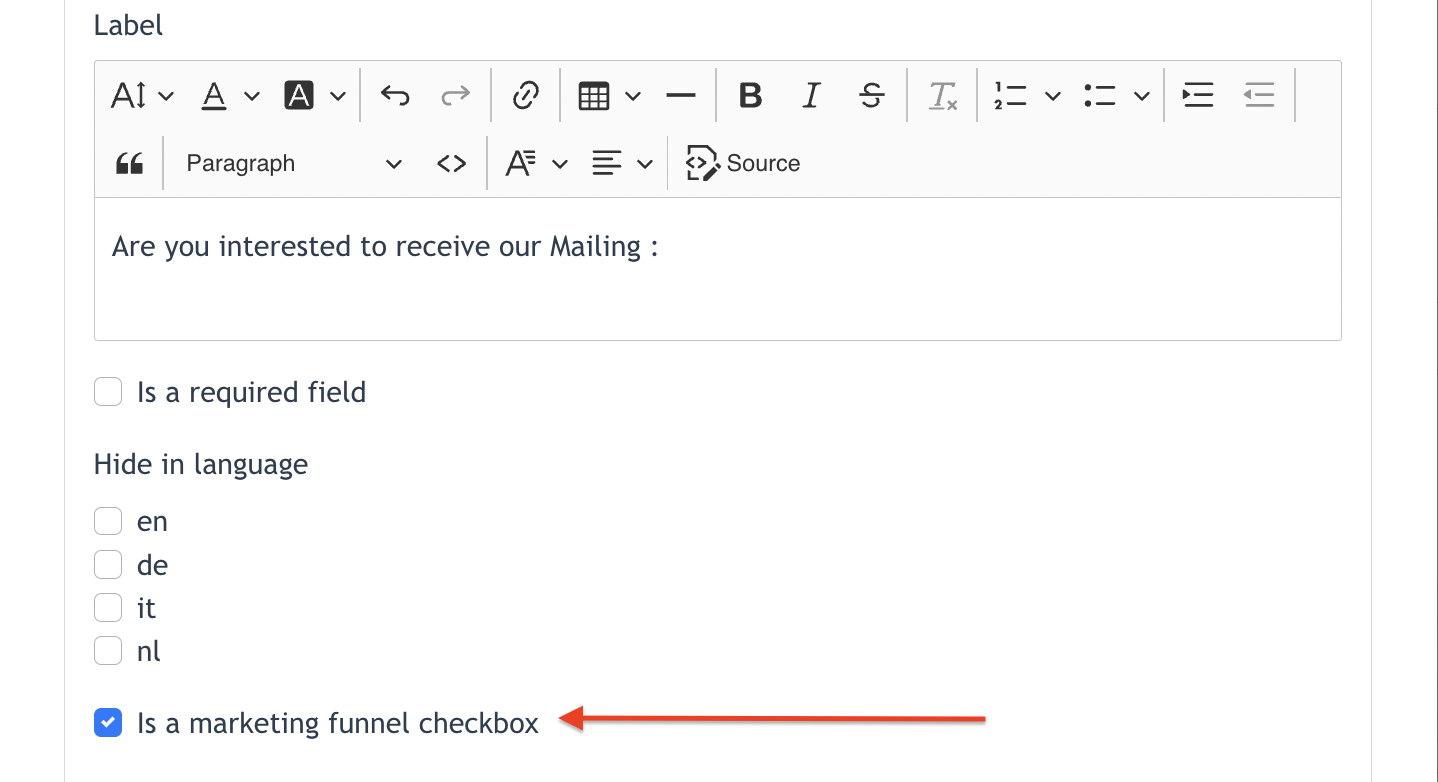
5.3 Create a checkbox element, and set this element as [ marketing funnel checkbox ]
Checkbox is required in this form, as to allow the user to tick this checkbox and allows the system to trigger funnel mailing and send them out to the email provided in this form.
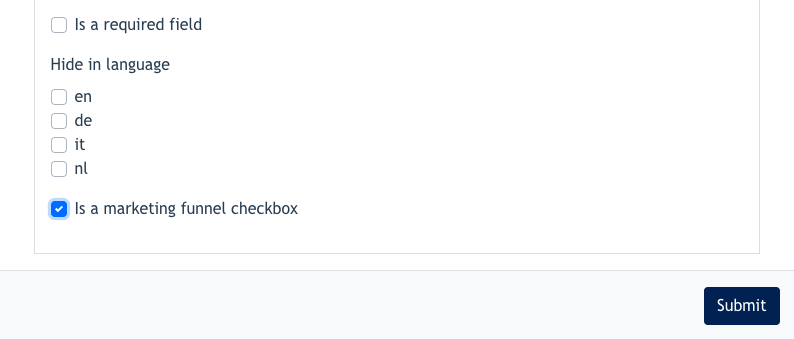
Example of the checkbox :