How to create Site News
[ Site Panel : News
1.3 Building / Editing News Content 7
This] feature allows the Userusers to configure news tocontent appeardisplayed on theirthe website.
Any client that subscribe conida website, will have news within the site modules. [ News ] is apart of the system pagepage, (auto-generated smartonce pagea ), whichwebsite is built-inready. . All the User needs to do is just to add news and it will be displayed / published accordingly based on their configuration.
TheNews newsconsists doof includethe twofollowing systemURL smart pages: :
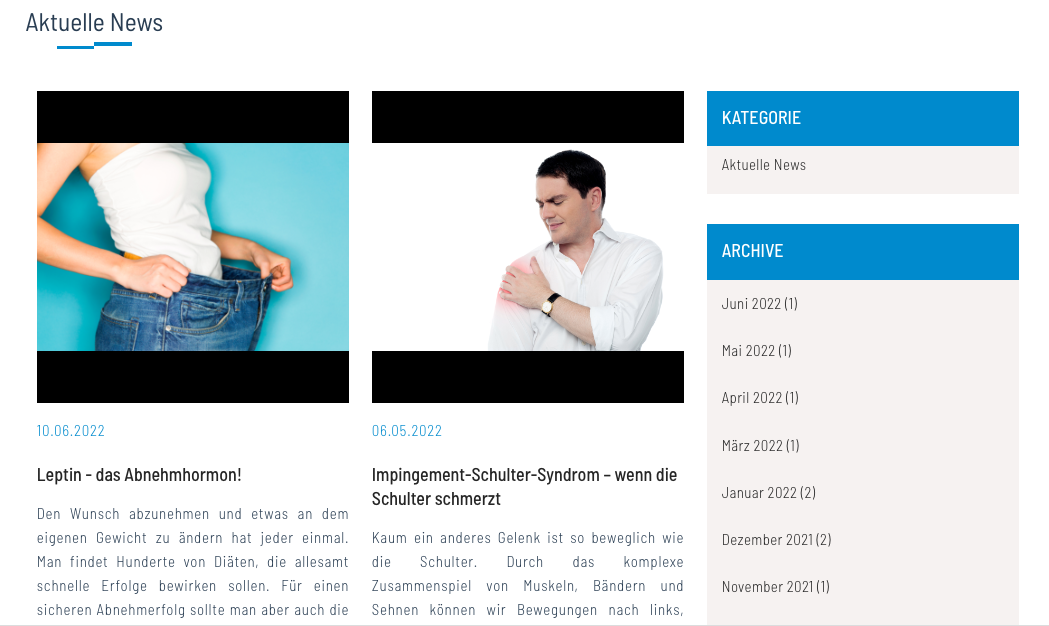
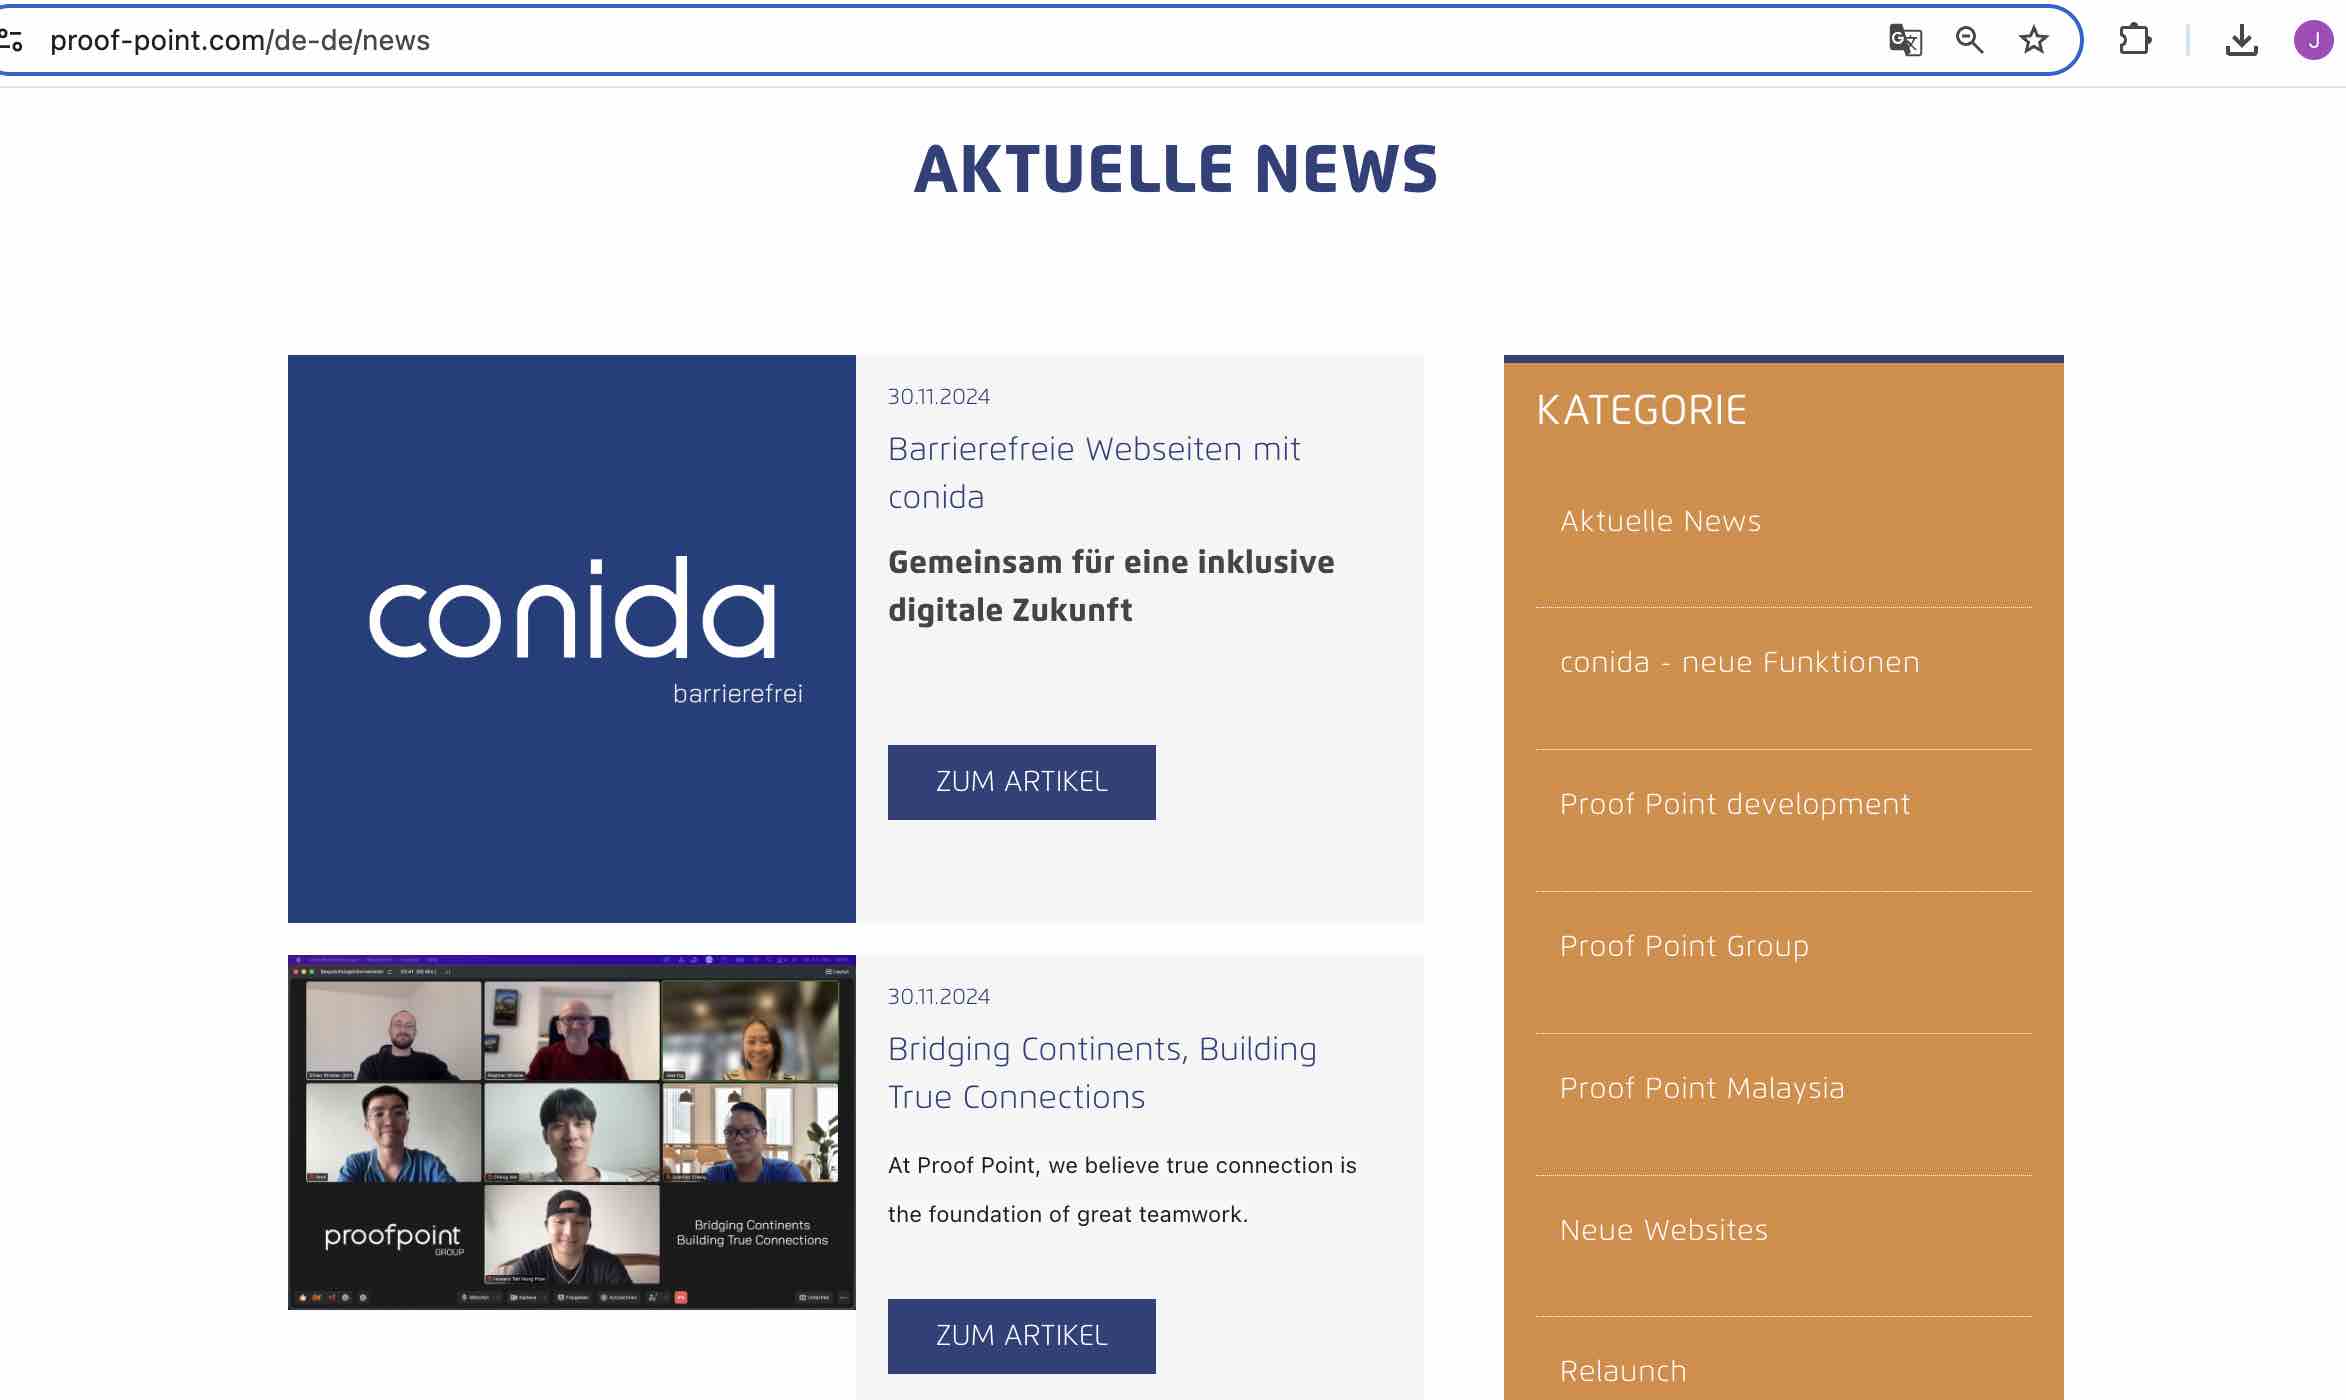
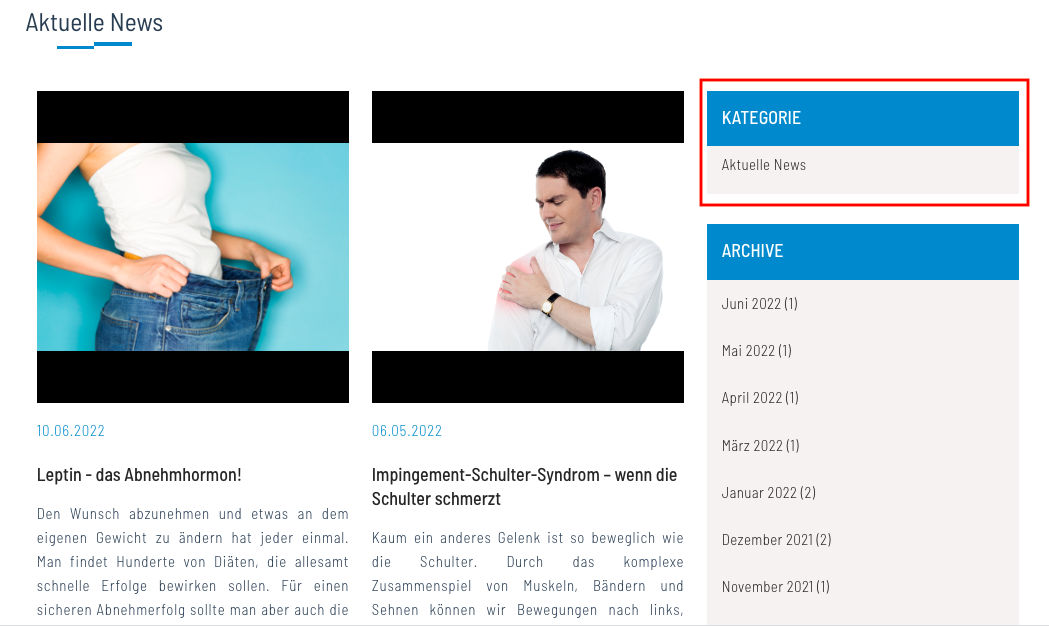
- /news - this is the overall news page
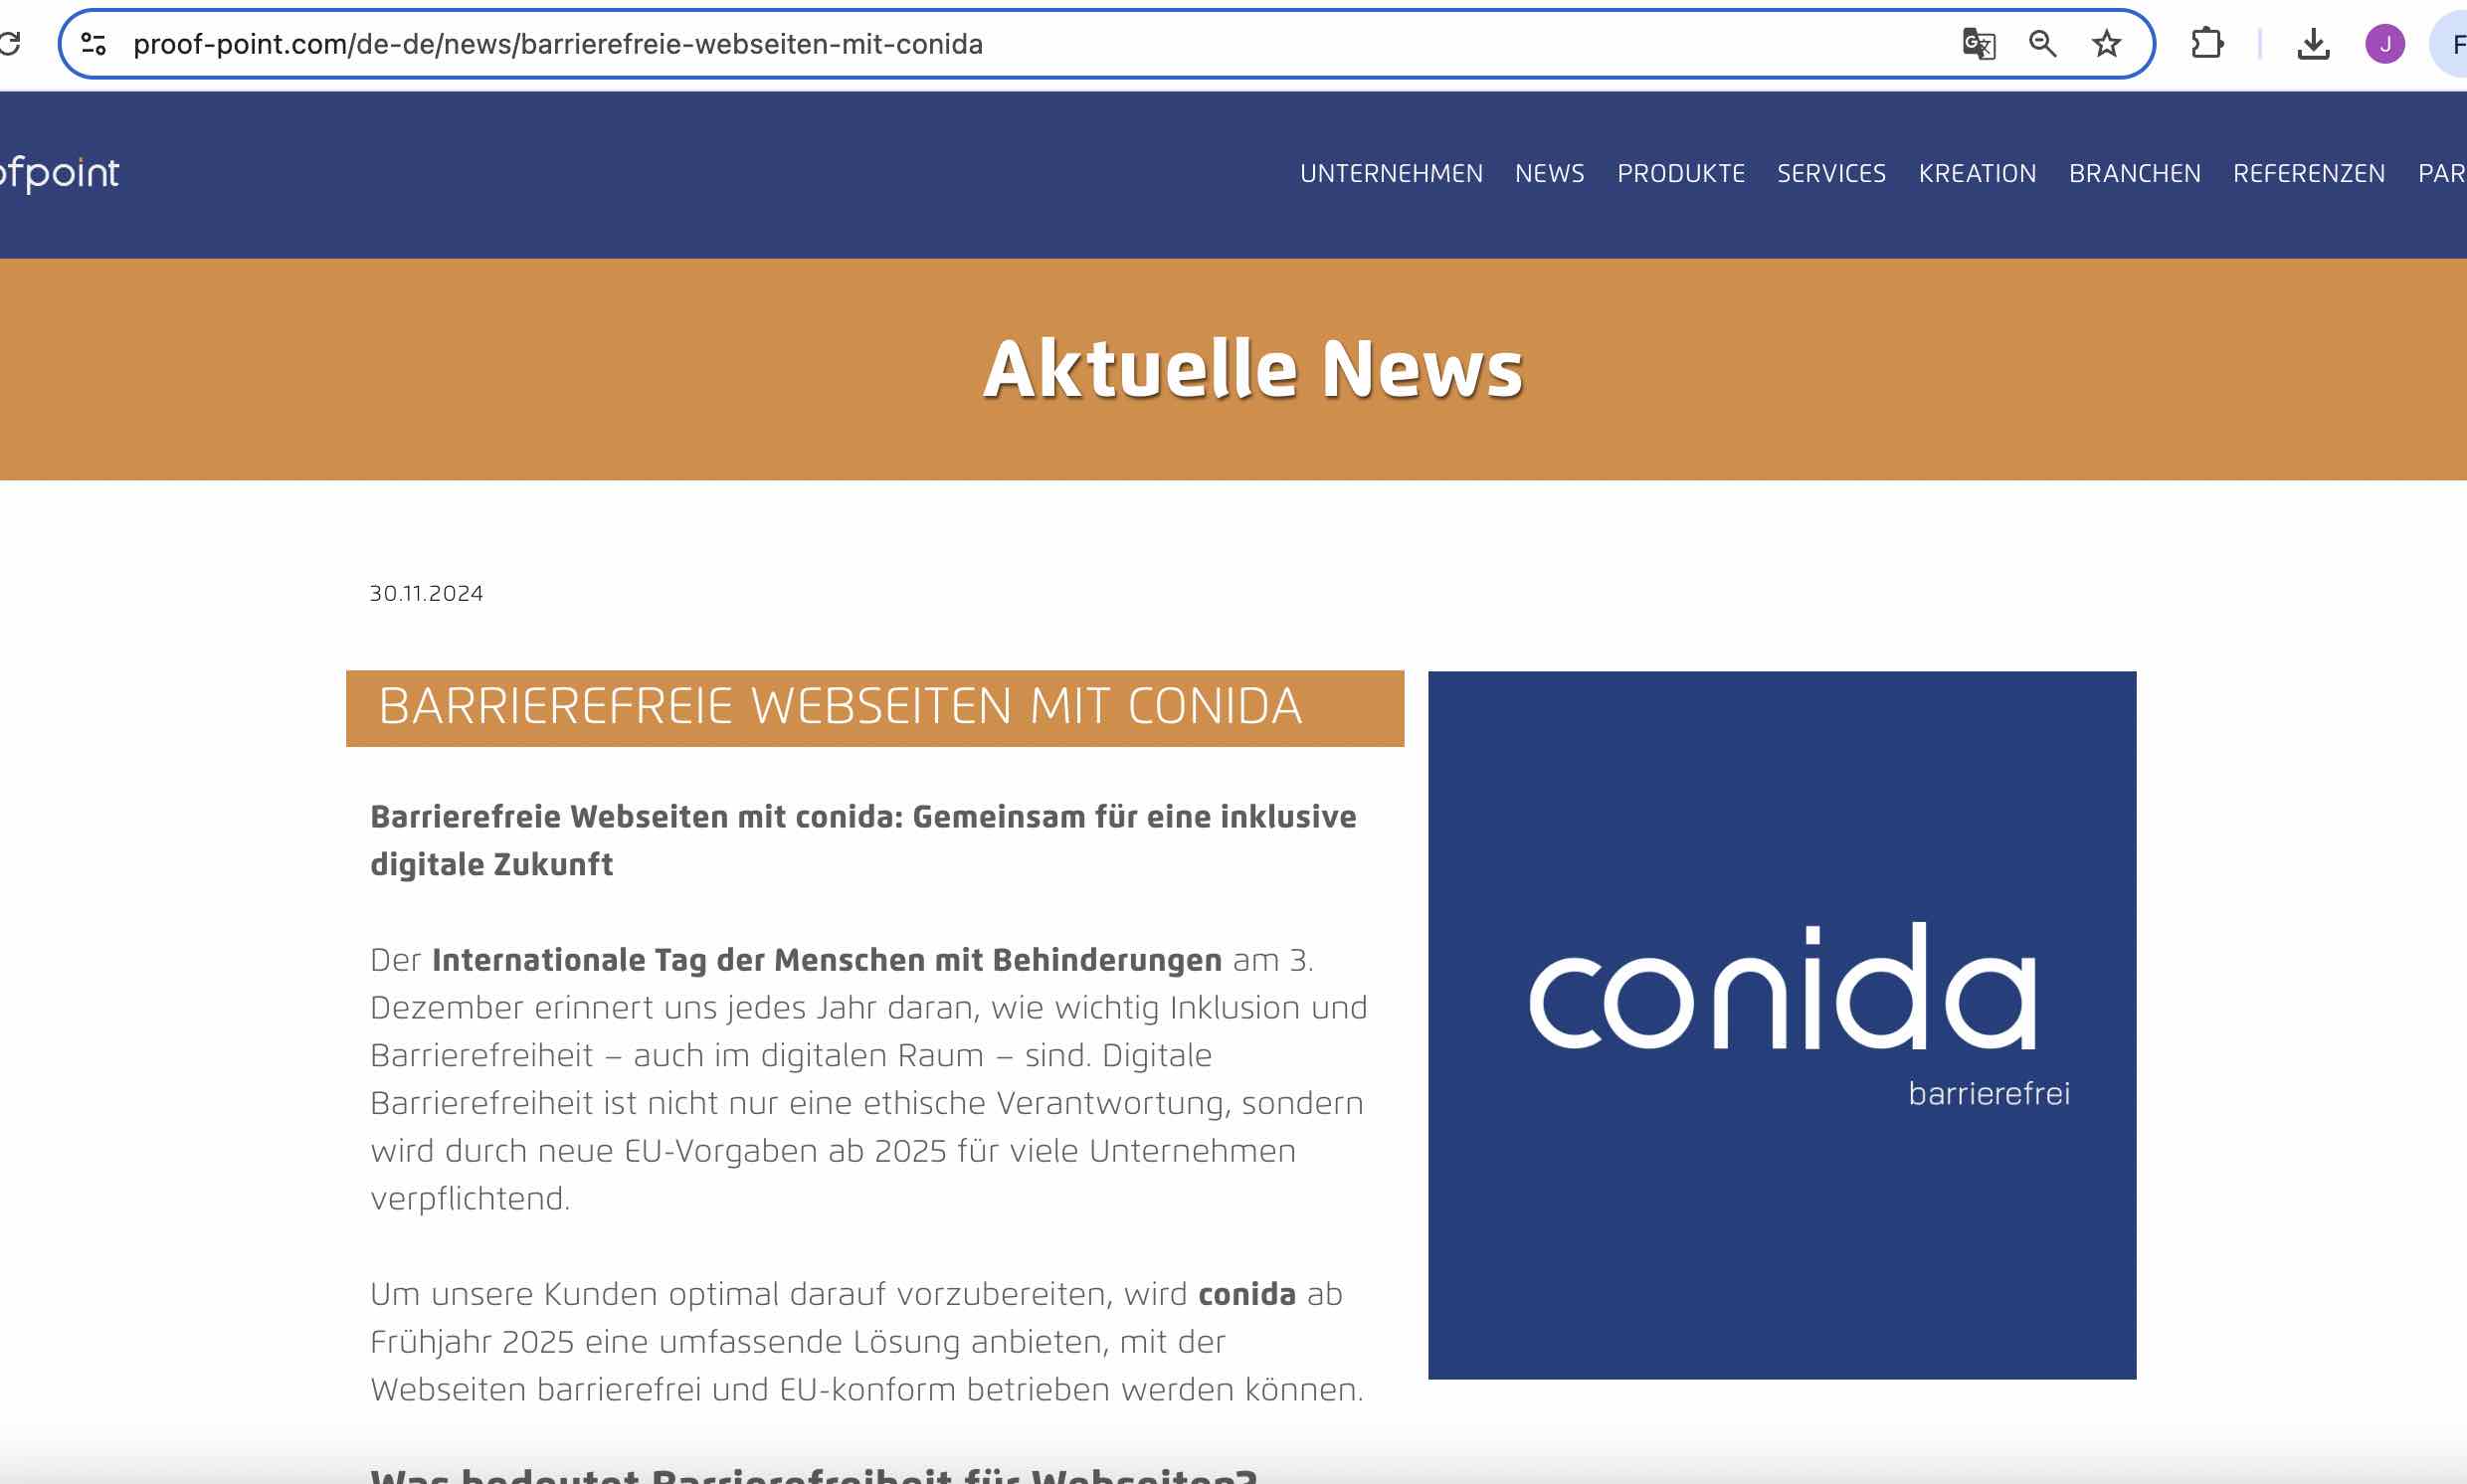
- /news/:id - this is the individual news page, with its own slug created by the User
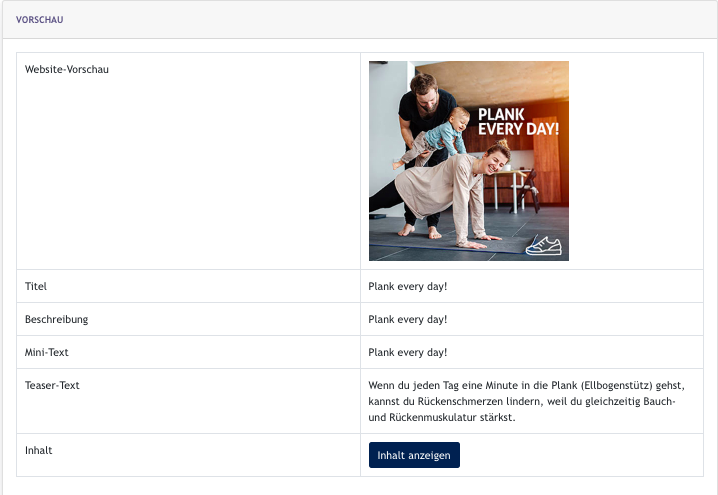
NewsAn templateexample onof Site/news Panel.page:
An example of /news/:id page
On Site
AllNews:- Content Service
create & configure news content & publishing date - Categories
:create newscategories - Setting
:link your news to Facebook
1.1 All News
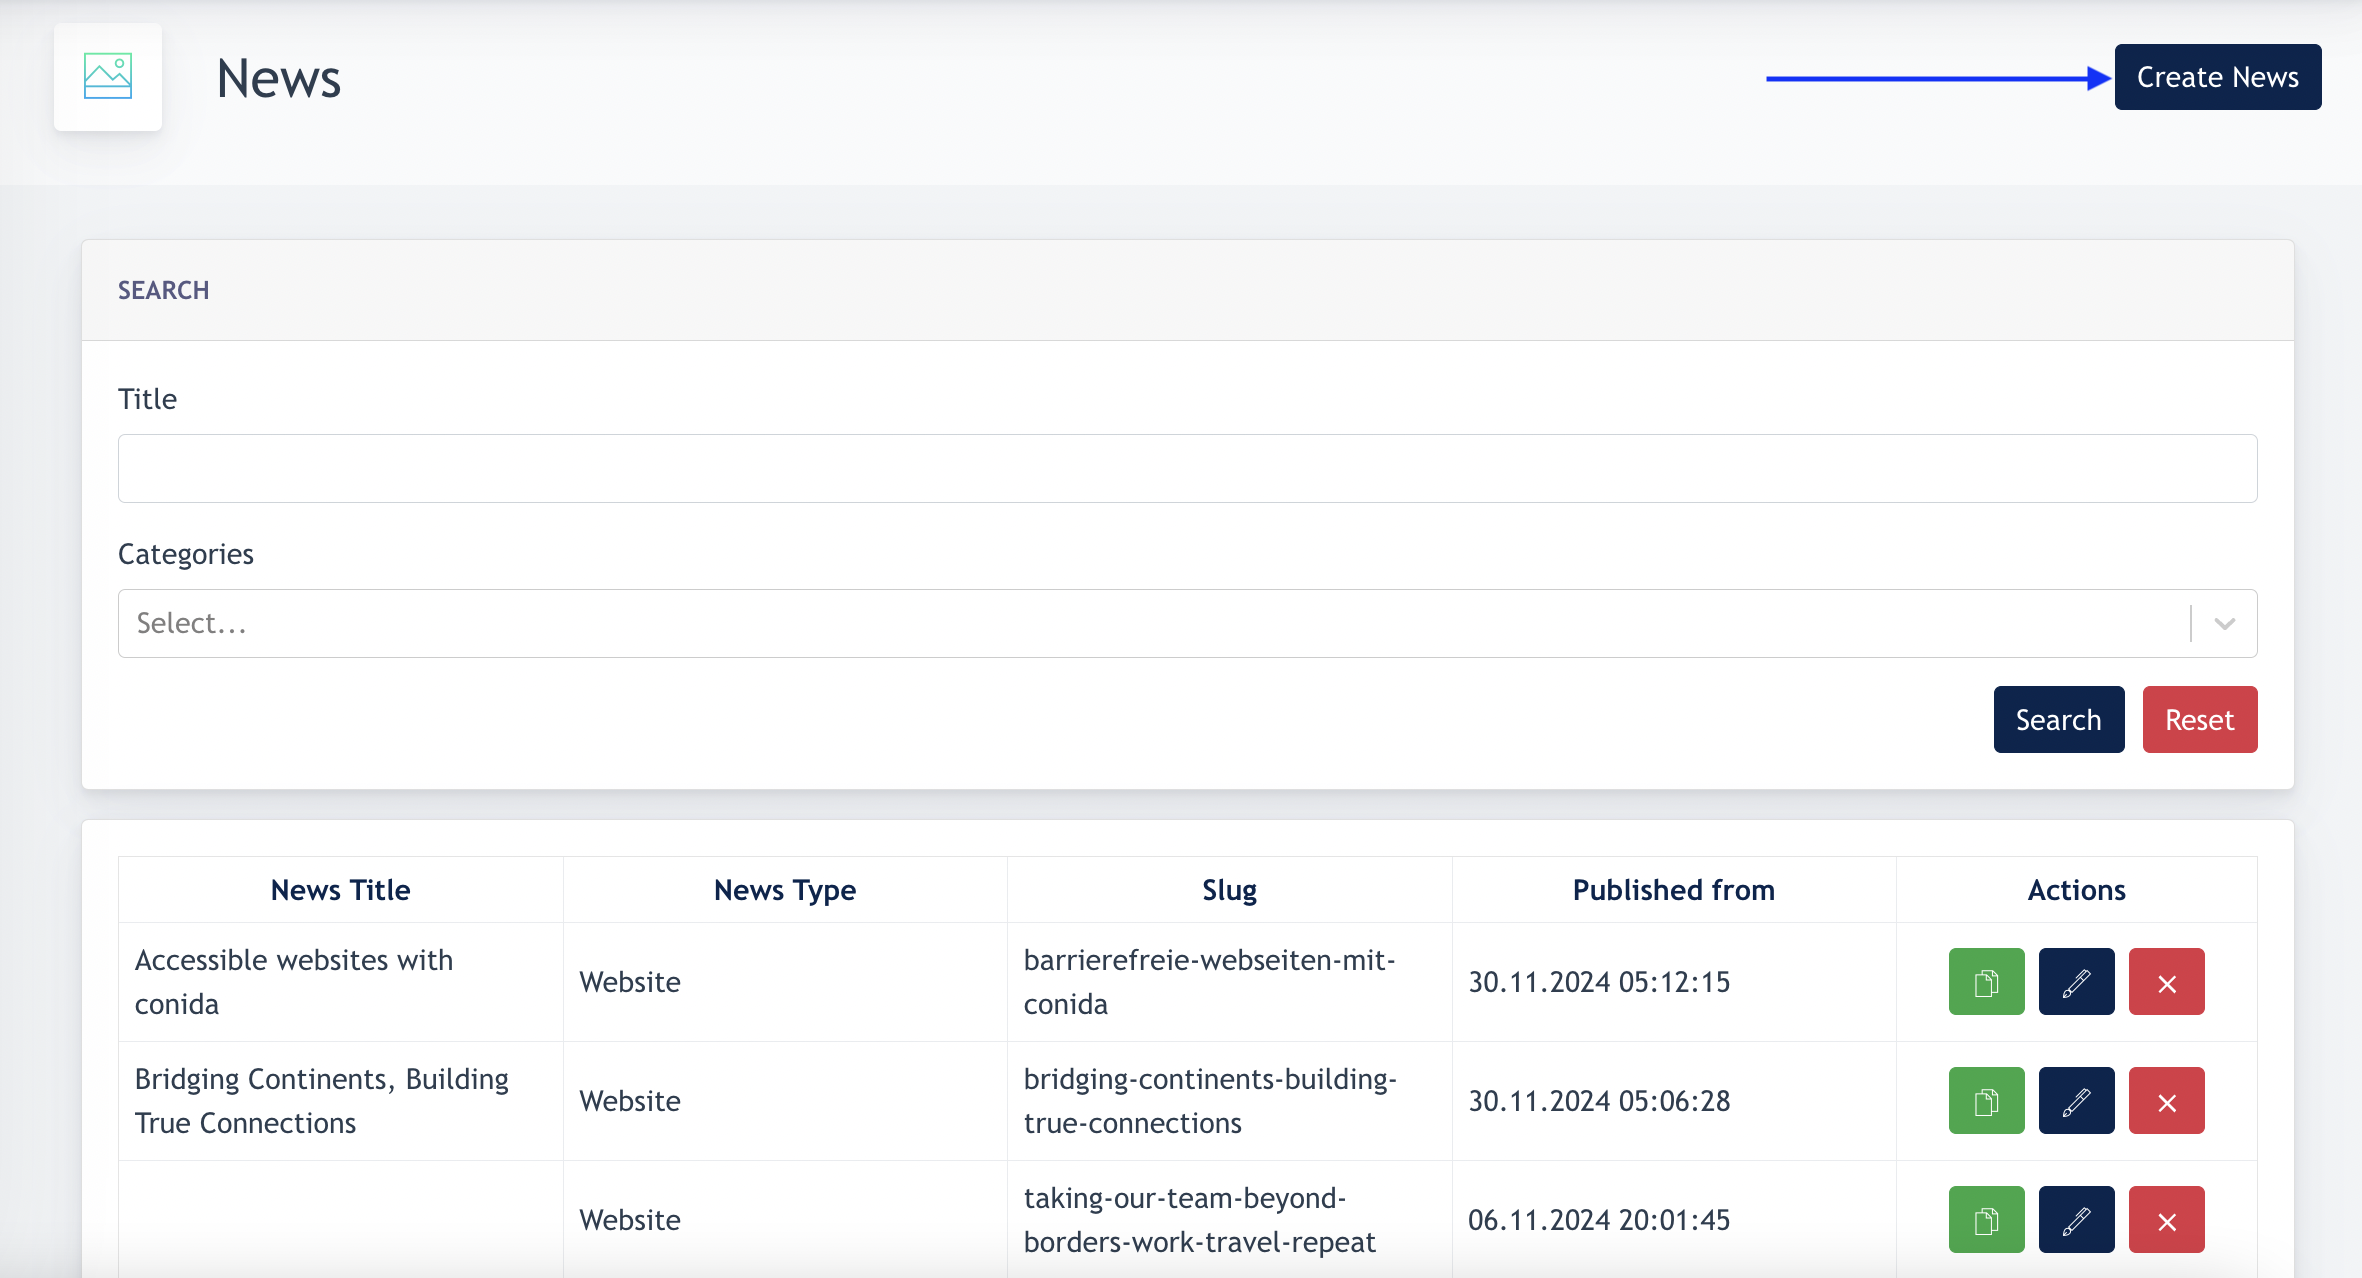
HereClick on the [ News ] and you will findcome to the newsNews listing.Listing Onpage. the list, you can have a first glance of which news type (website/facebook), slug, publish date, and edit button for your news.
If you wish toTo create a news, simply click on [ createCreate newsNews ] button.

1.2 Create News
Important note:Remarks: Categories are mandatory for news creation. Make sure Categories are created before creating news.
1.1 Create News from Scratch
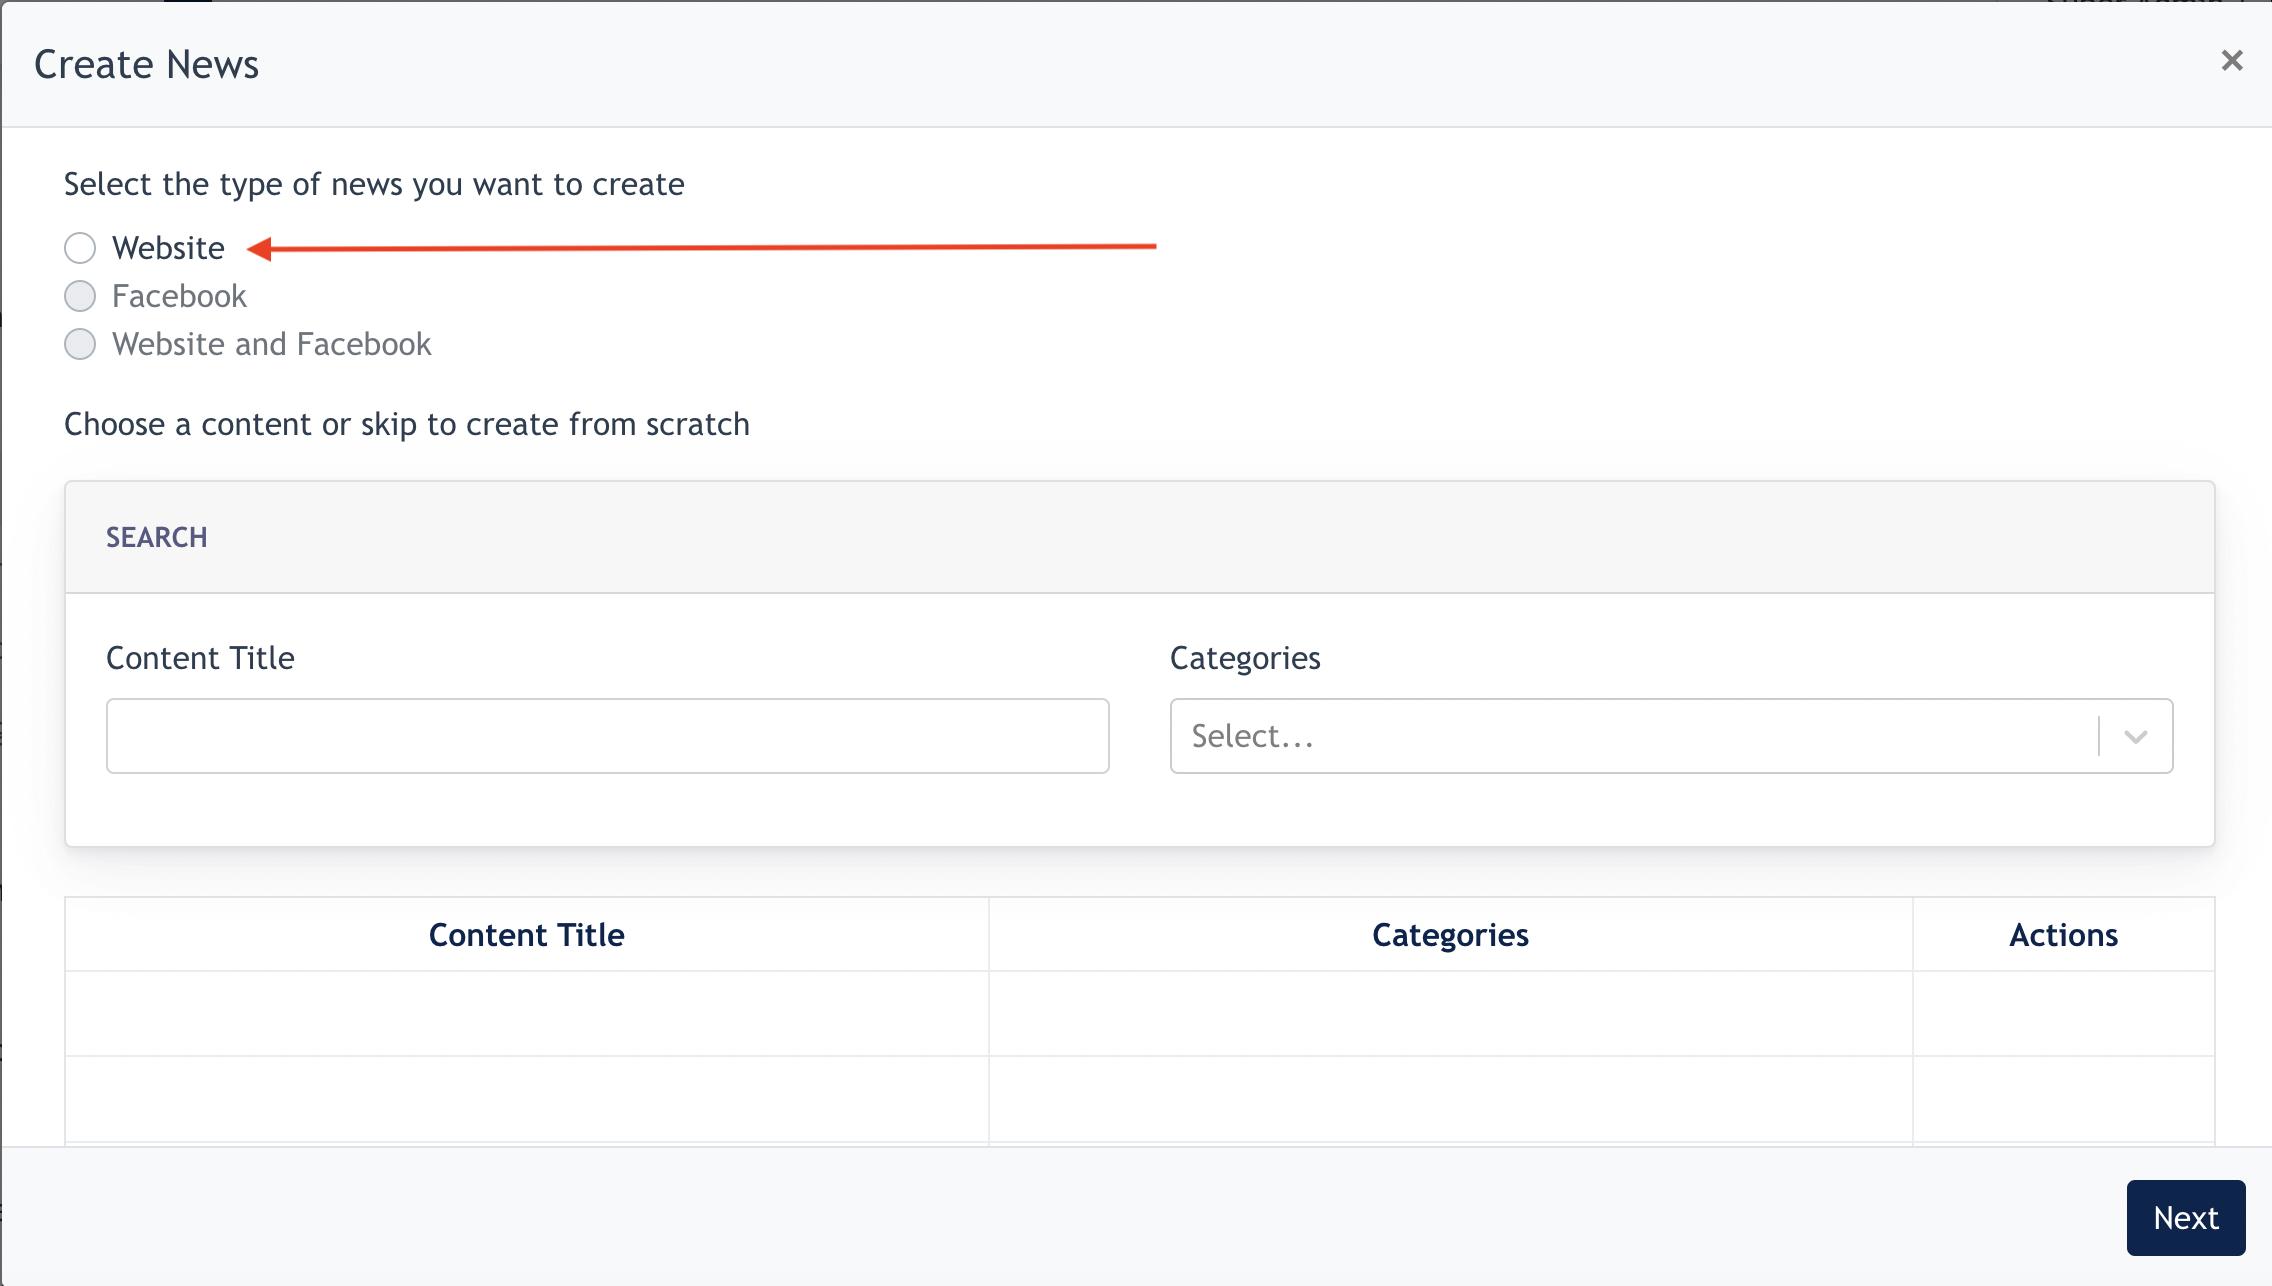
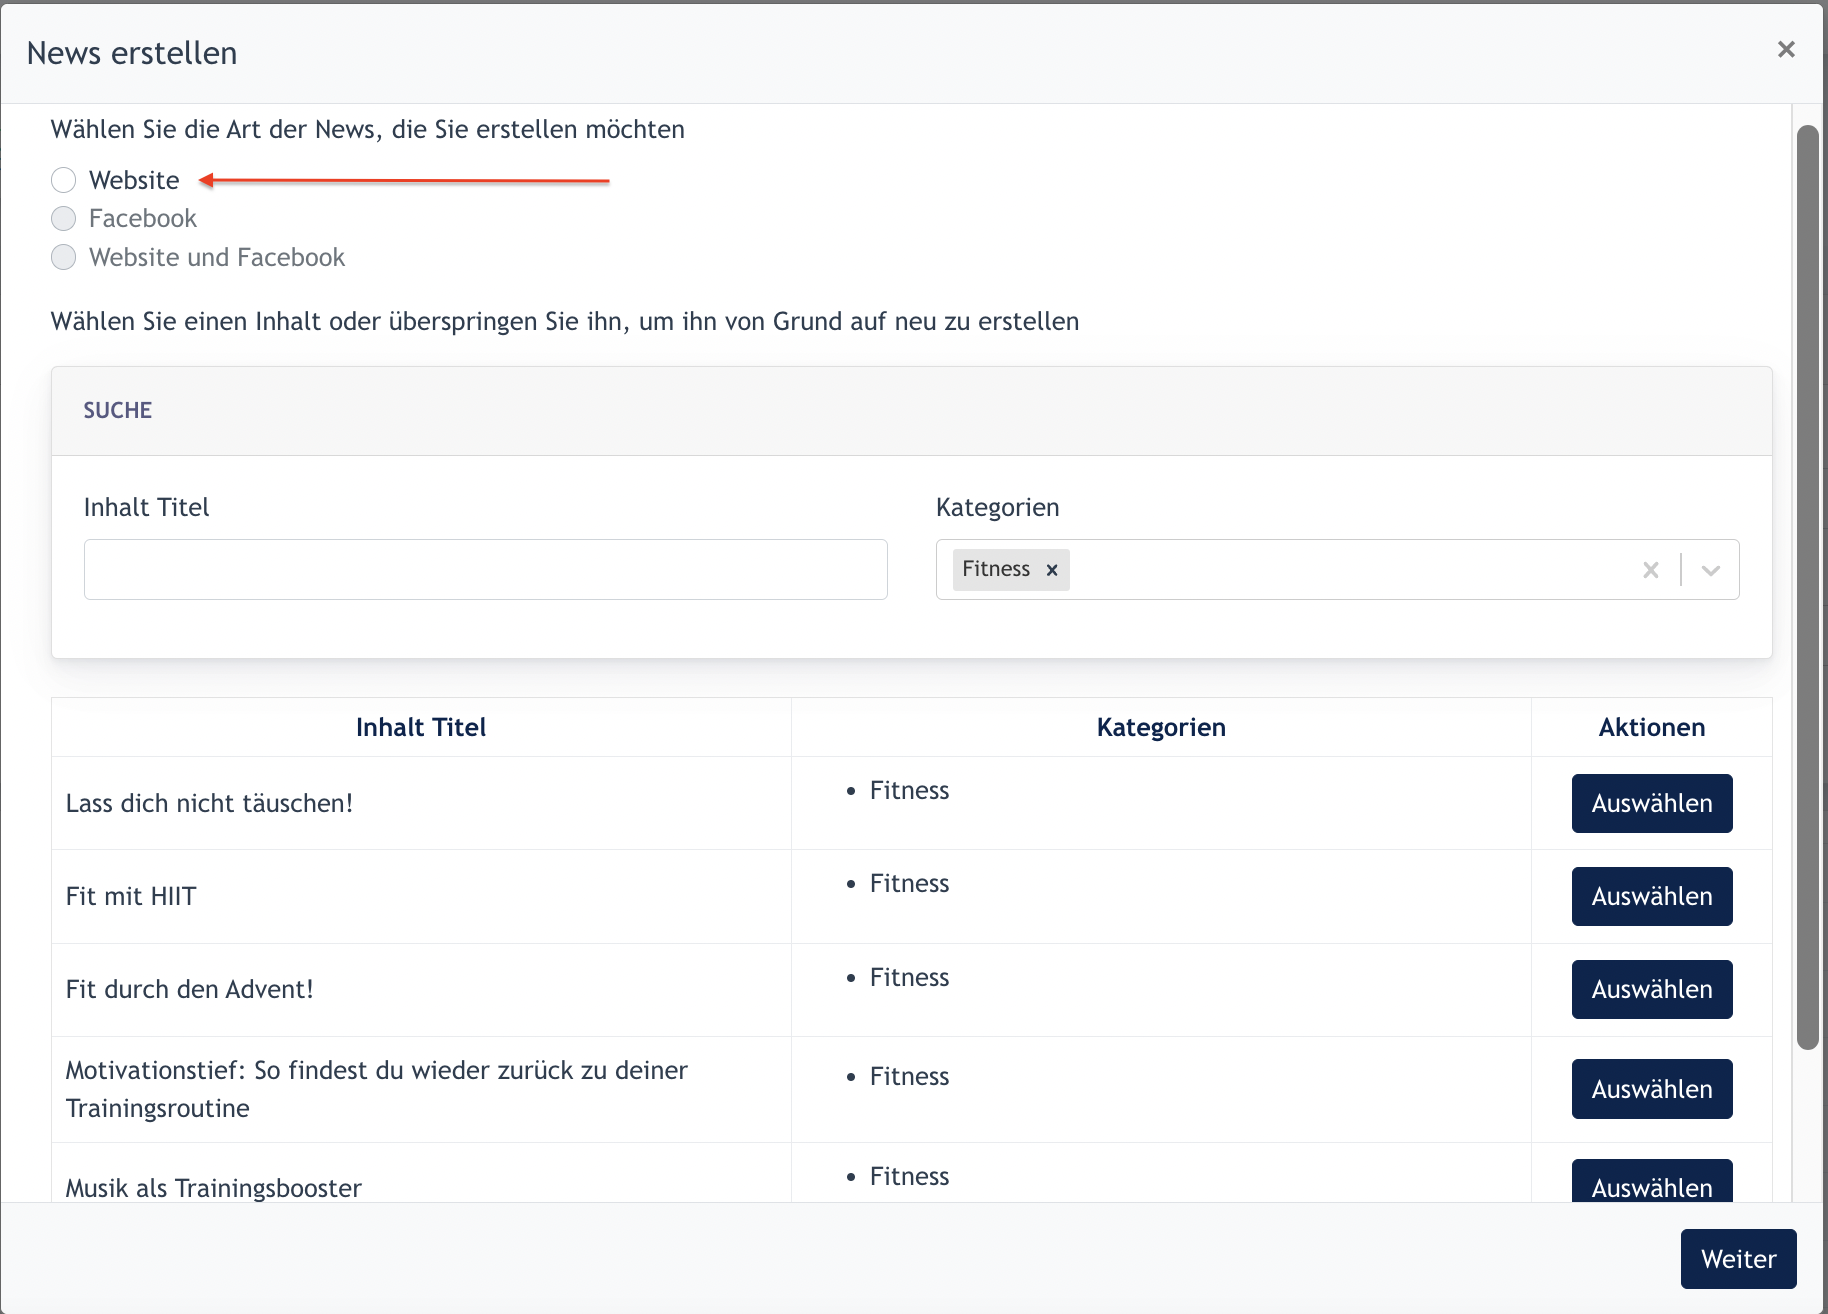
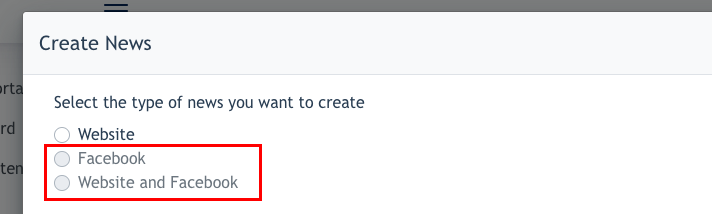
You"Website" decideand click "Next" if thiswe news is created for the website, facebook or both.
Additional Info :
Website news are displayed under www.url.com/news and Facebook news are news that are published to Facebook. The system needs the user needs to link their Facebook profile via Admin Panel > News > Setting
After that, you decide to create news from existing templates ( Content Service ) OR create from scratch ( just click next )
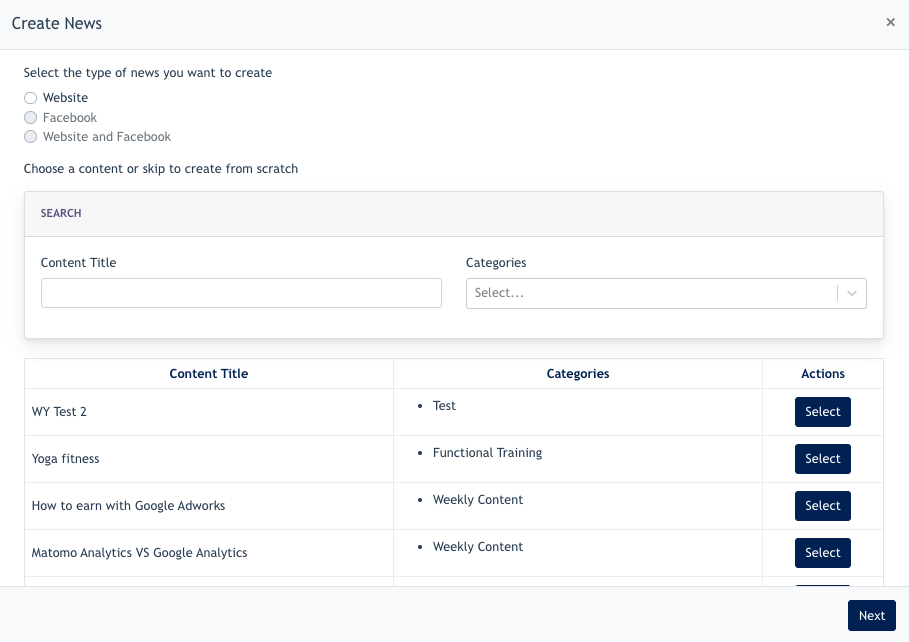
To create from the content service, you may search via Category, or Title, and a preview will be shown underneath ( you need to scroll down on the same modal )
Example screenshot
Step 1 : Select a content
Step 2 : check out the preview. May click on the [ view content ] button to see the full page of the content with layout.
Whether you choose a Content OR click next, you will come to the next page.
If you have chosen to create news based on a Content, the content will appear here. You have the choice to edit or publish as it is. If you have chosenwant to create from scratch, you come to this form where you can build your news.scratch.
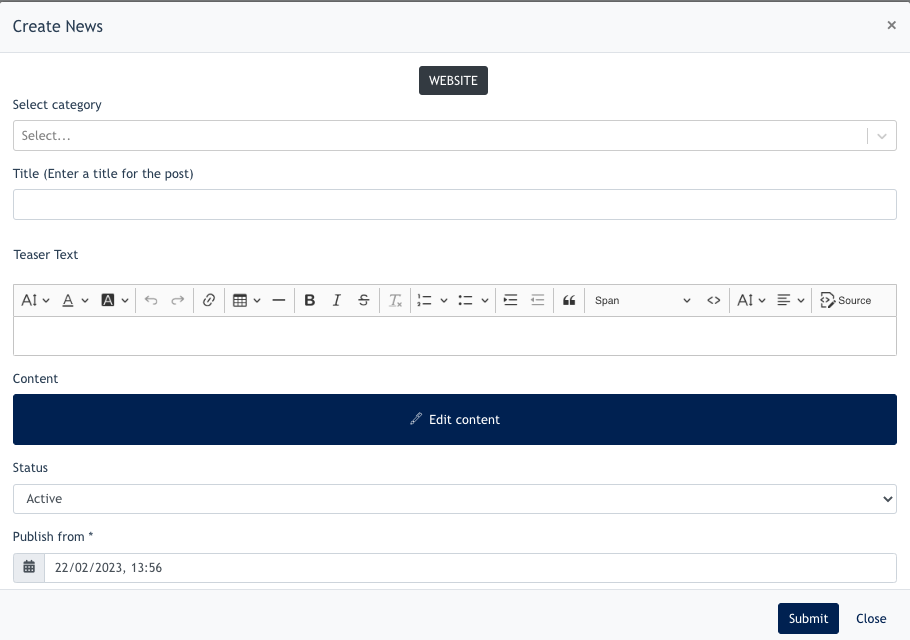
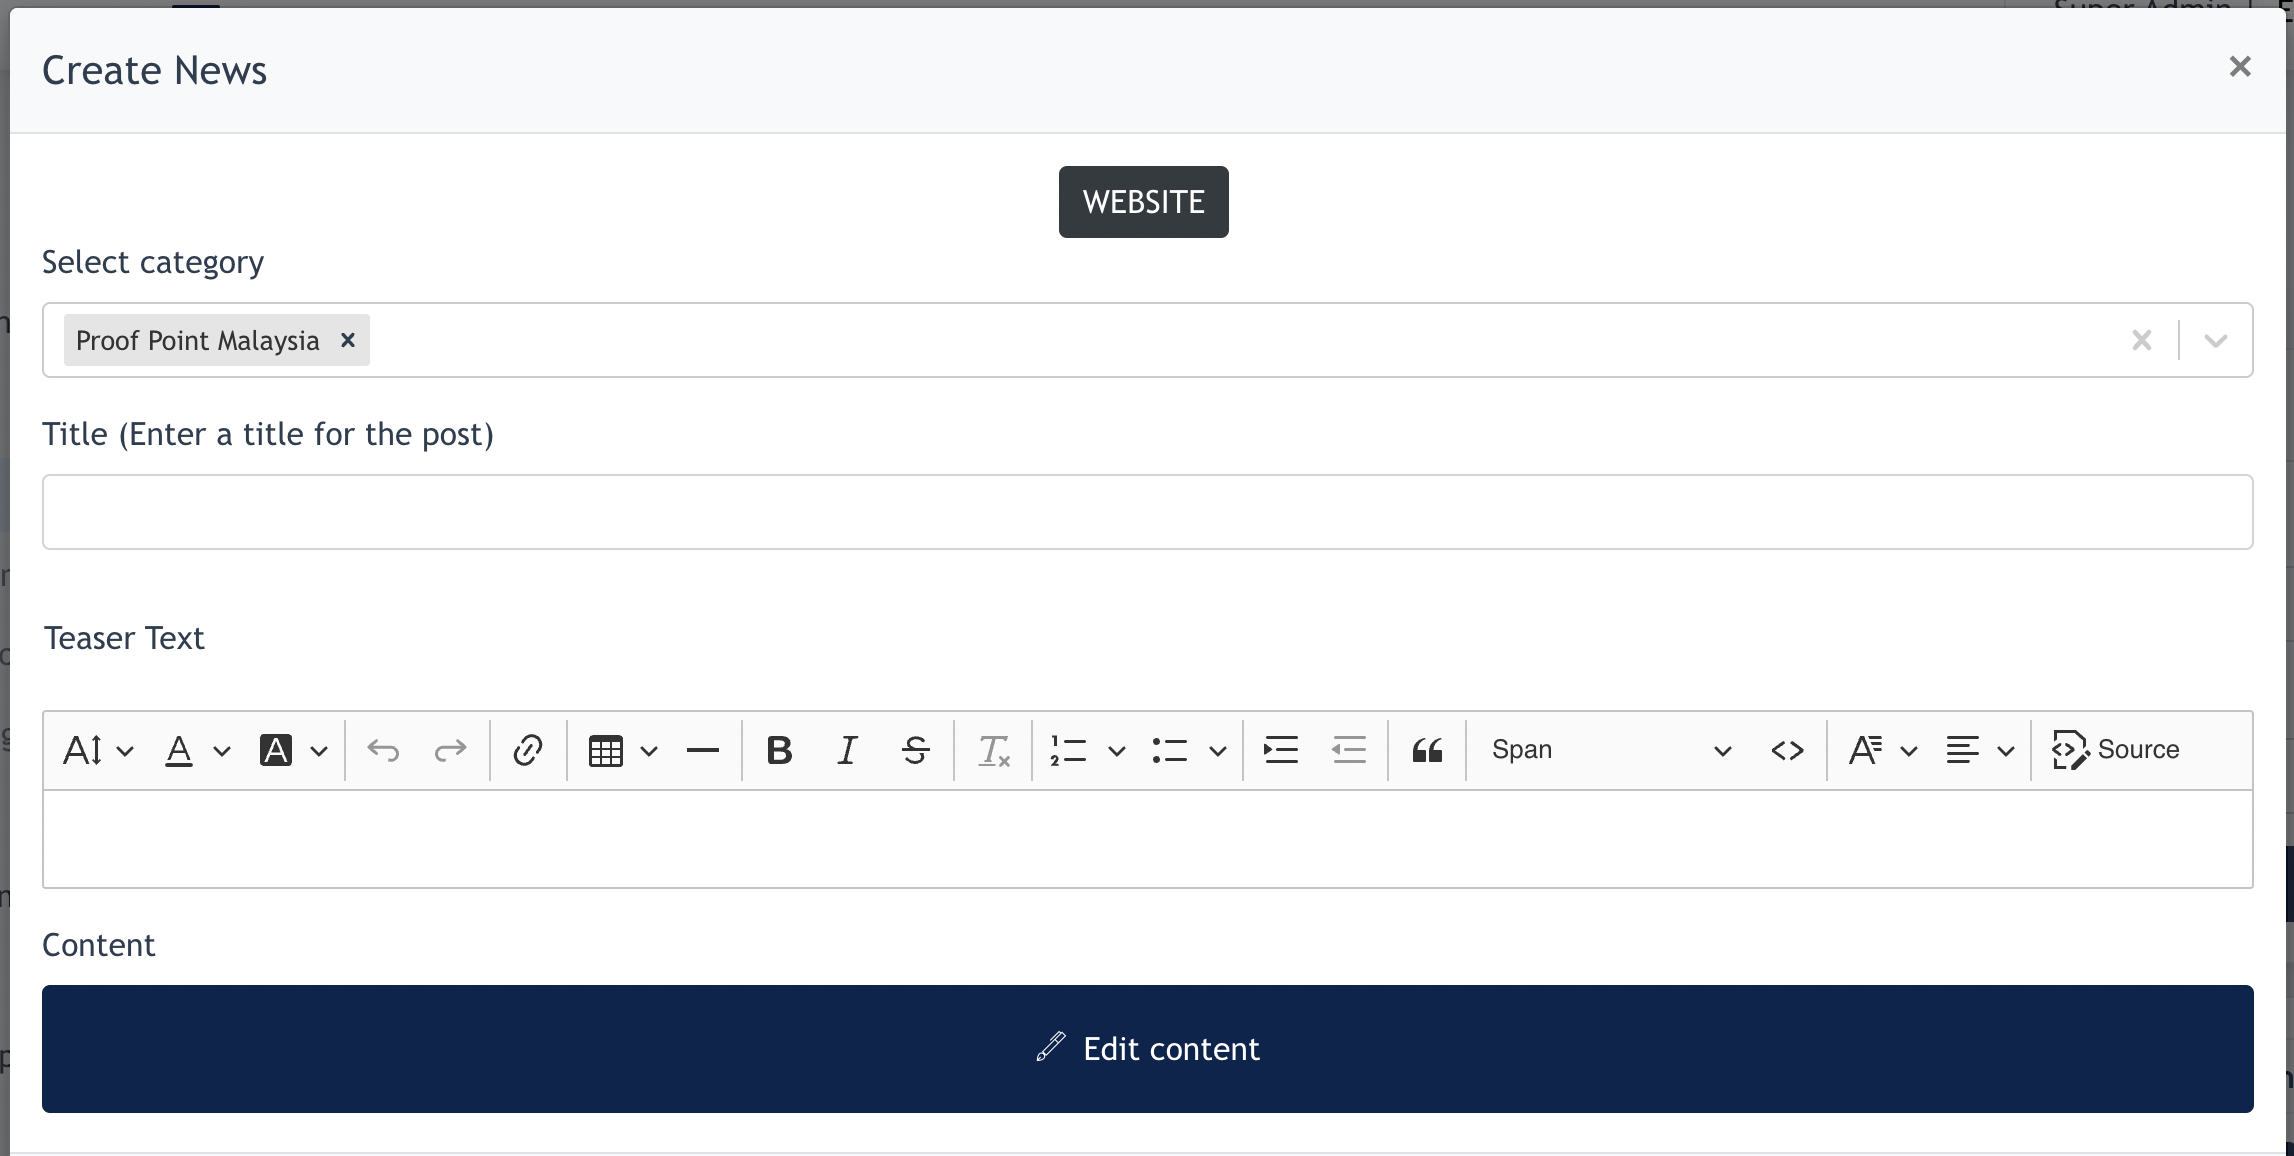
In the form :
- Select Category : Every news item has to belong to at least one or more categories.
- Title : The title of your news
- Teaser text : Short description for
thepreview undertheNews title - Content : Content editor of the news
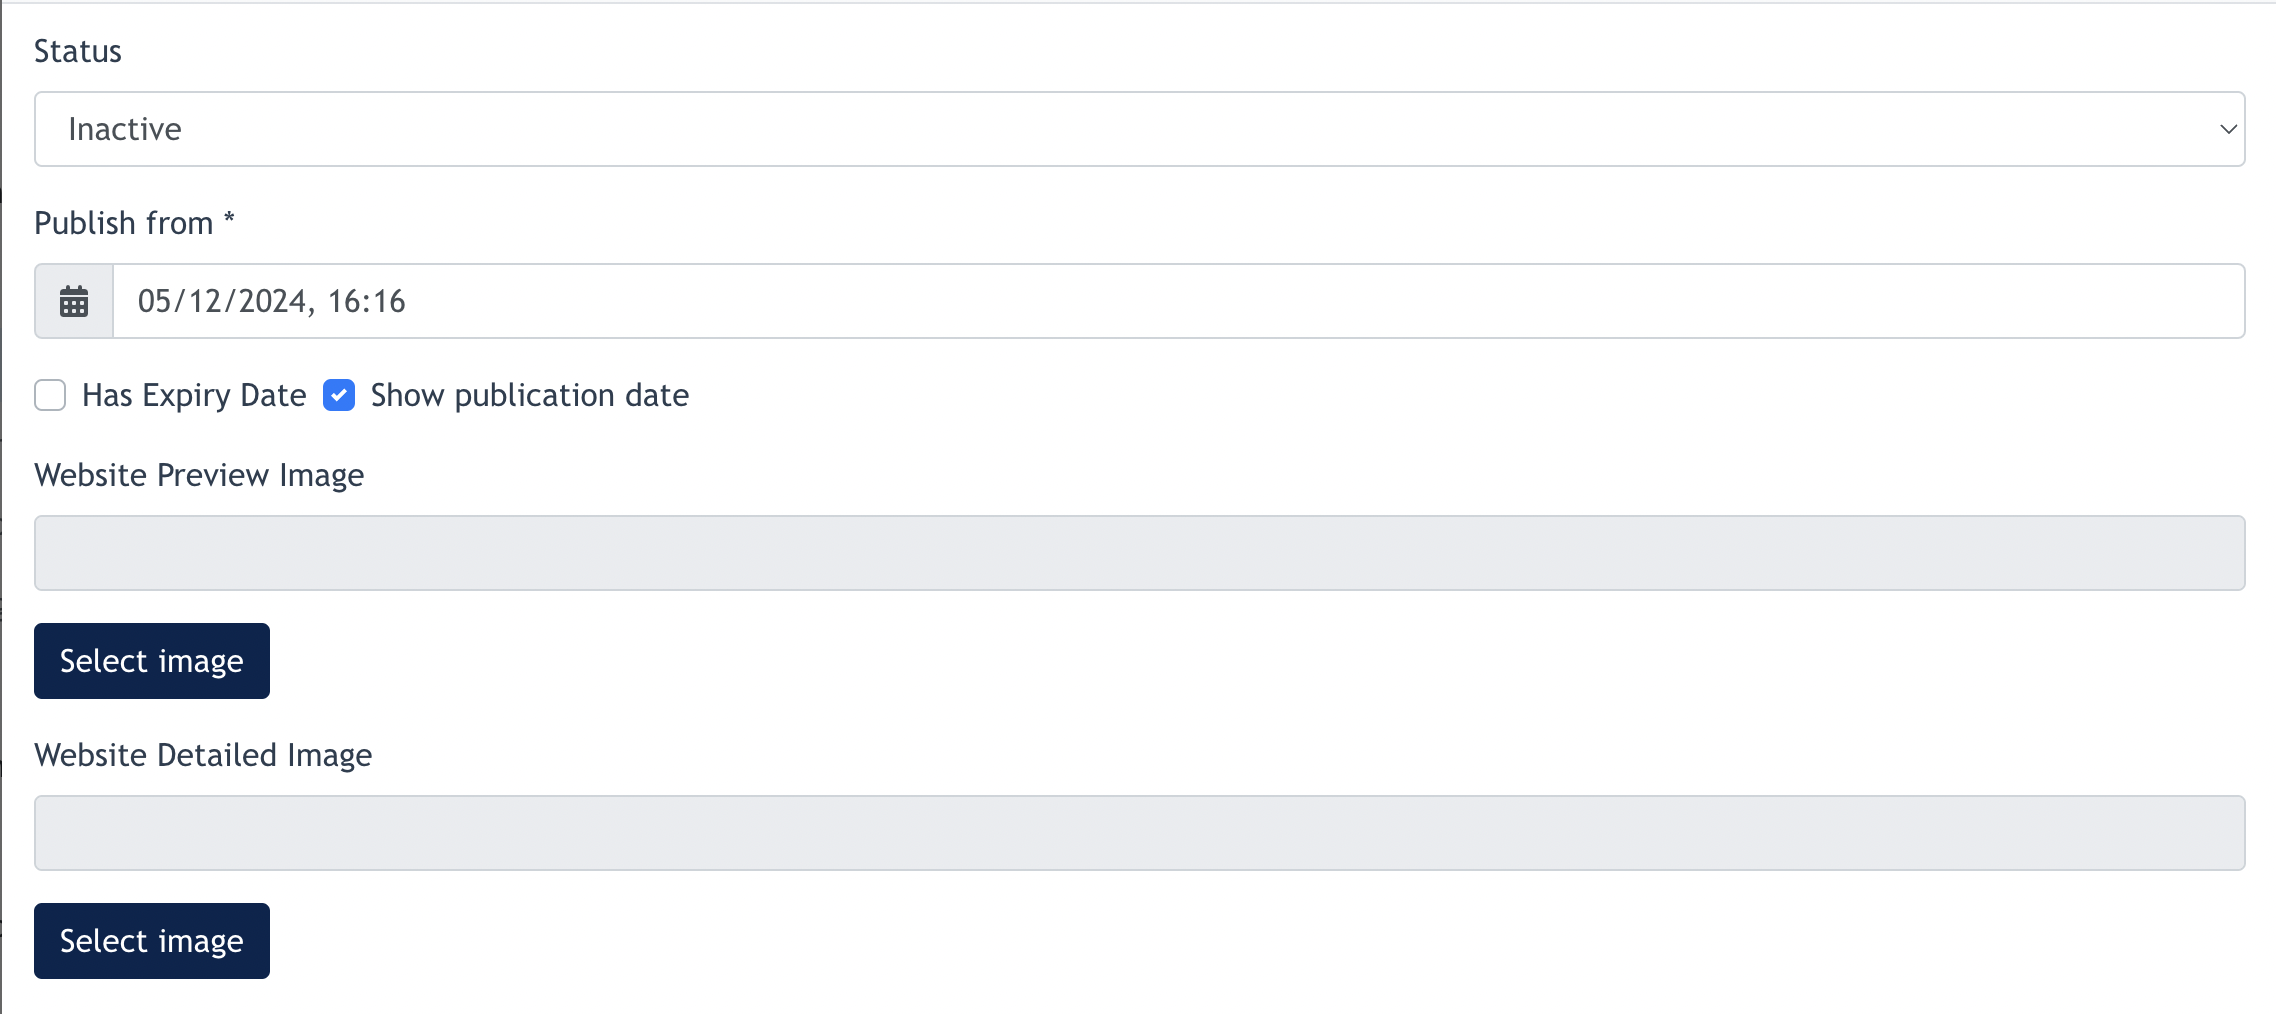
- Status : Set this news as active / inactive ( by default it is active ) . Only active news will be displayed.
- Publish from : Set a publish date ( it is by default to publish the news at current time if user does nothing on this )
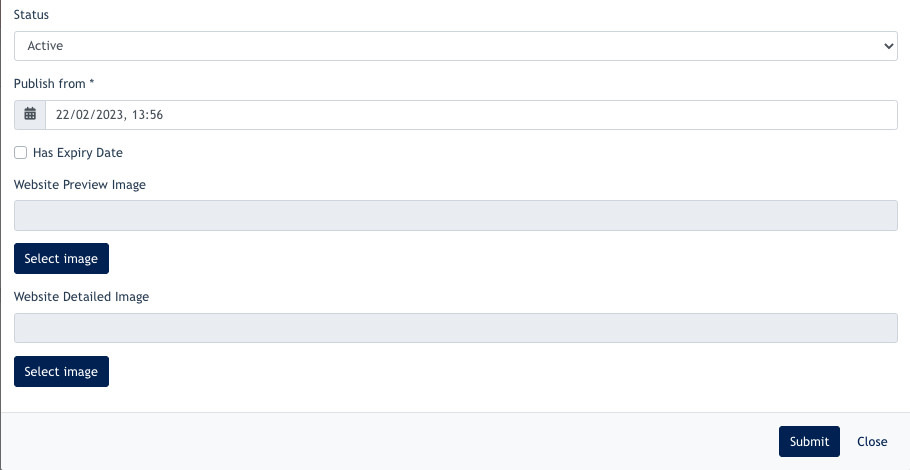
- Show publication date - when this is checked, every news will show when this article is published.
- Example :

- Has Expiry Date : Set an expiry date for this news. News will be removed from the website (status set to inactive) when this date & time is reached.
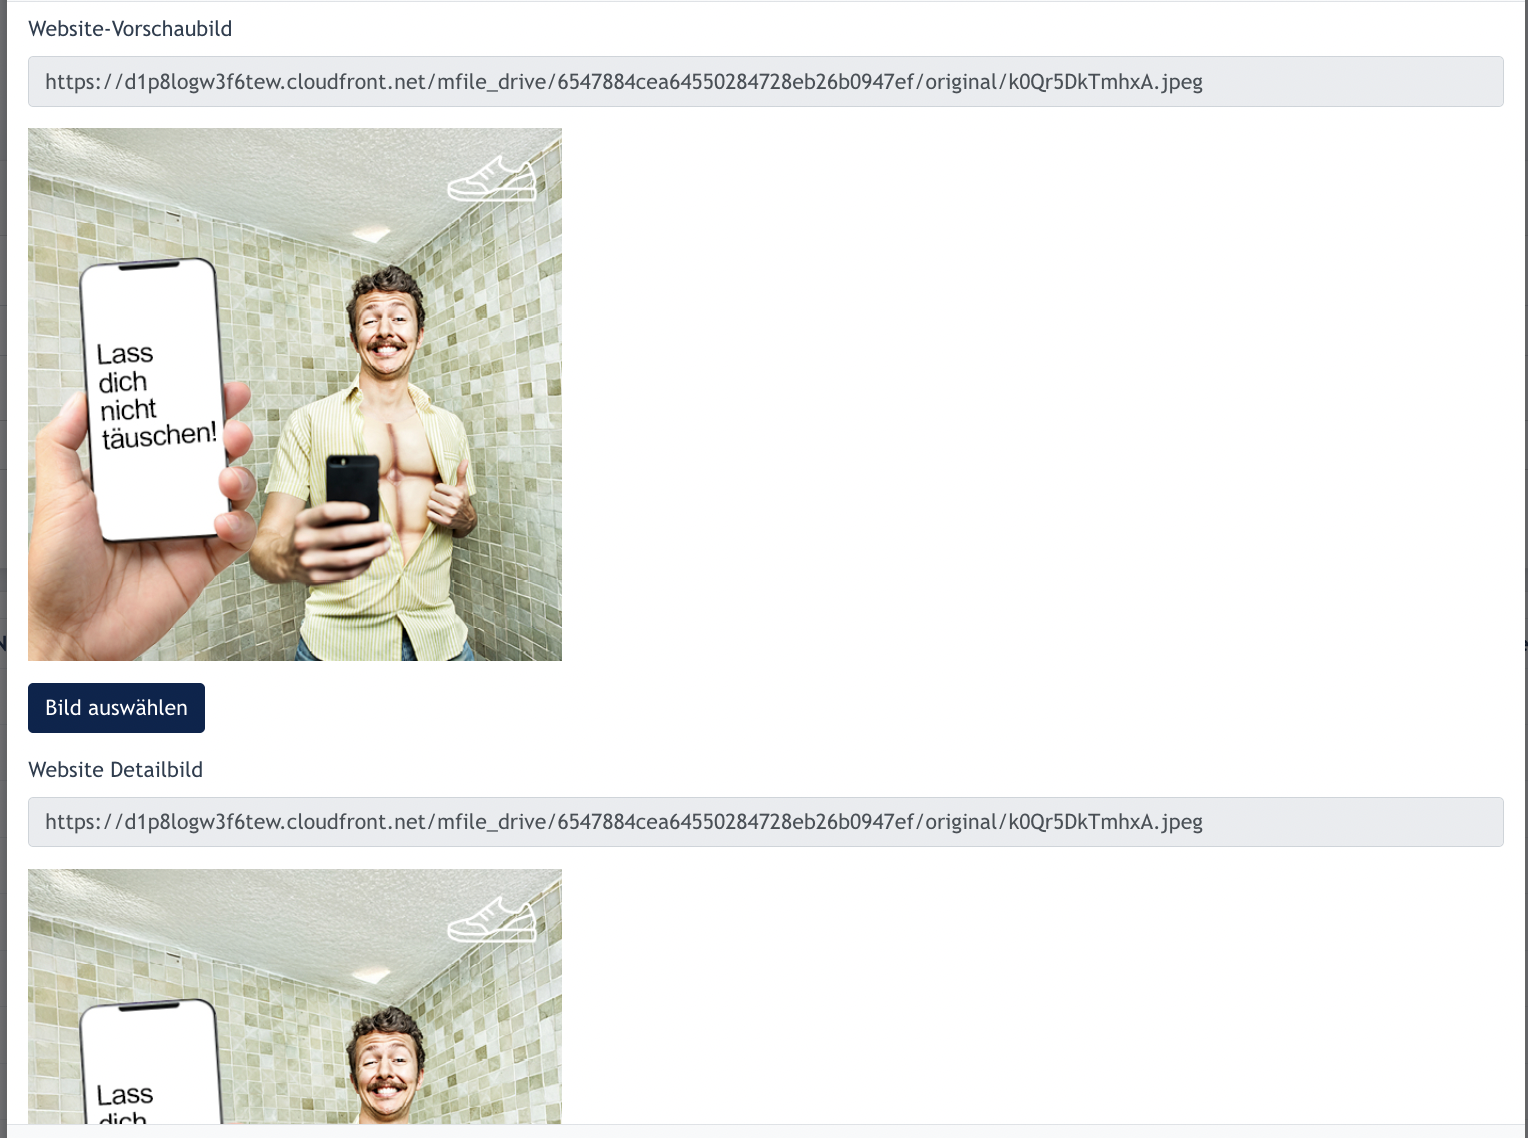
However - Website Previewed image & Detailed image : Website previewed image is for /news page and Detailed image is for /news/:id page

Click "Submit" after all the above are configured. The news will be published and display on the news listing.
1.2 Create News from Content Service
- Tick "Website".
- Select which categories of content you're looking for.
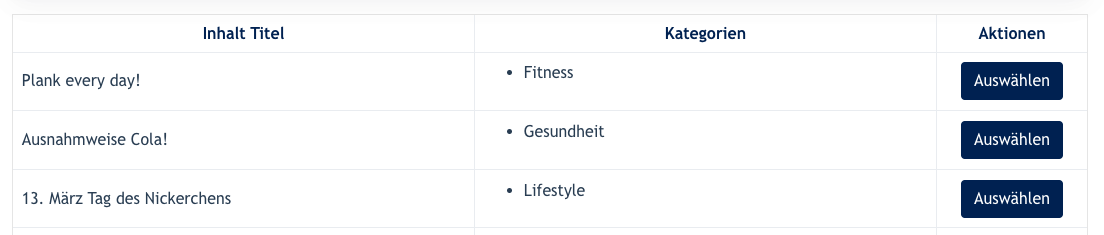
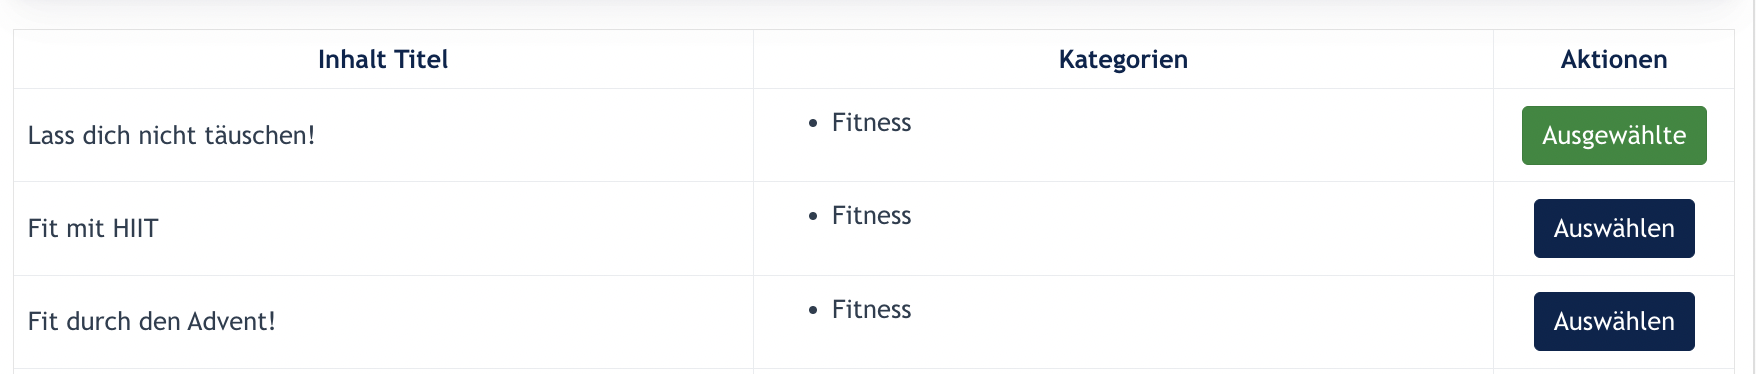
- Content listed on the listing --> users may click on the button to select the content
4. Content is selected, click next.
5. Content selected will automatically fill in the News Configuration modal. See screenshots below :
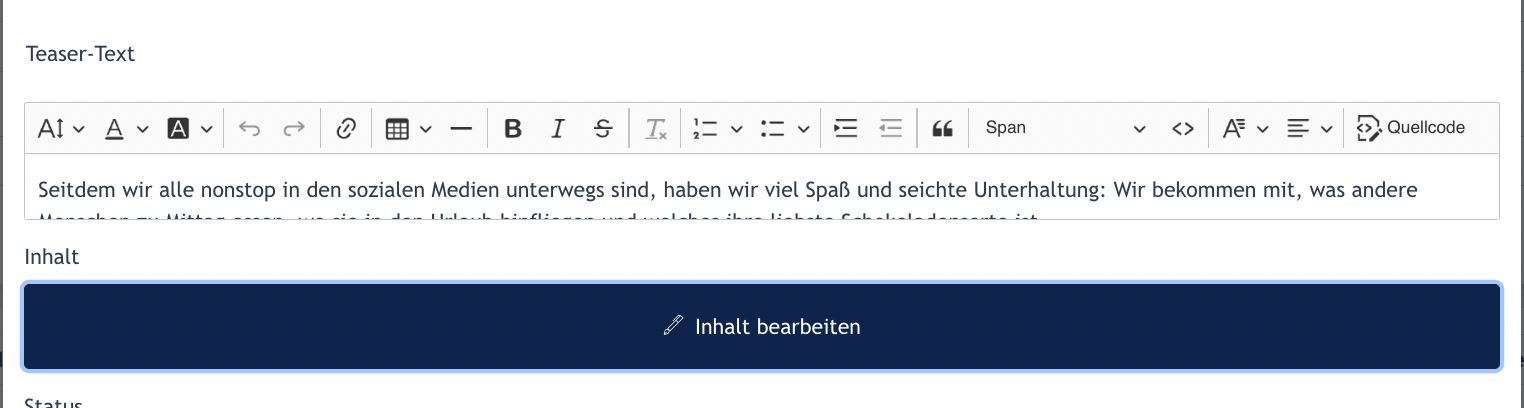
Content text is filled:
Preview & Detailed image are also filled:
After review the content, Center Admin may choose to Edit existing content, or publish directly.
Additional Info :
Website news are displayed under www.url.com/news and Facebook news are news solely published to Facebook. The system needs the user needs to link their Facebook ID via News > Setting
There are 2 methods to create news :
- Create from Scratch
- Create from Content Service
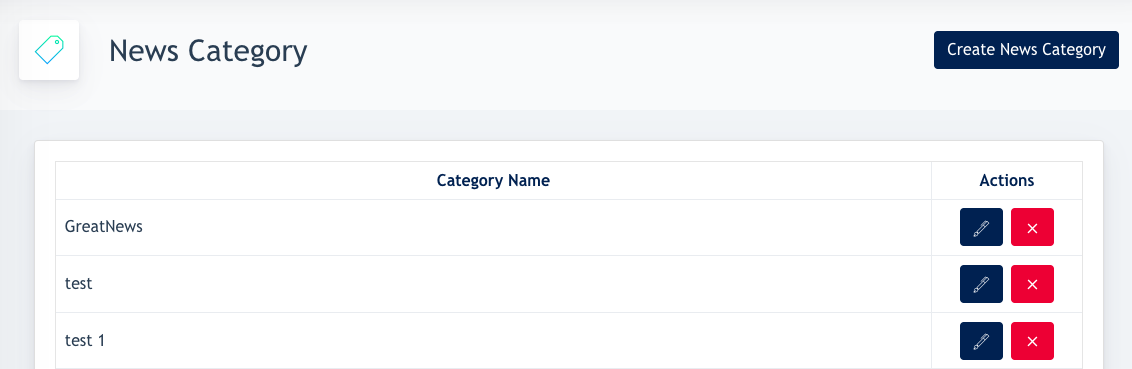
1.3 Categories
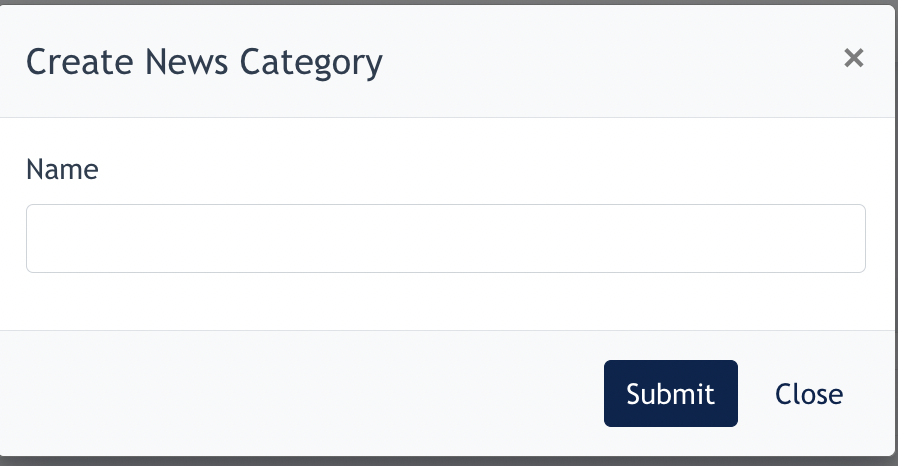
This are the news categories configuration page.
Click on "Create News Category"

Input text to name your category, and click Submit to save.
1.4 Setting (Facebook ID)
1.3 Building / Editing News Content
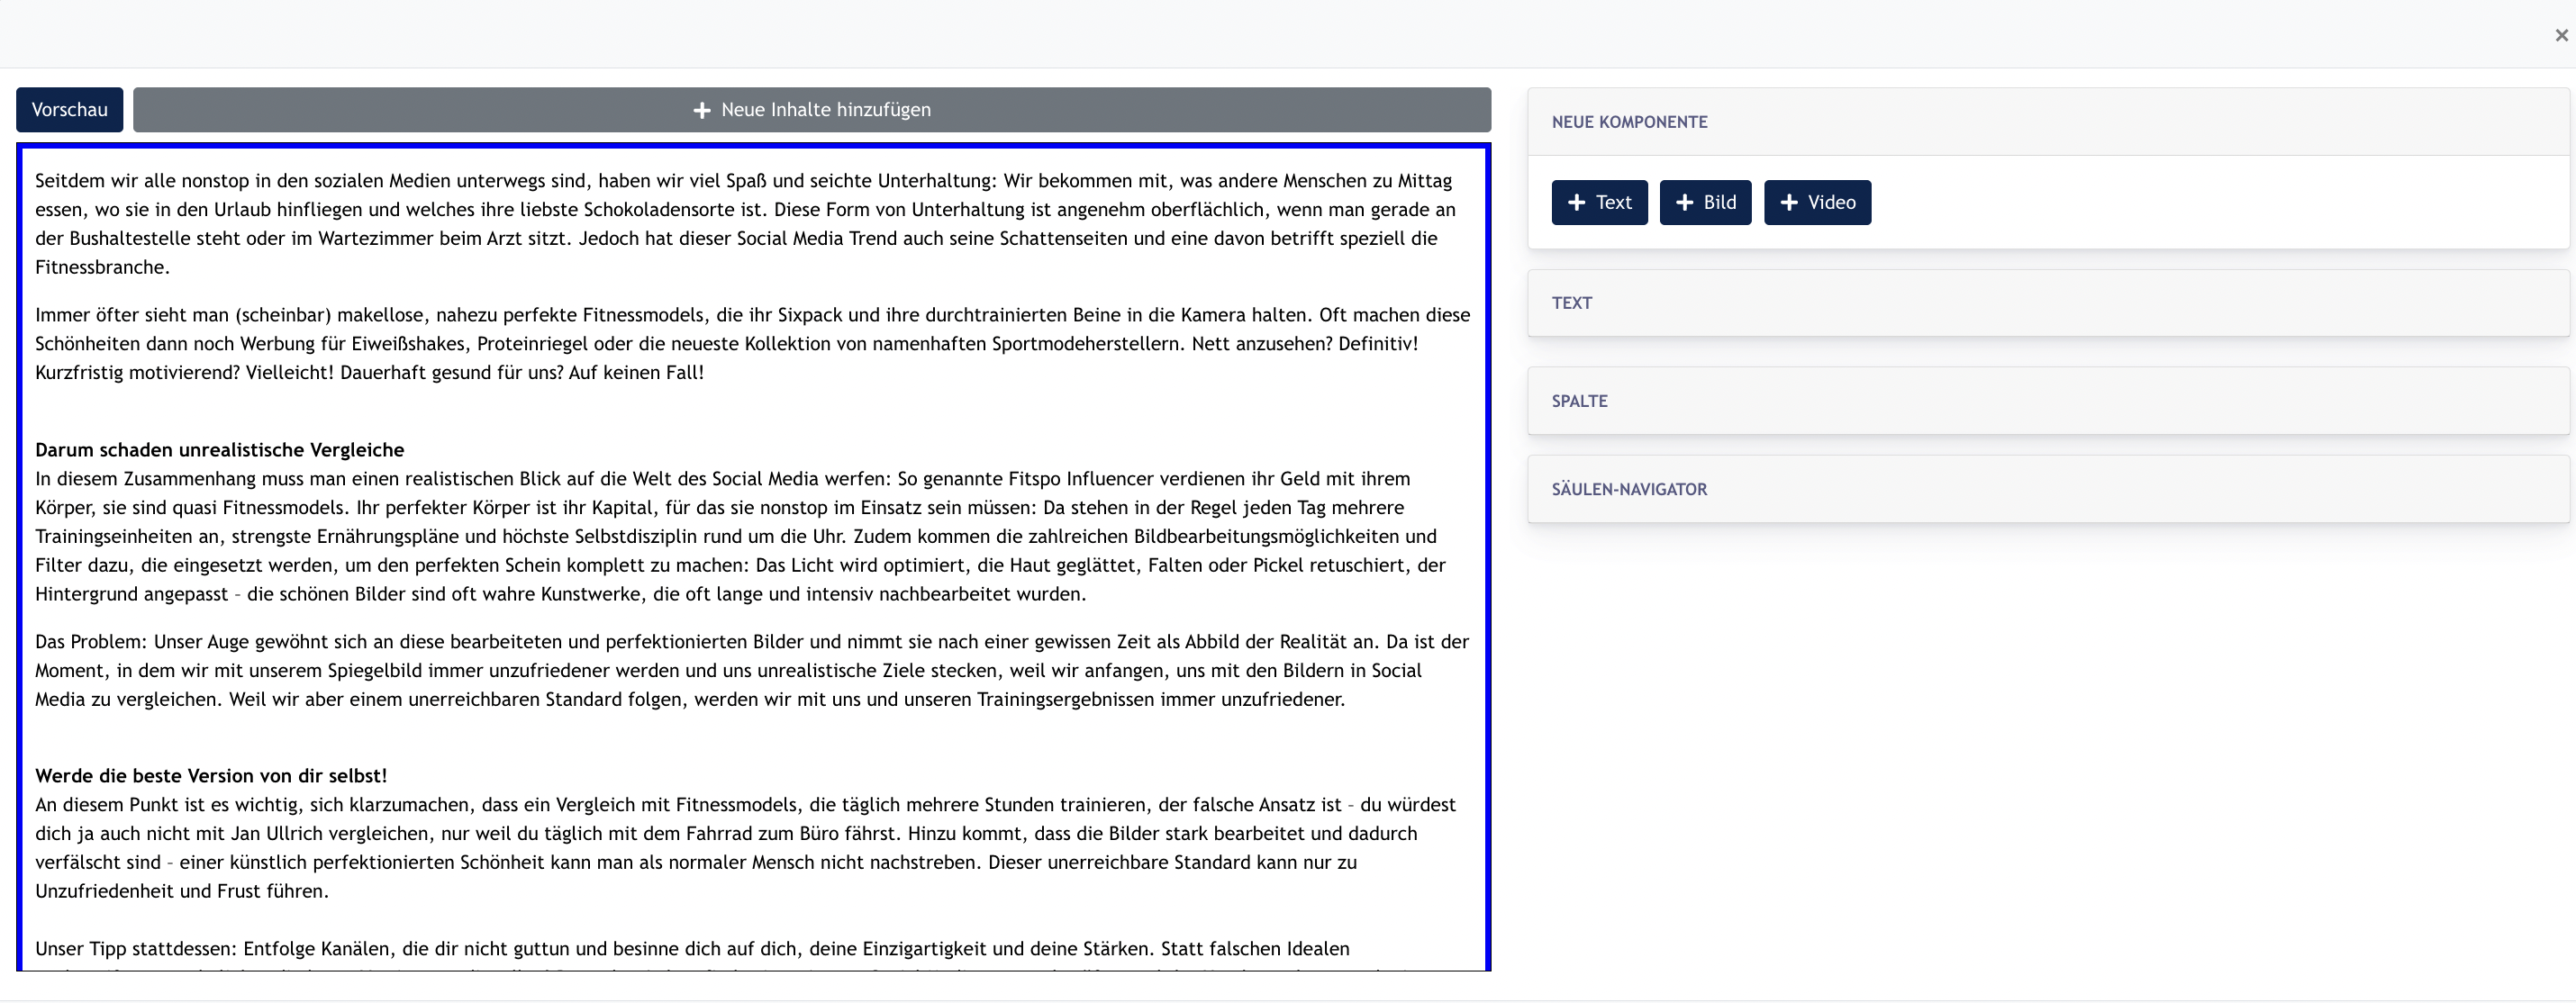
When clicking on Edit Content, you will come to this modal.

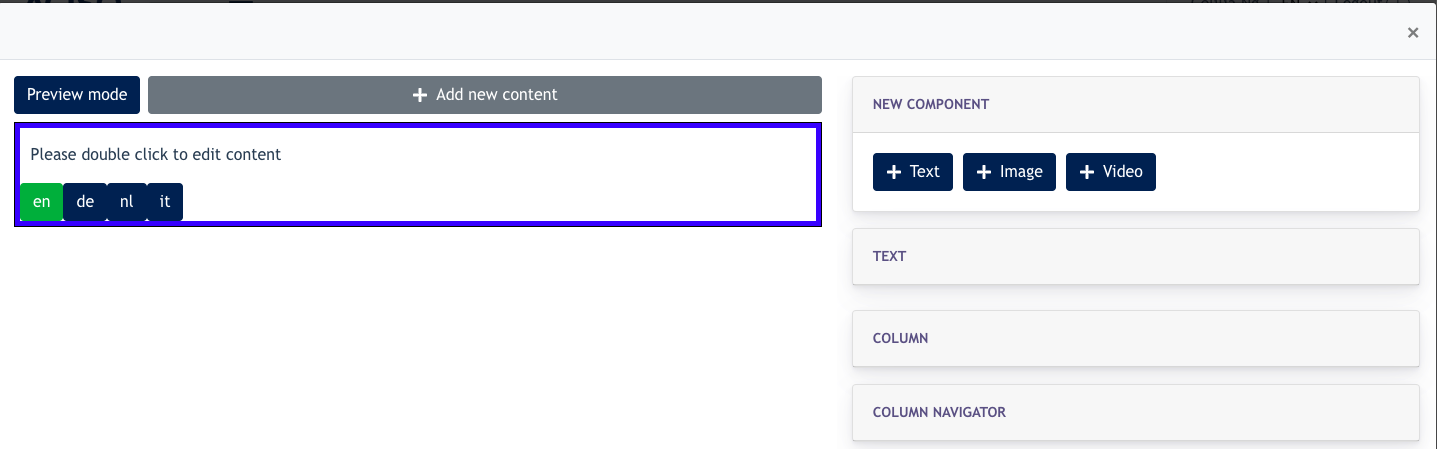
From this modal, you can create your content which is mainly made by 3 components: Text, image, video.

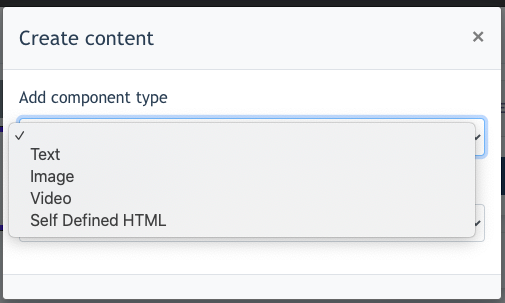
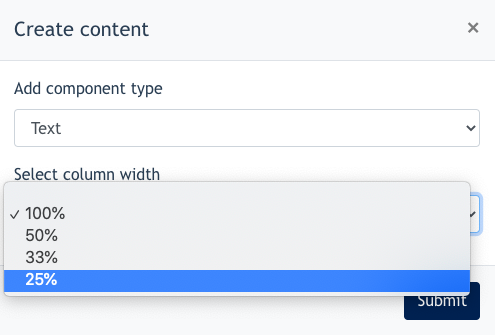
After choosing your component, you can set if this component should be 100% in column or other percentage.
Additional Info
Columns are vertical sections that span the height of the content area and are considered to be the “building blocks” of grids. When you configure your column percentage, you decide the width allowed for your selected components.

On the same row, you can also add an image or video by using the following button.

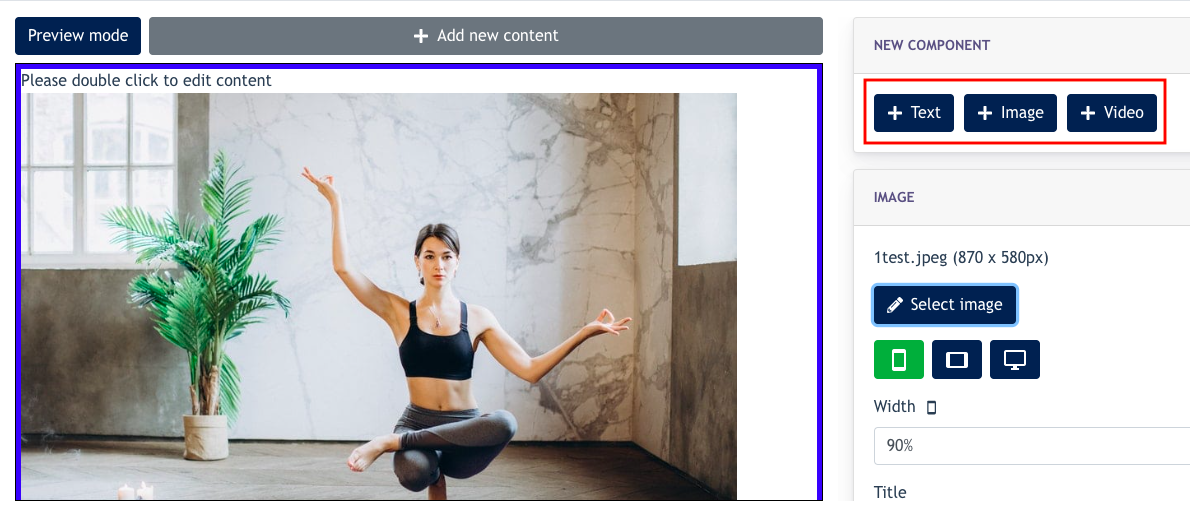
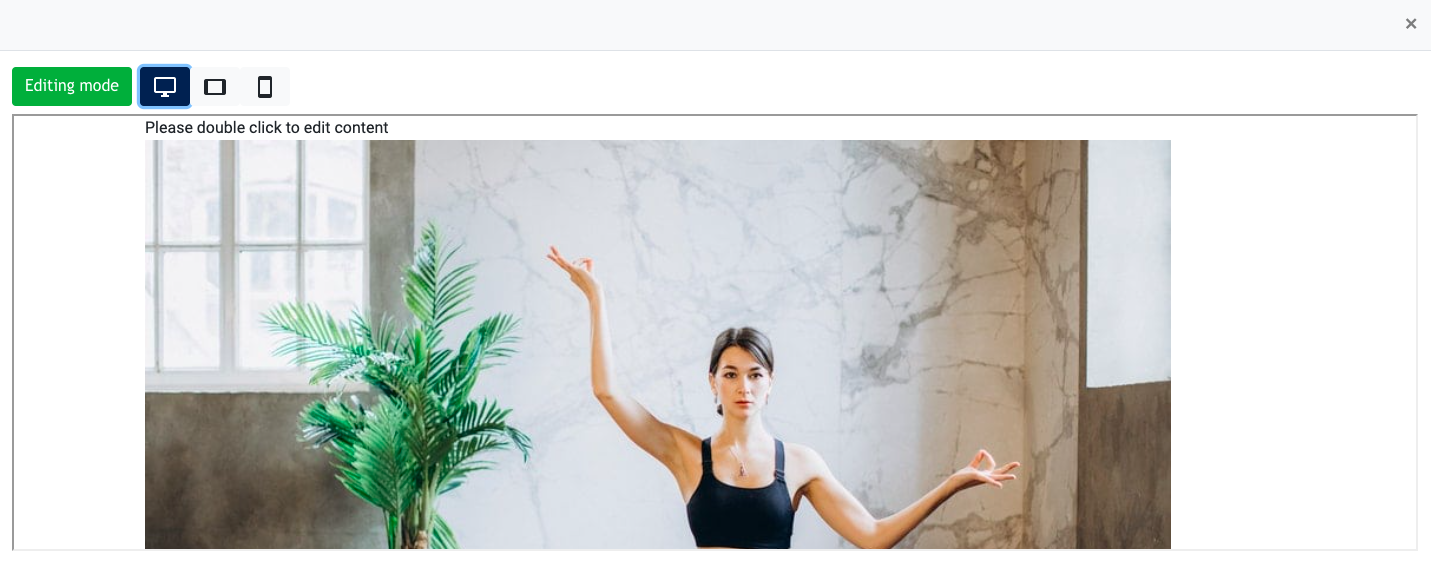
After configuring, click on the Preview Mode button to see how it looks like in responsive view [ Desktop, Tablet and mobile ] screen.
2. Create Categories
Every news article usually belongs to at least one category.
At Site Panel → News → Category, the User can create categories for the news
If categories were not created, then the system will automatically assign all the news under [ All news ] categories.
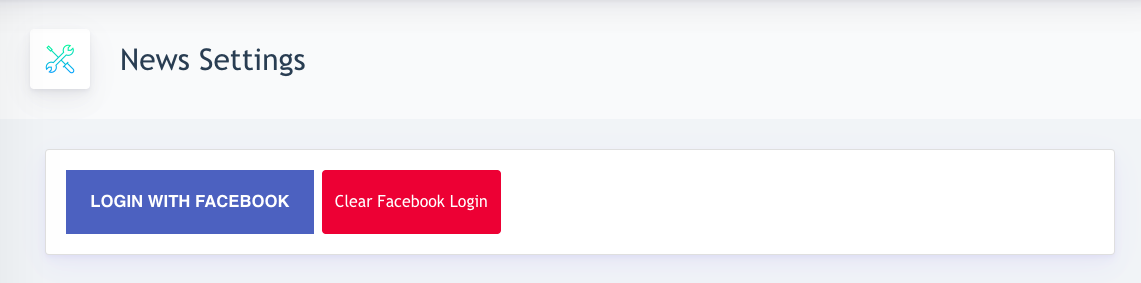
3. Setting
This is where you link your website with Facebook. So that all the news published on the website also appears as a Facebook post as well.
Users just need to click on the { Login with Facebook } button. After this, the link to FB is completed, and you may then select Facebook as the news created.
In the future, may remove this link by clicking on { Clear Facebook Login }