Ark Site - On boarding Configuration
Overview
When a Center subscribes to ARK-Site, several basic configurations must be completed before the website can be launched. These configurations ensure that the system is properly set up and compliant with data protection requirements.
1. Setting Up GDPR
Before a Client or Center Administrator can use the subscribed modules within Cockpit, consent to the AV Contract (Data Processing Agreement) must be provided.
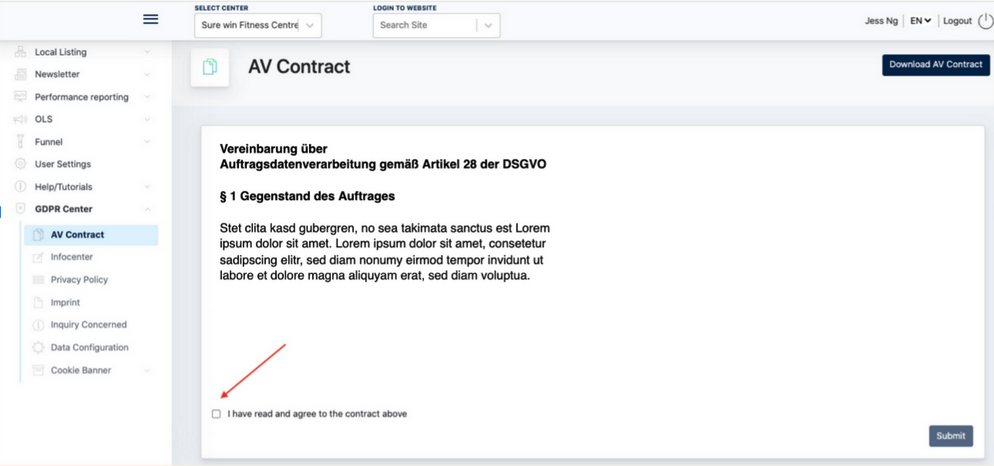
1.1 Providing Consent to the AV Contract
-
Log in to Cockpit.
-
Navigate to GDPR Center > AV Contract.
-
Review the contract.
-
Tick the checkbox "I have read and agree to the contract above."
-
Click "Submit" to provide consent.
Once the consent has been submitted, the subscribed modules can be used in accordance with the agreed data protection terms.
1.2 Provide consent on the Privacy Policy & Impressum :
Before accessing the ARK Site Admin Panel, the Client must review and provide consent to the Privacy Policy and Imprint content.
This process ensures that the Client acknowledges their responsibility for maintaining and managing the website content in compliance with legal and regulatory requirements.
Steps
- Log in to Cockpit using a Client account.
- Review the Privacy Policy and Imprint content.
- Tick the consent checkbox for both documents.
- Click Submit to confirm your consent.
Once the consent has been submitted, access to the ARK Site Admin Panel will be granted.
Example Screenshot:

After completing the consent process for both the AV Contract and the Privacy Policy & Imprint, the Client or Center Administrator will be granted access to the ARK Site Admin Panel.
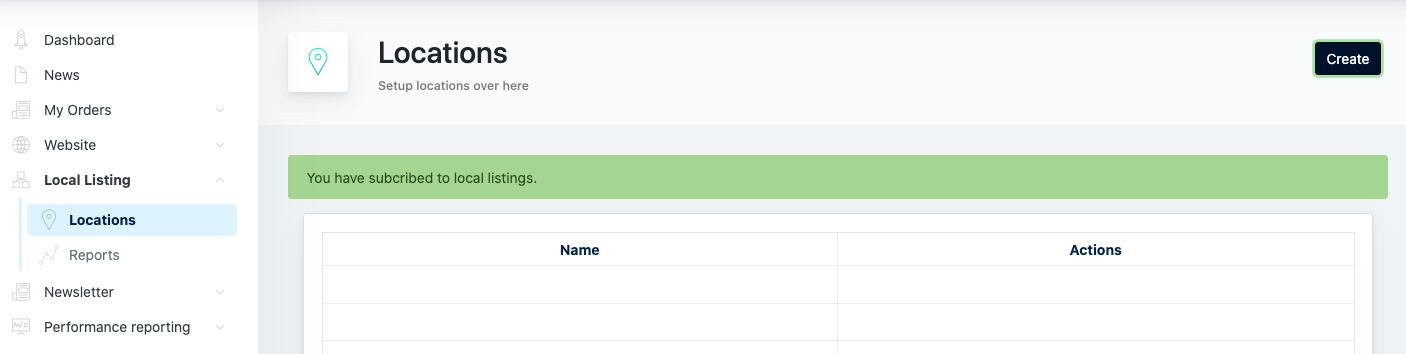
2. Setting Up Center Locations
Many modules within ARK Site rely on location data to function correctly. Therefore, at least one location must be created before the website can be fully configured and used.
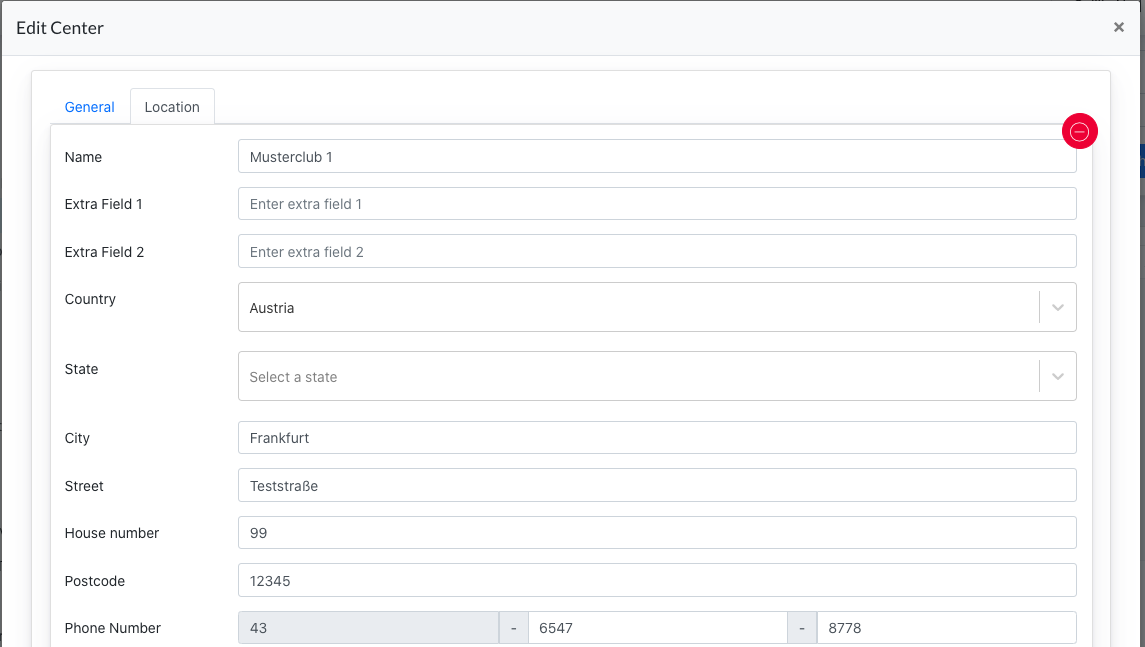
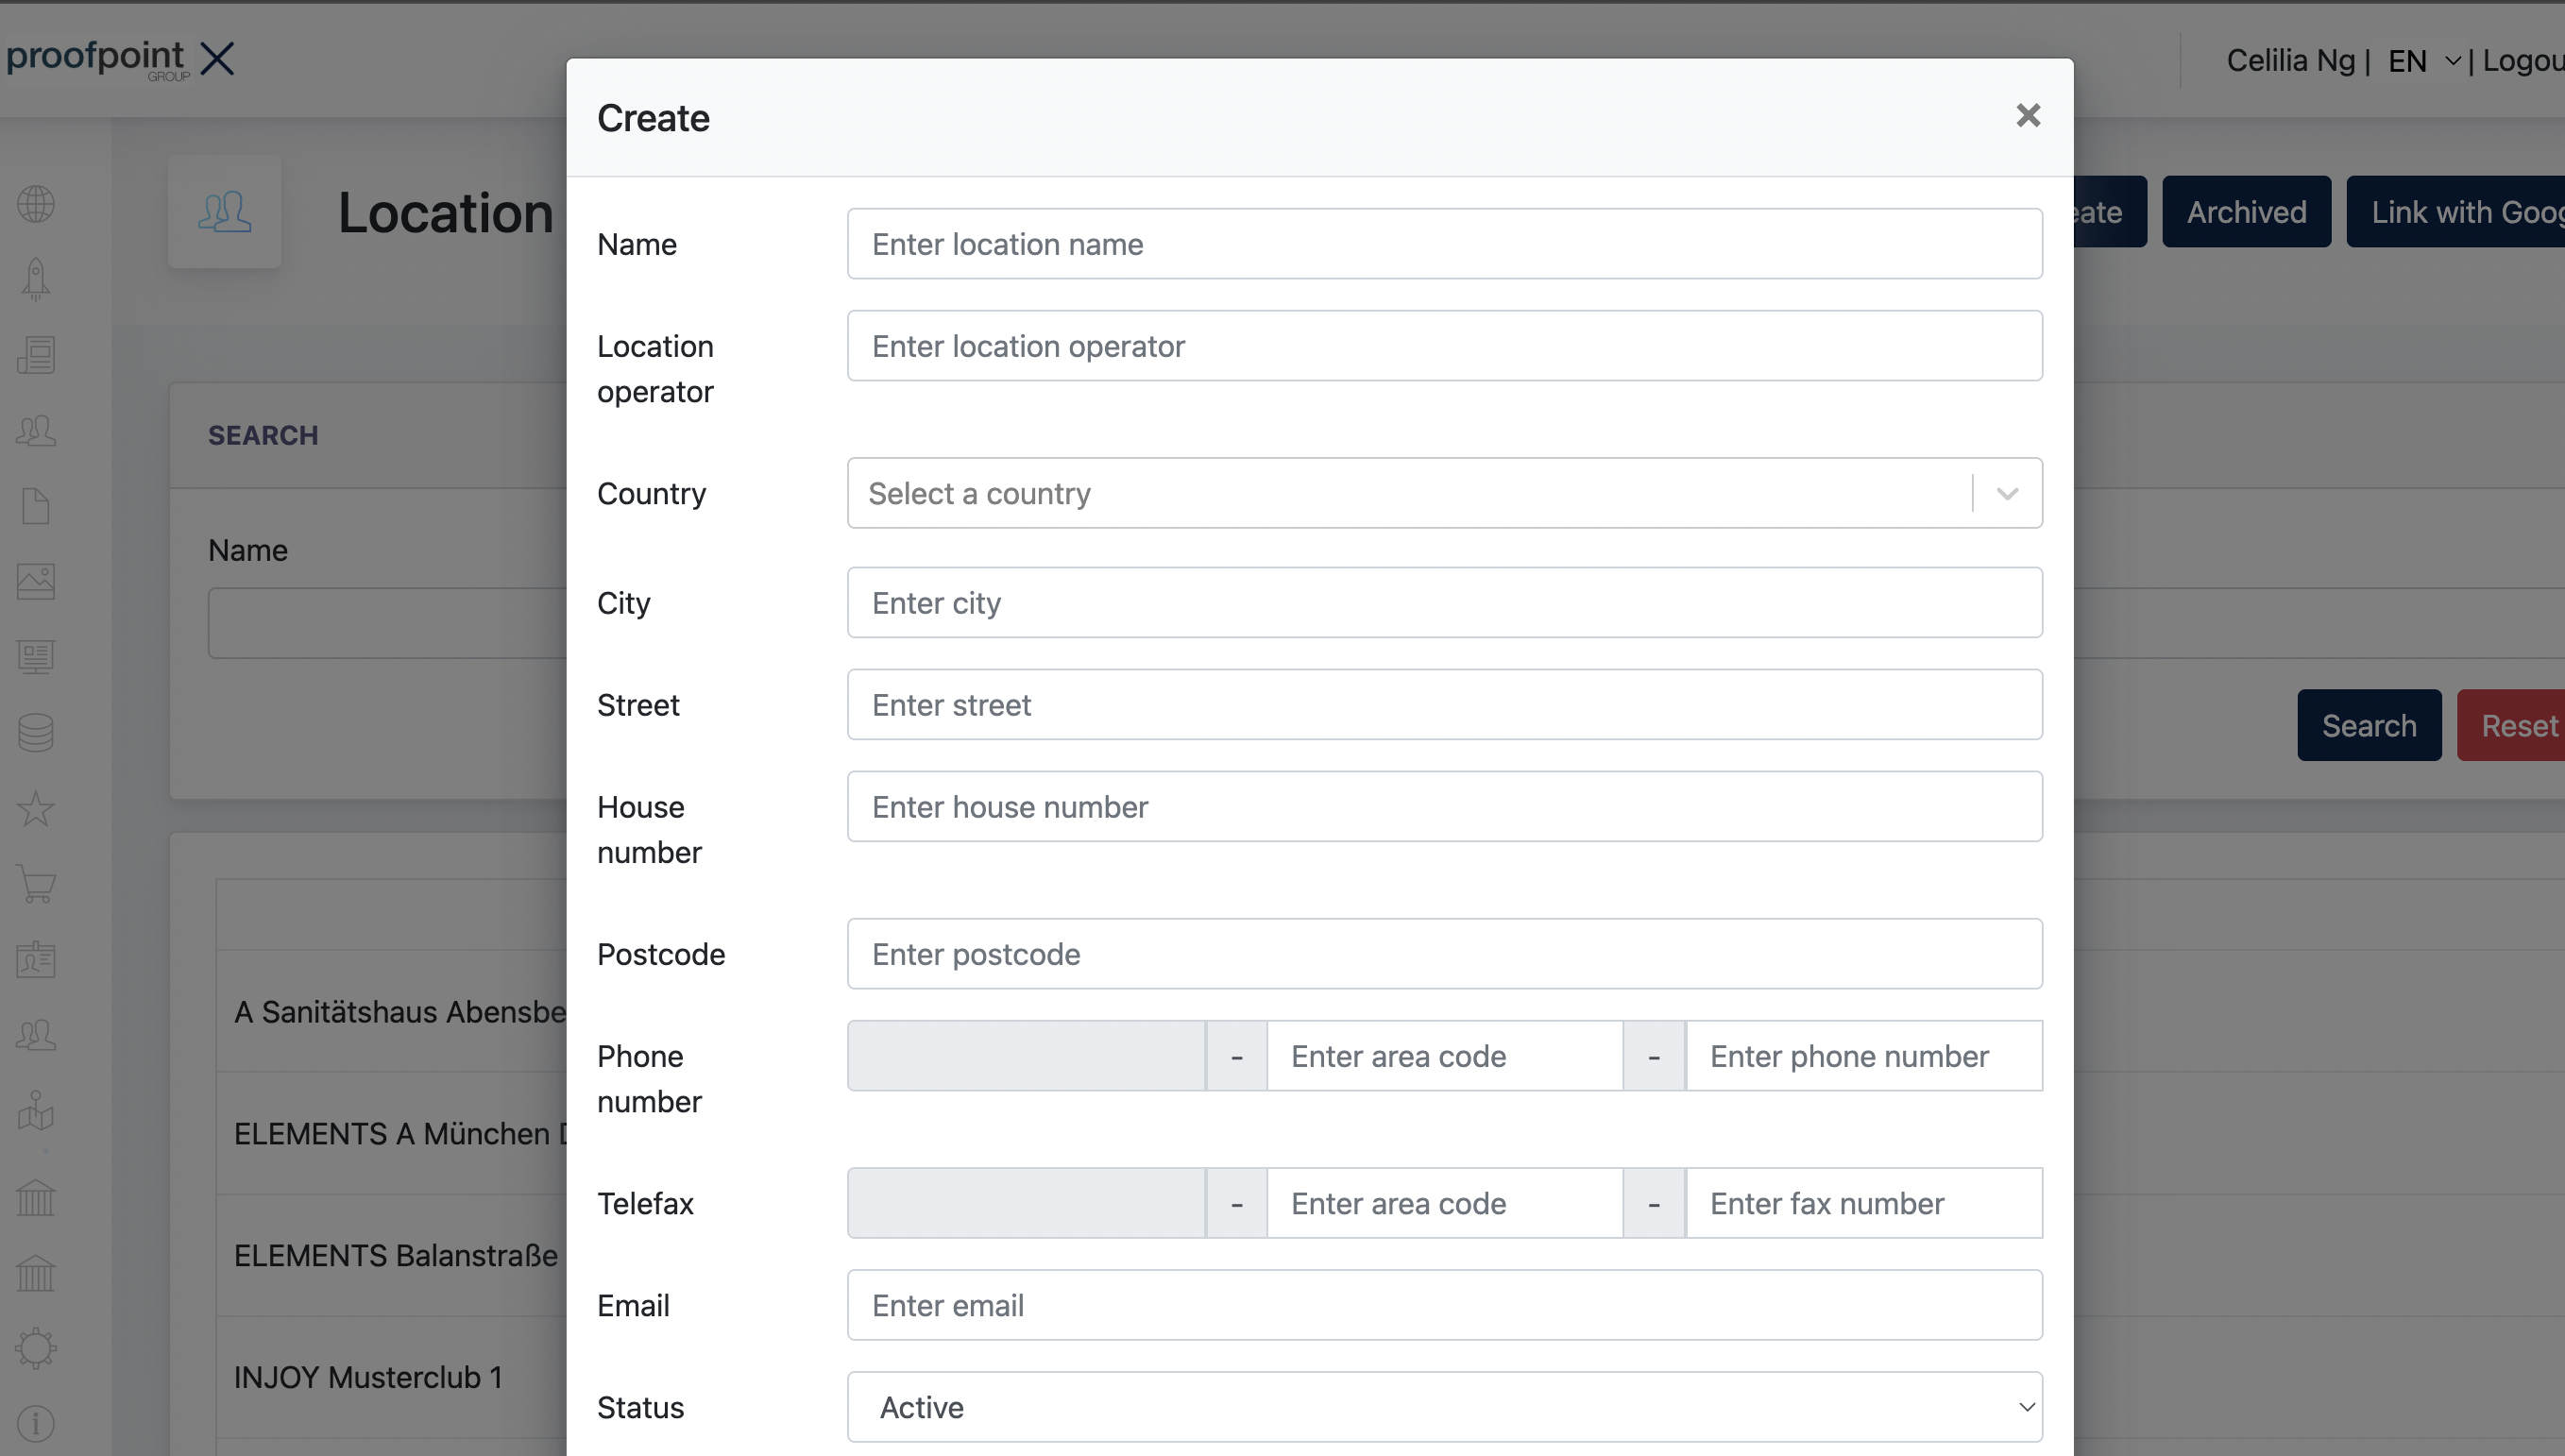
A location can be created and managed from any of the following platforms:
-
Cockpit → Local Listing → Locations
-
ARK Management → Center → Edit Center → Location
-
ARK Site Admin Panel → Location Finder → Locations
Important Information
Location data is synchronized across all platforms. While the available fields may vary slightly depending on where the location is managed, all platforms share the same underlying location data.
Any changes made in one platform will automatically be reflected in the others.
2.1 Main Location
It is mandatory for every Center to have at least one location, as many ARK Site modules rely on location data to function properly.
The first location created for a Center automatically becomes the Main Location.
3. Setting up Center Setting
In the ARK Site Admin Panel, navigate to Center Settings to configure the fundamental settings of the website.
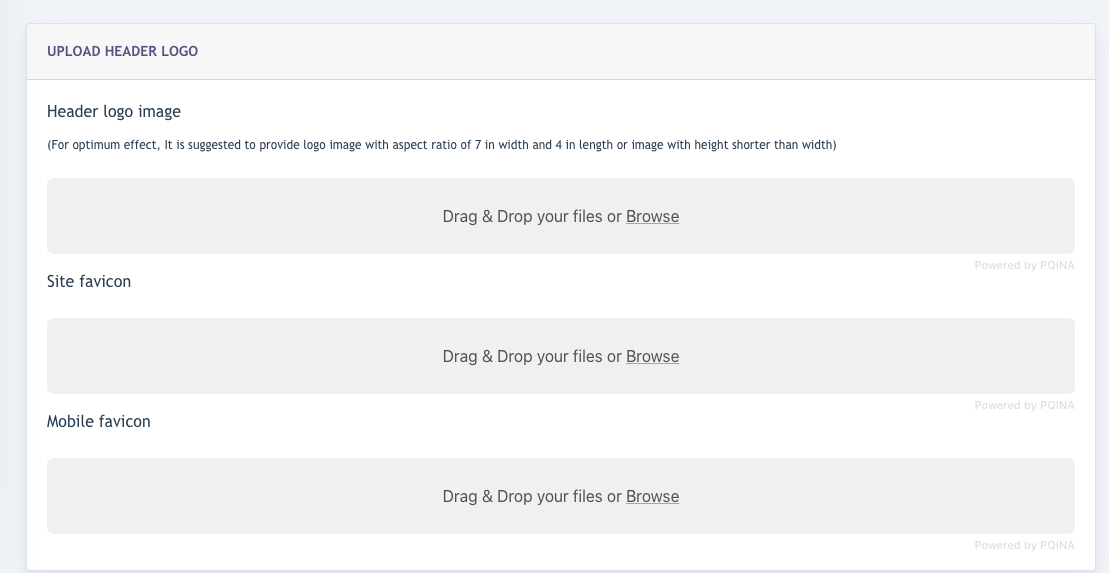
3.1 Logo Icons
This is a mandatory configuration for the website.
Administrators can upload the following images:
- Header Logo – Displayed in the website header.
- Site Favicon – Displayed in browser tabs and bookmarks.
- Mobile Favicon – Displayed on mobile devices where applicable.
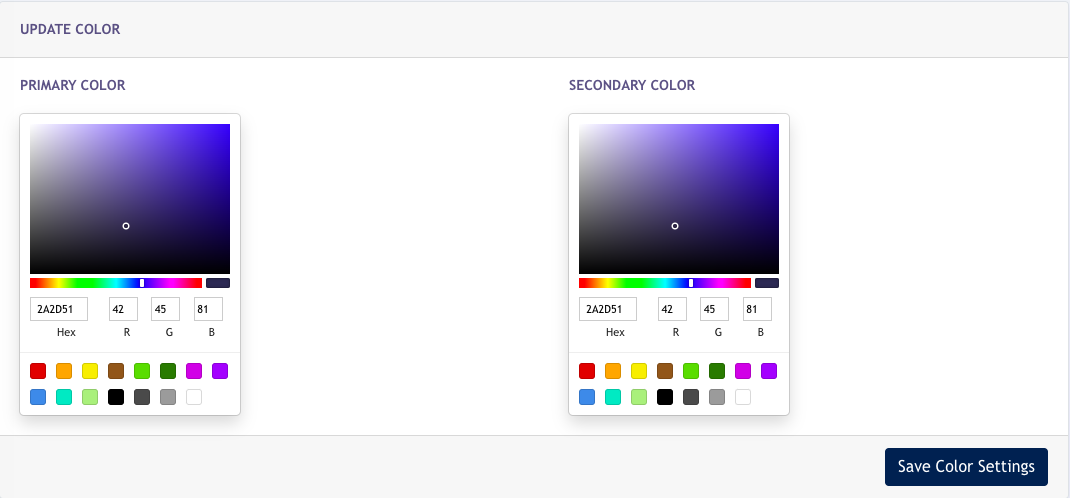
3.2 Colour Settings
This is a mandatory configuration for the website.
The Primary Colour and Secondary Colour serve as the main colours used throughout the website.
These colours help maintain a consistent visual identity and branding across all pages of the site.
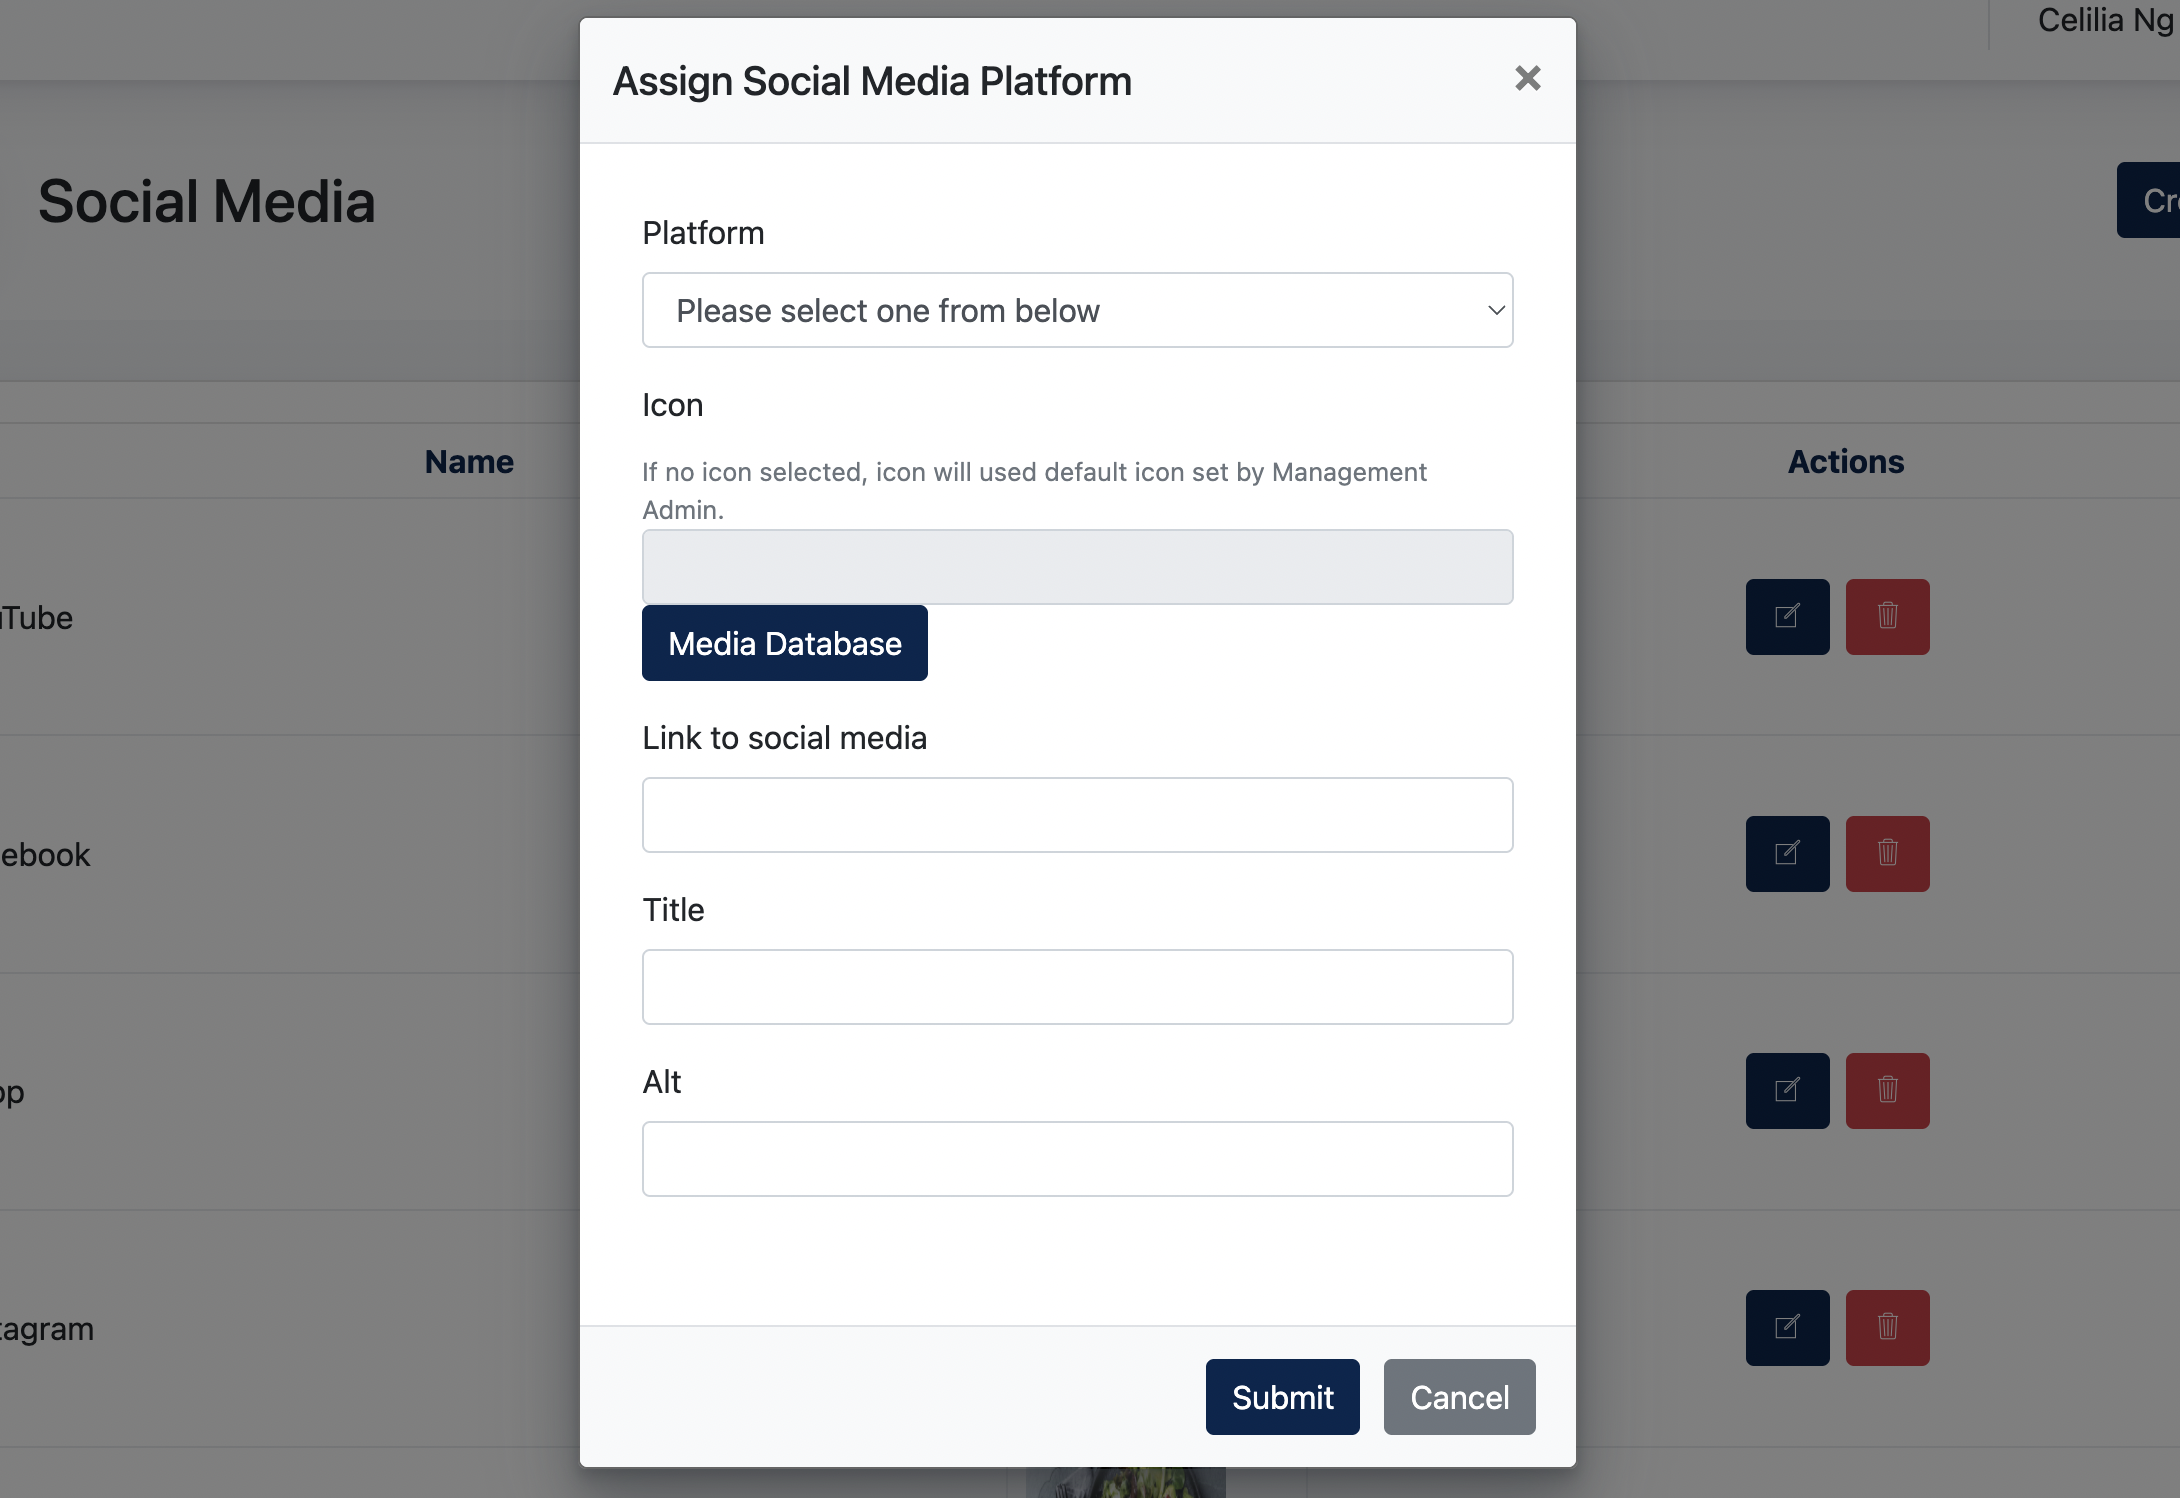
3.3 Social Media
Center Administrators may configure social media links for the website. This is an optional configuration and is not mandatory.
Site Content > Footer > Show Social Media Icons
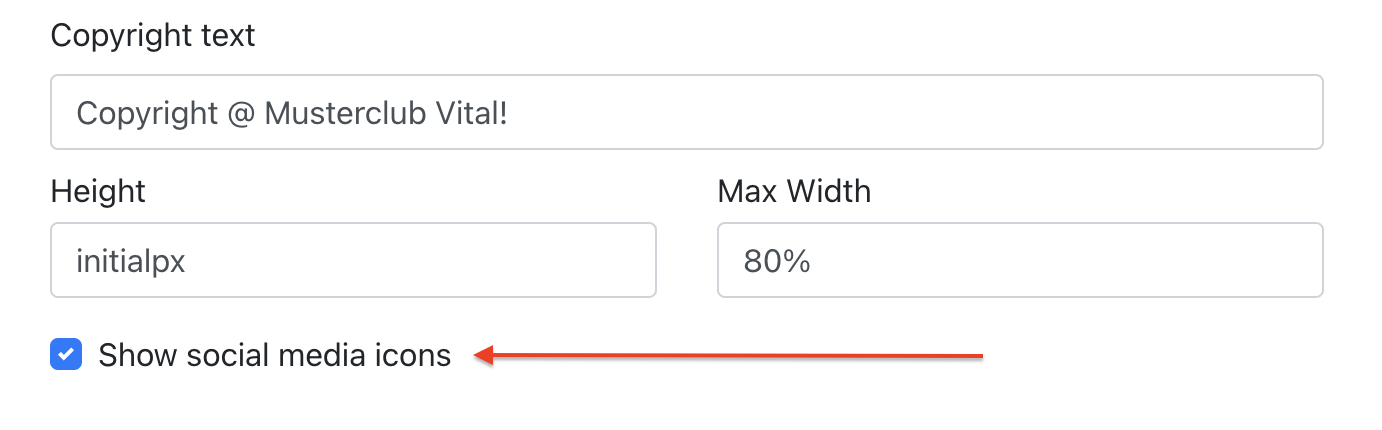
The screenshot below shows an example of social media icons displayed in the website footer.

3.4 Email Config
Administrators can configure and customize an email template for the Center. This template will be applied to emails sent from the website.
Navigate to:
Center Settings > Email Config > Email Template
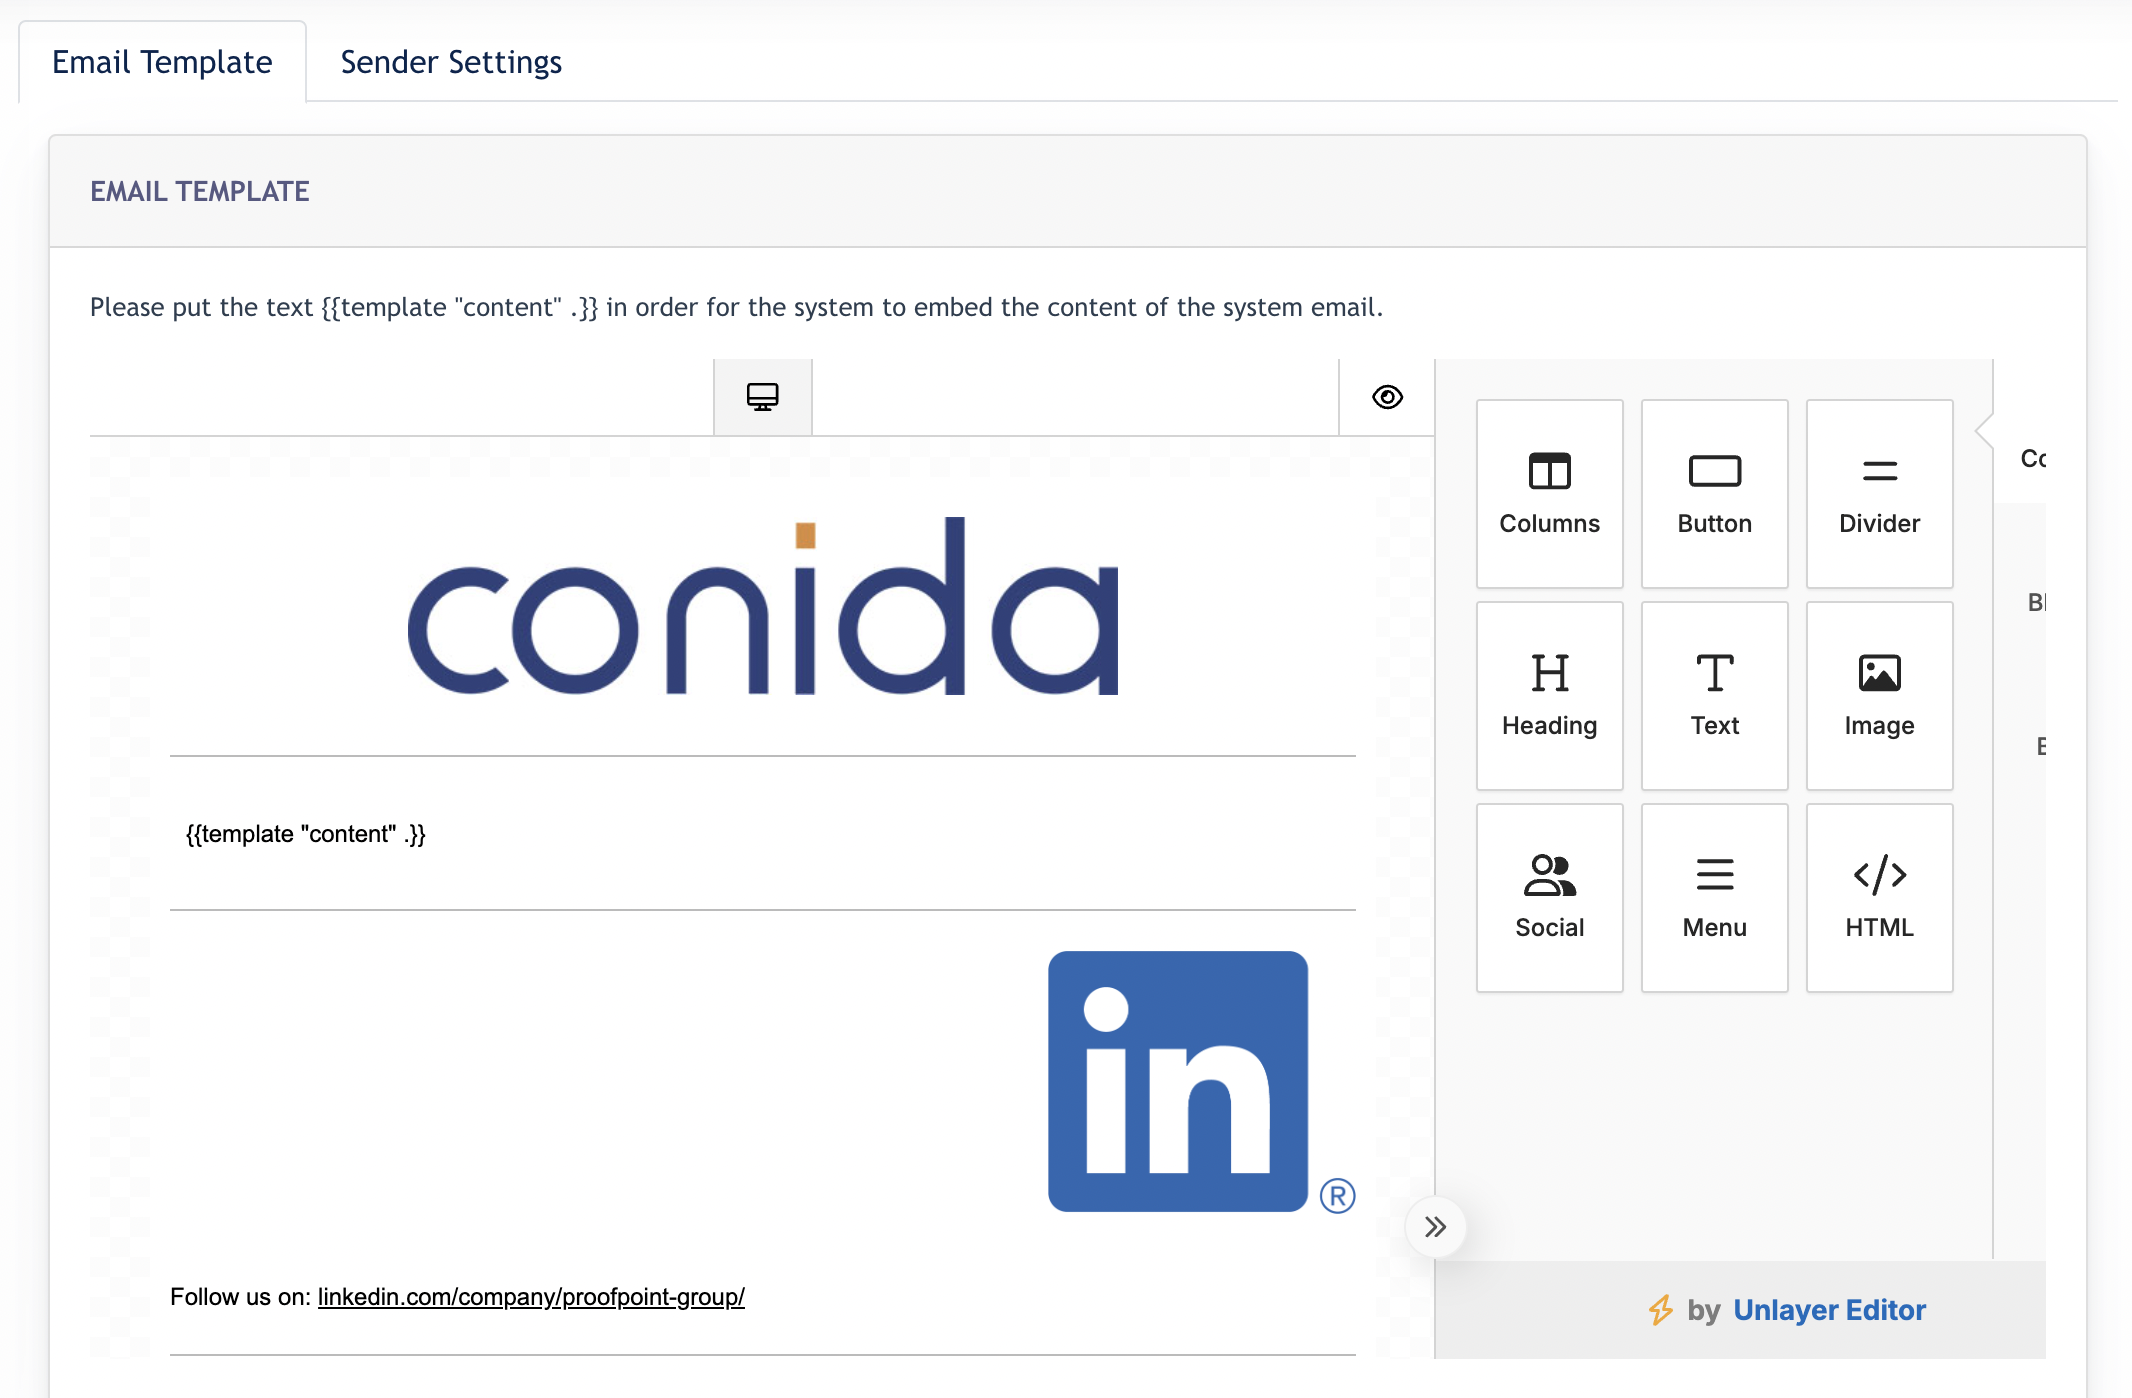
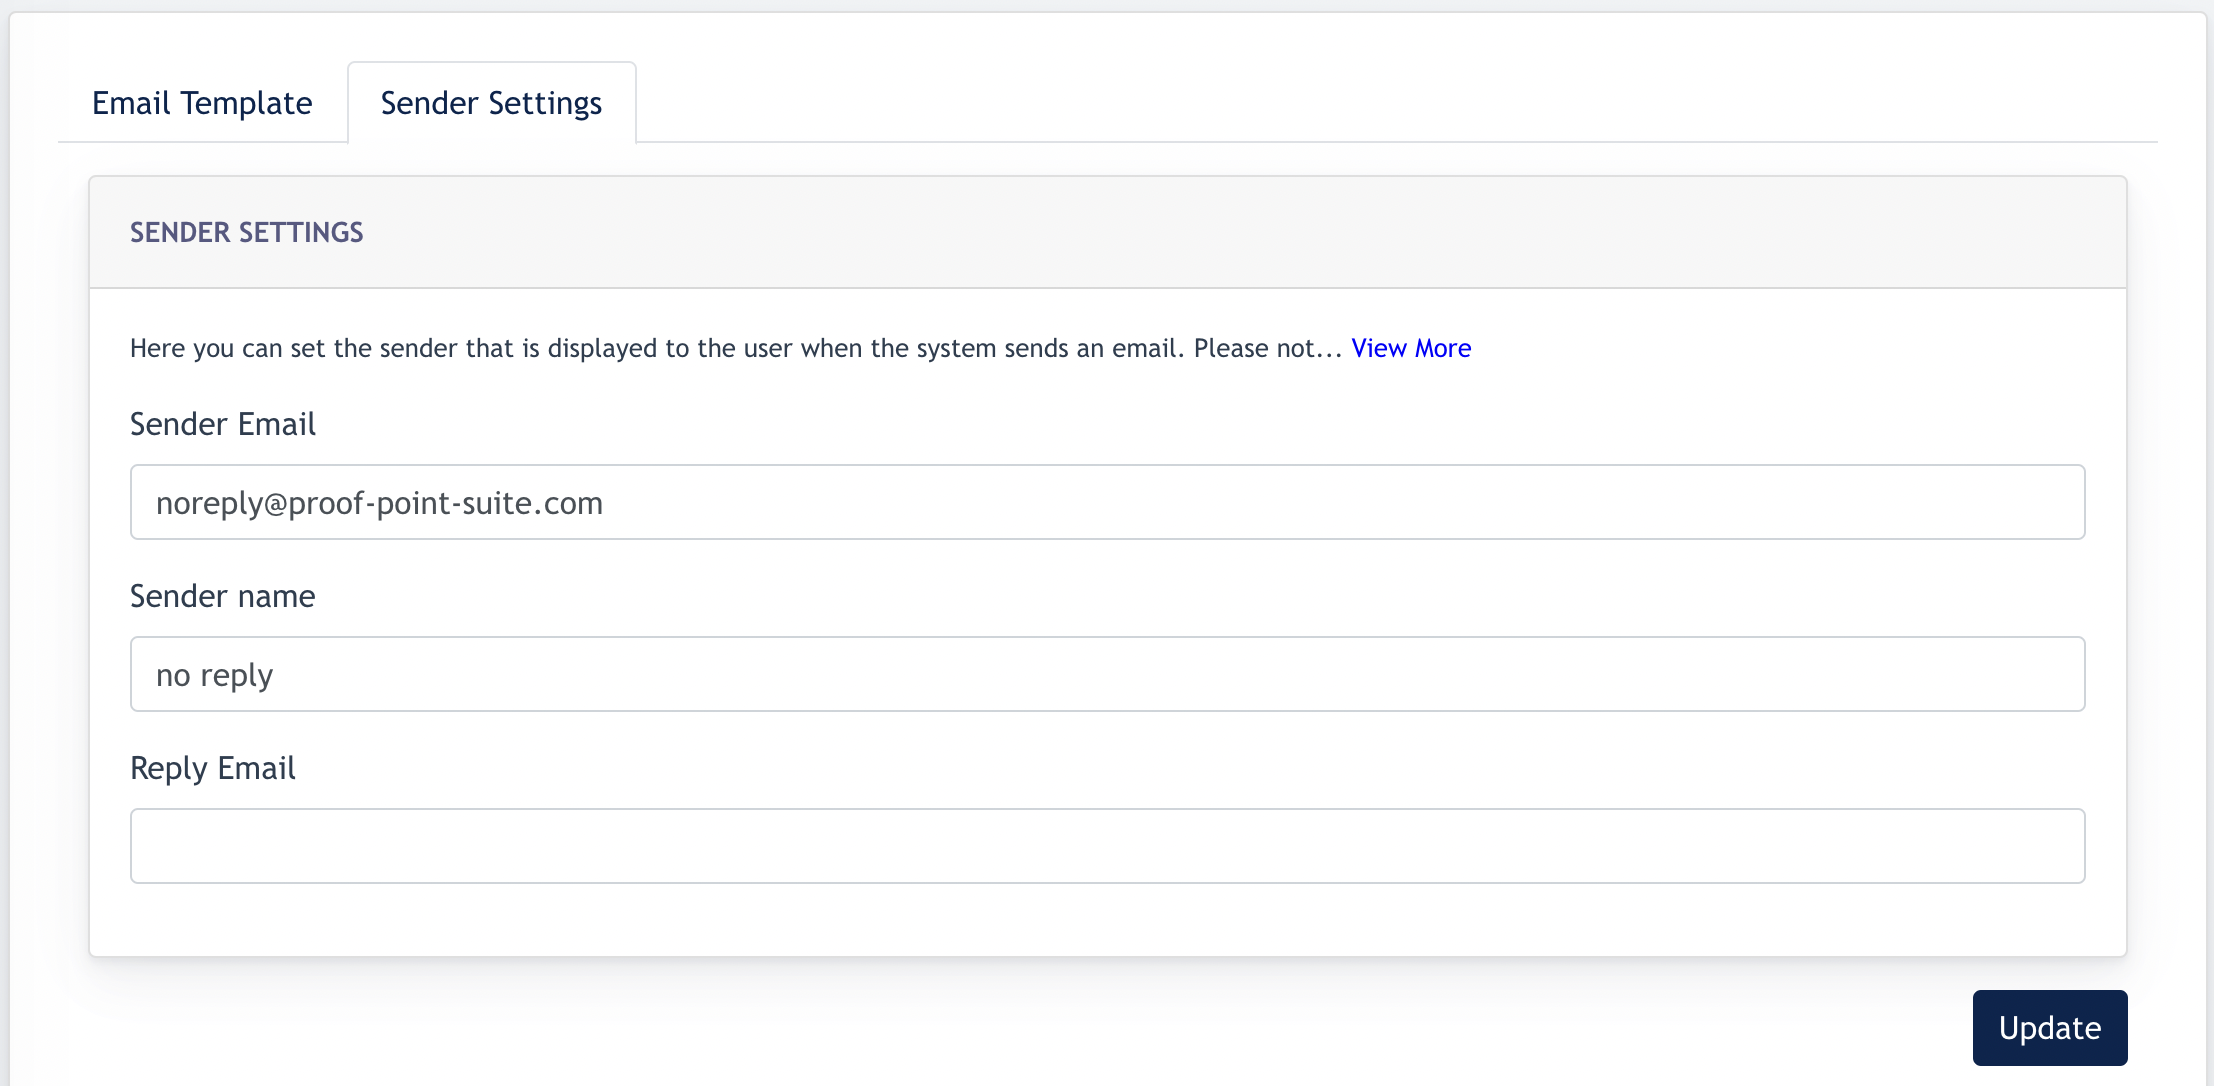
In addition to the email template, sender information can be configured under the Sender Settings tab.
The following fields are available:
- Sender Email – The email address displayed as the sender to recipients.
- Sender Name – The sender name displayed to recipients.
- Reply Email – The email address that will receive replies from recipients.
The Email Dispatch Domain Option
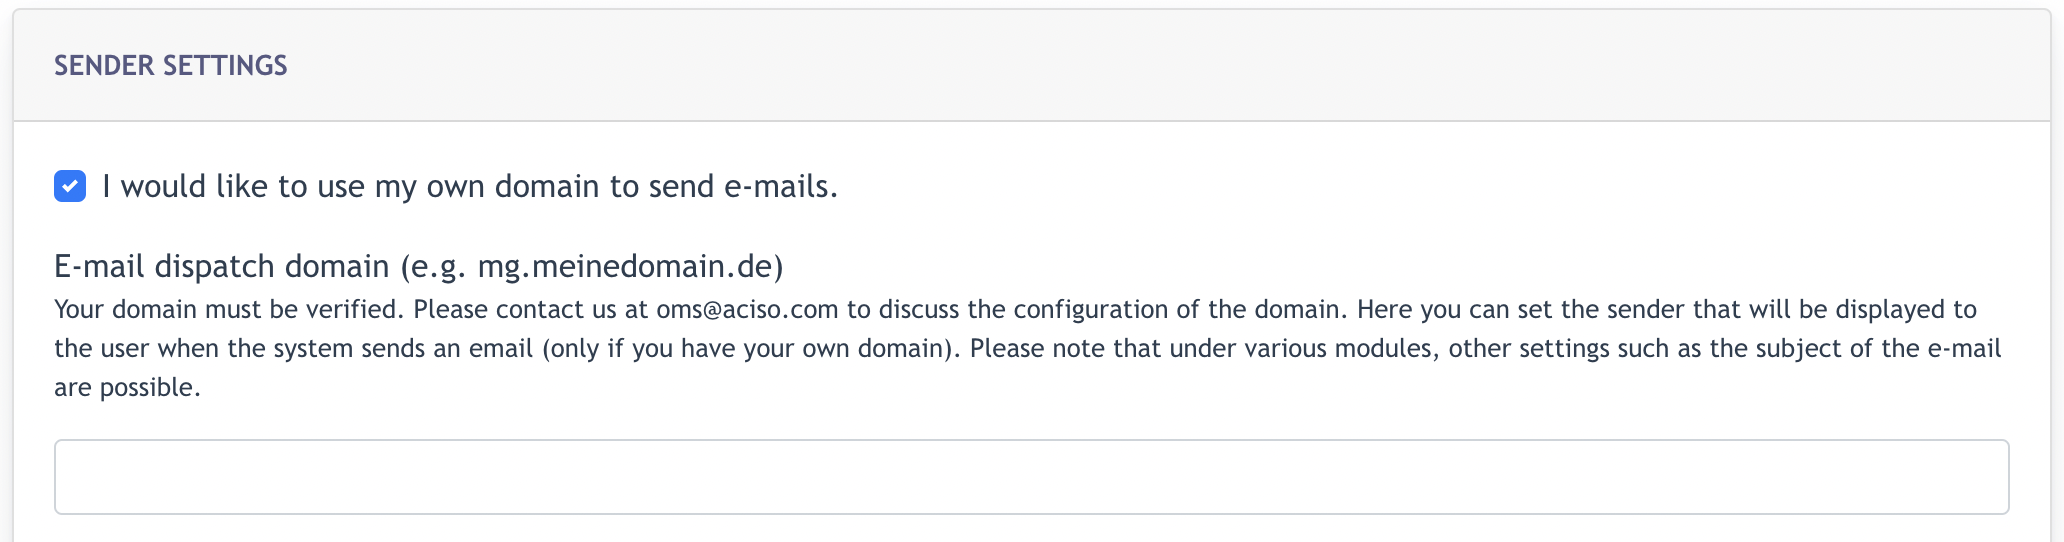
Remark: This option is only available when Mailgun is configured as the Mail Server. Customers who wish to use their own domain for outgoing emails should contact their Consultant for setup and verification.
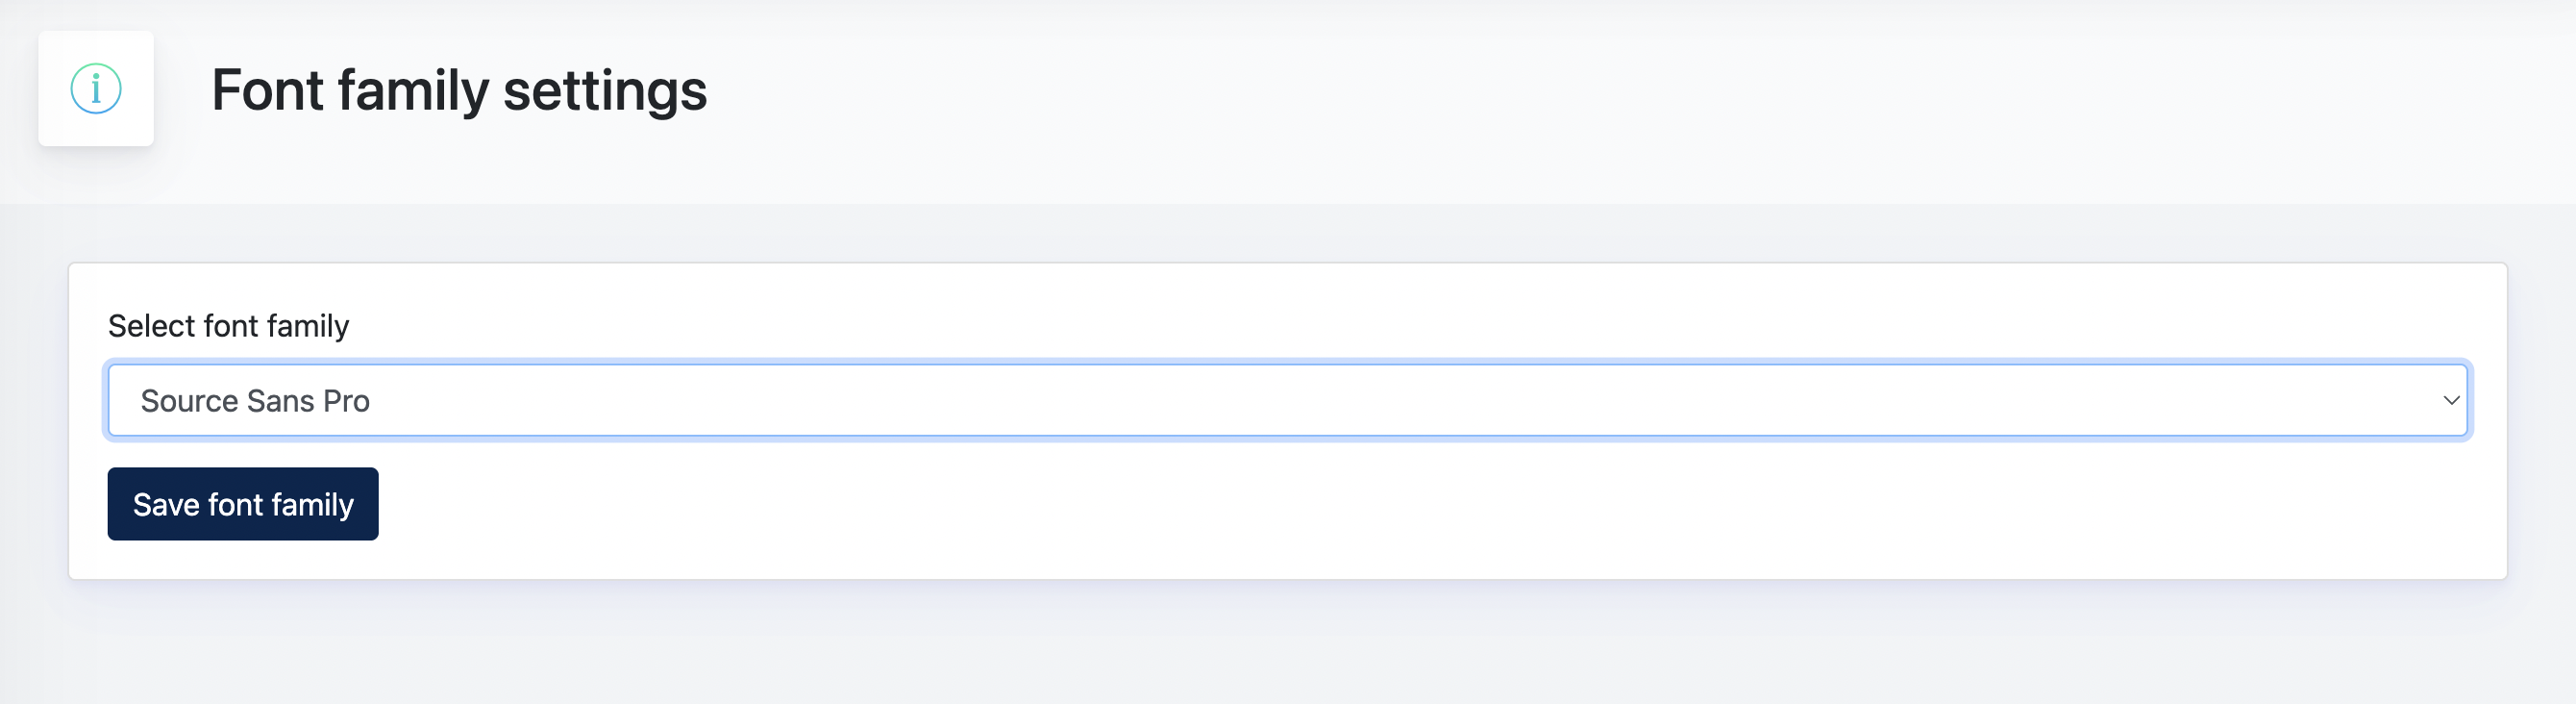
4. Font Family Setting
The Font Family setting allows administrators to select the default font used throughout the website.
Choose the preferred font family from the available options. Once selected, the chosen font will be applied across the site's content and interface elements to ensure a consistent visual appearance.
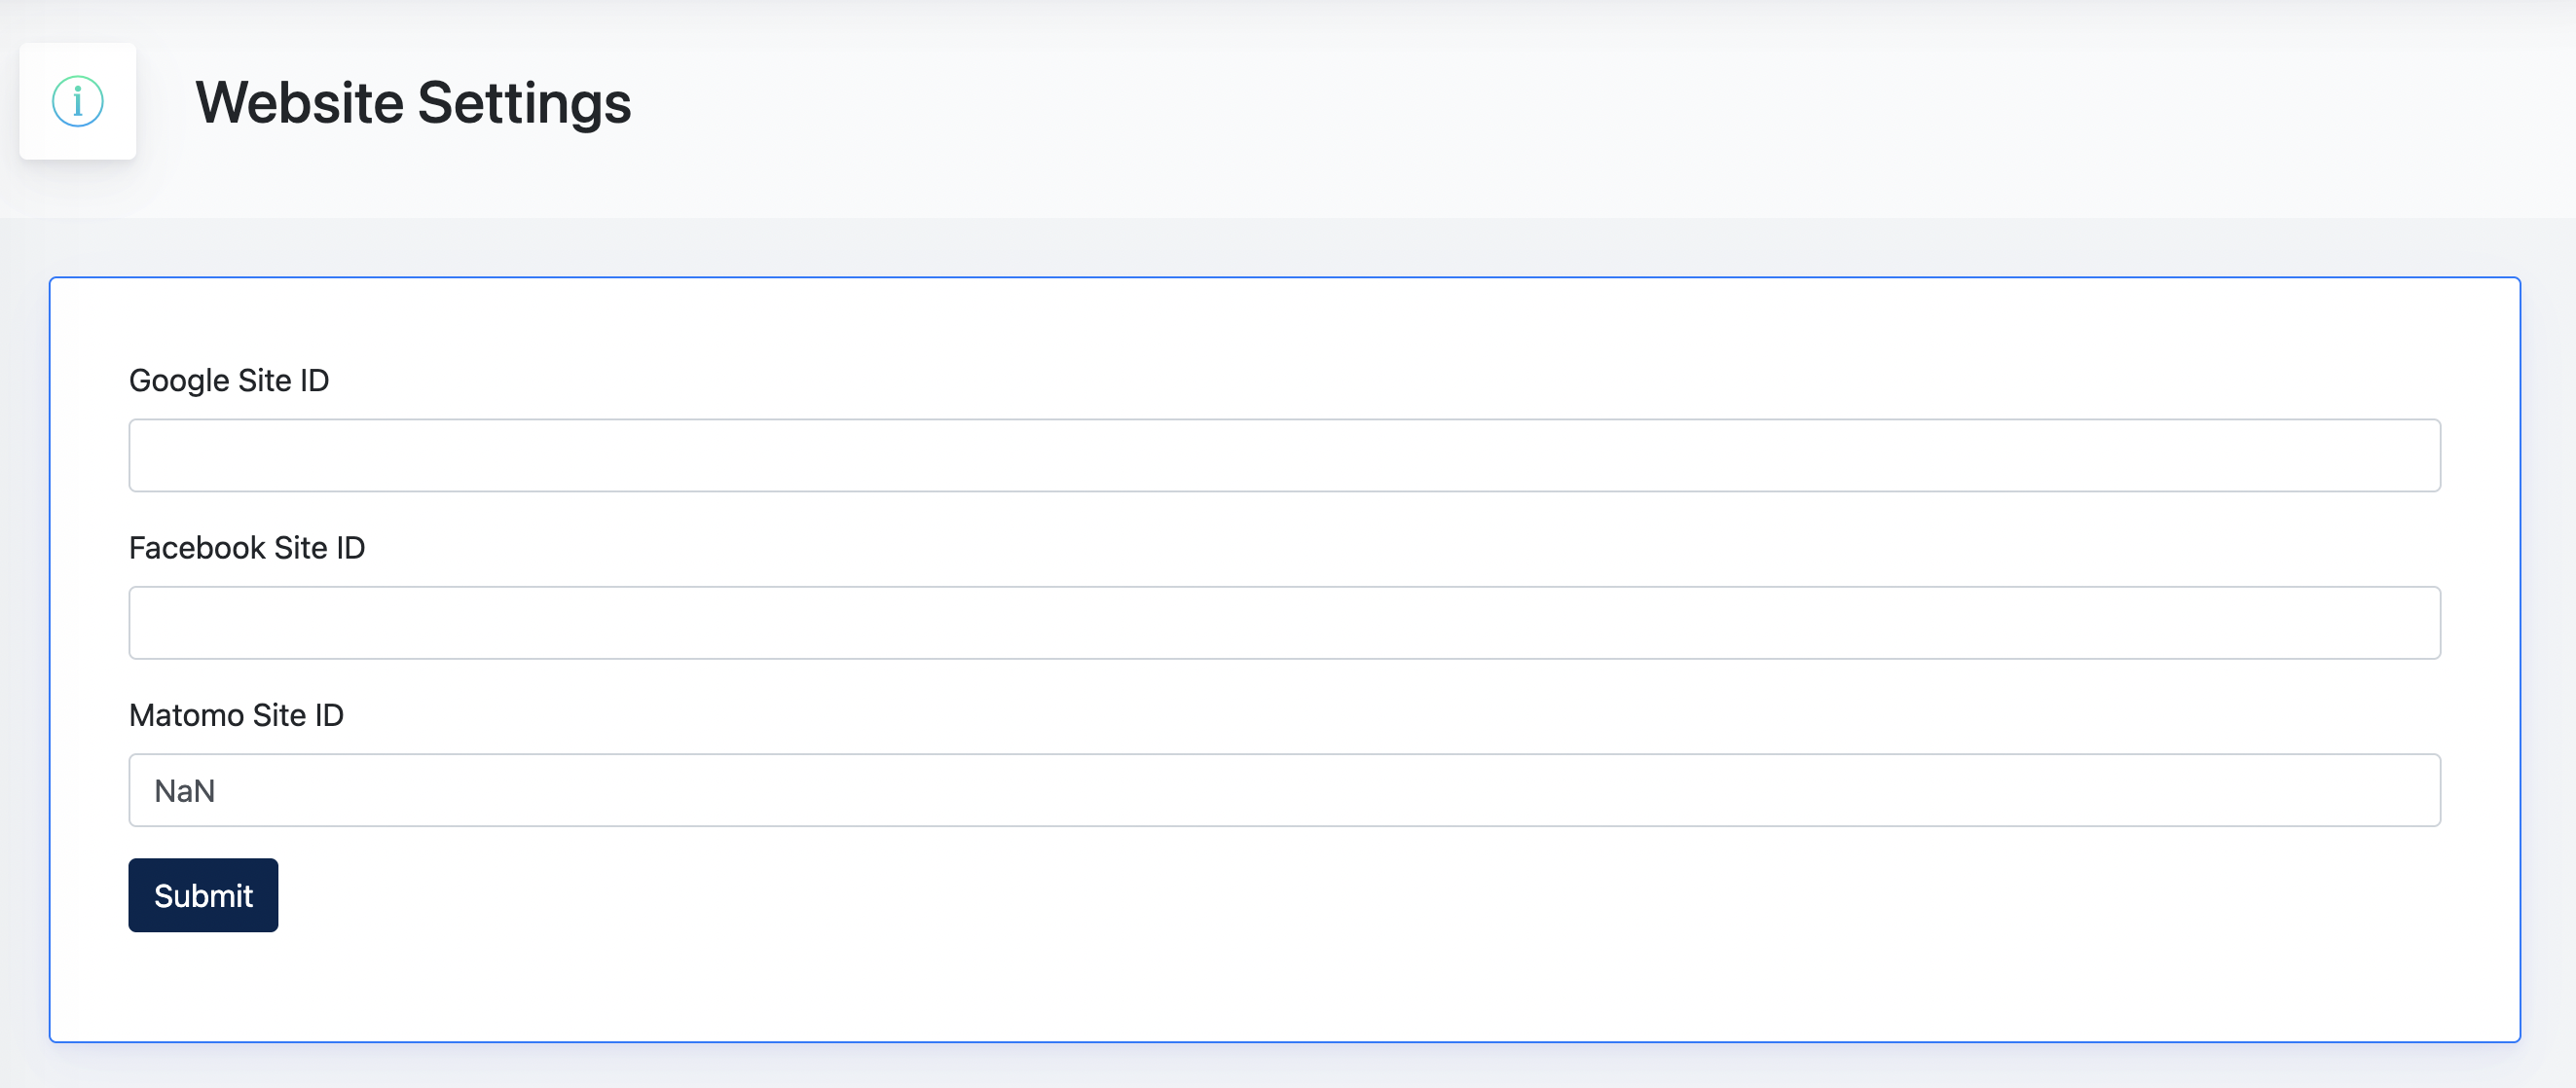
5. Website Setting
The Website Settings section allows administrators to configure tracking and advertising identifiers used by external services.
The following settings are available:
- Google Site ID – Used for Google advertising and tracking services.
- Facebook Site ID – Used for Facebook advertising and tracking services.
- Matomo Site ID – Used for website analytics and statistical tracking.
These settings are optional and only need to be configured if the Center uses the corresponding services.
6. GDPR Settings
The GDPR Settings section allows administrators to configure privacy-related features for the website.
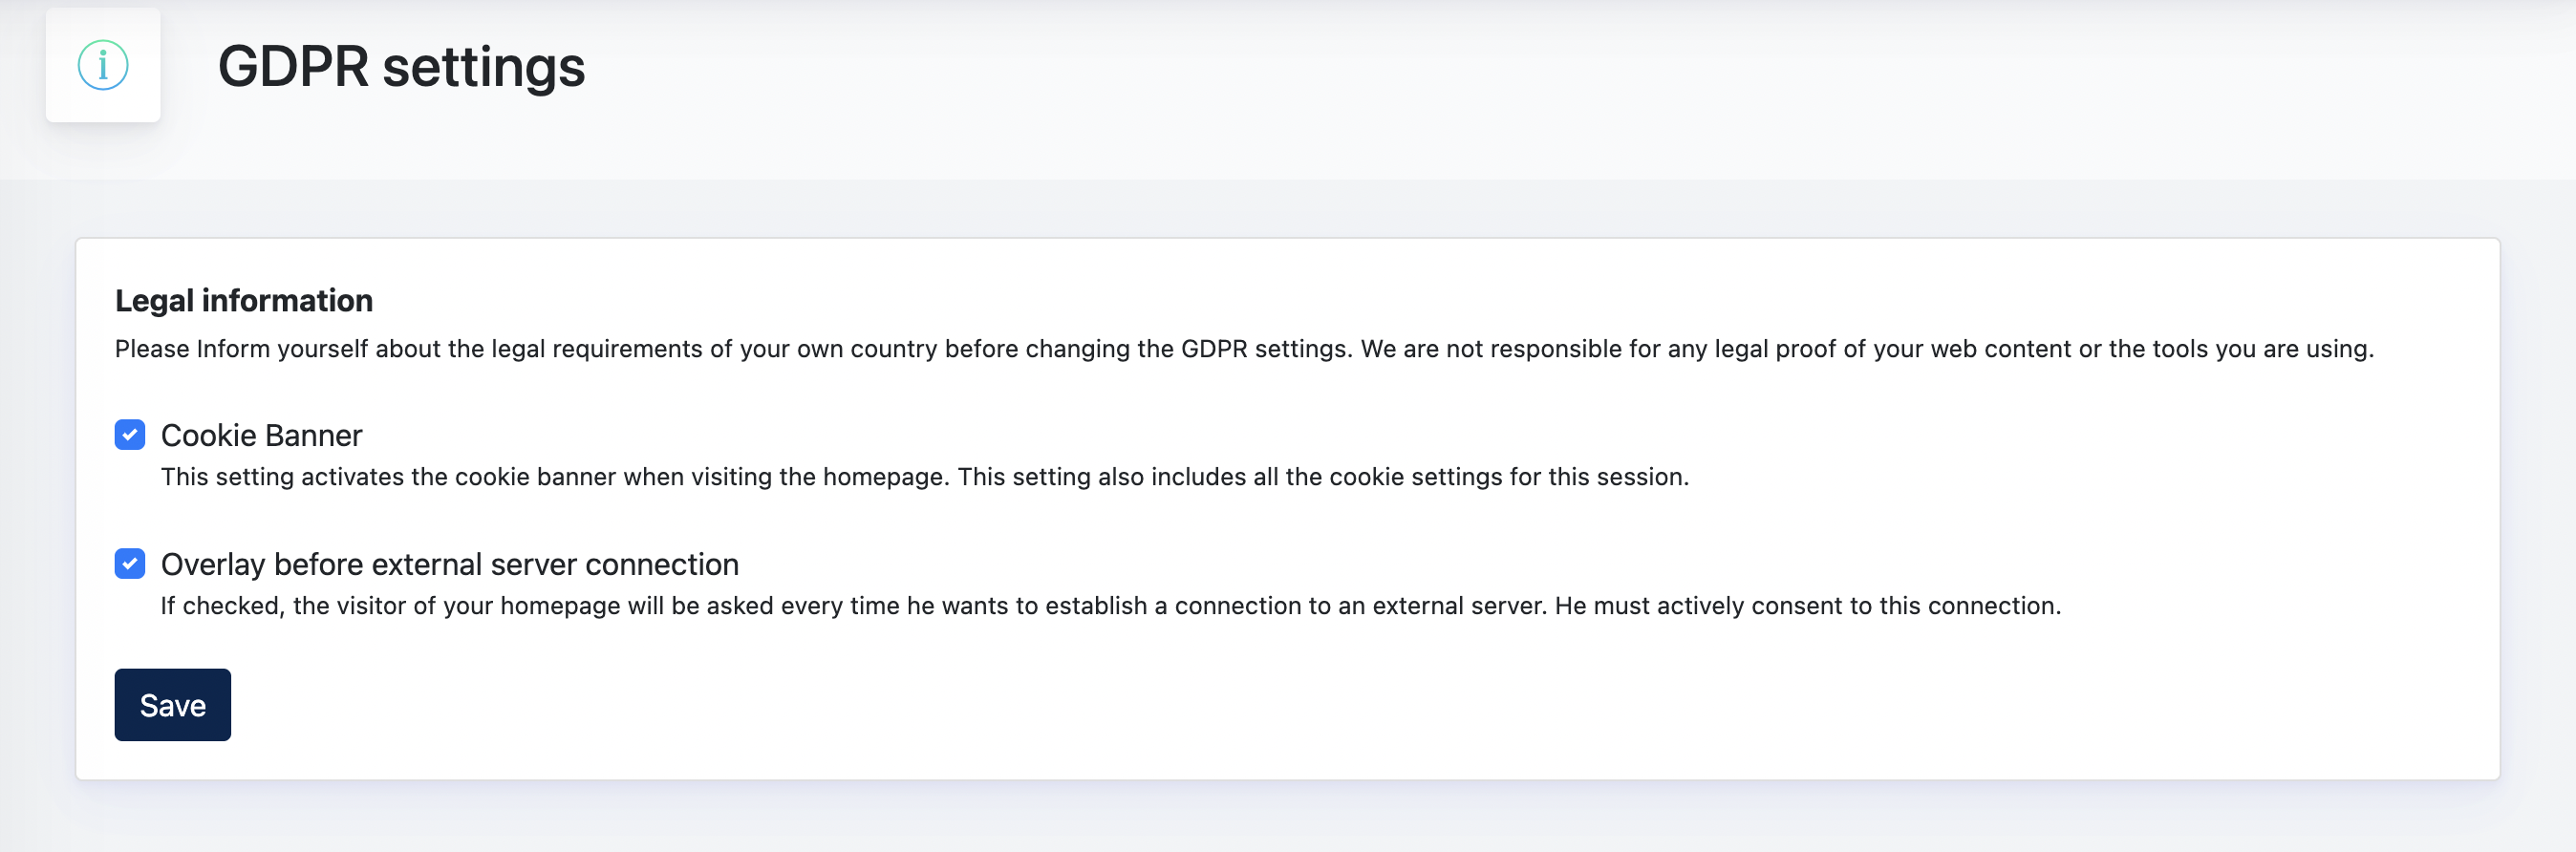
Cookie Banner
When enabled, a cookie consent banner will be displayed to website visitors. Visitors can review and manage their cookie preferences before using the website.
Overlay Before External Server Connection
When enabled, visitors will be prompted for consent before connecting to content hosted on external servers. This helps ensure compliance with privacy and data protection requirements when using third-party services.
Important Information
Center Administrators are responsible for ensuring that the website complies with the applicable legal and privacy requirements in their country.
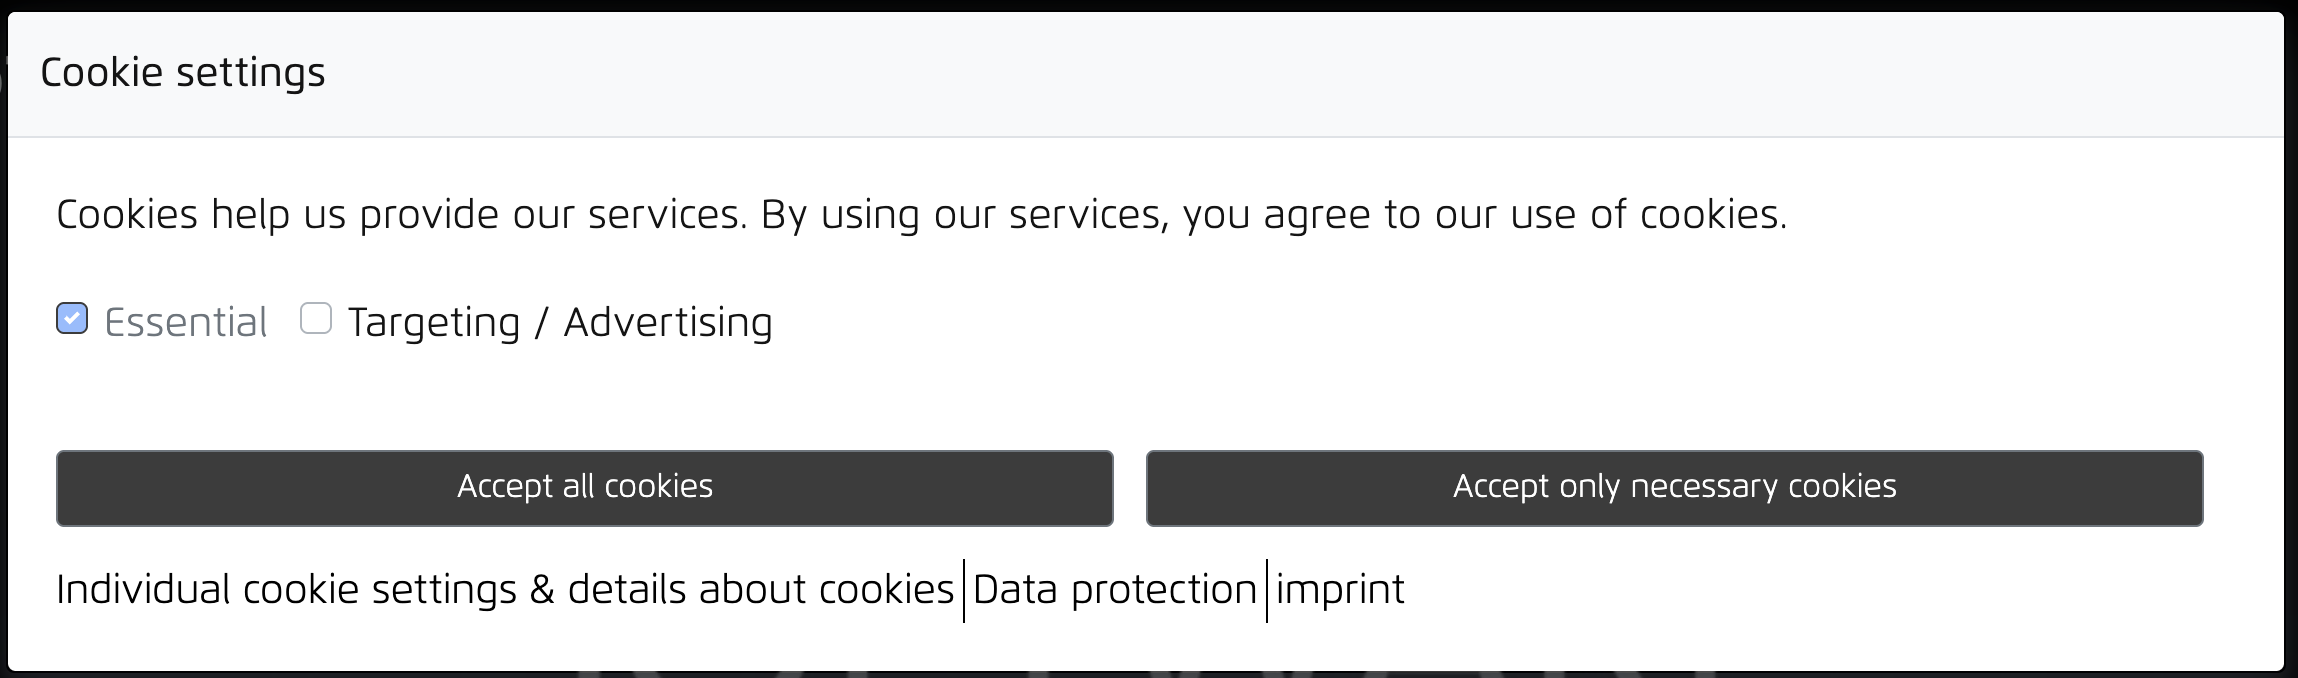
7. Cookie Banner
The Cookie Banner is displayed to website visitors to obtain consent for the use of cookies and similar technologies.
An example of cookie banner on Ark-Site
Configuration of Cookie Banner
7.1 Cookie Categories
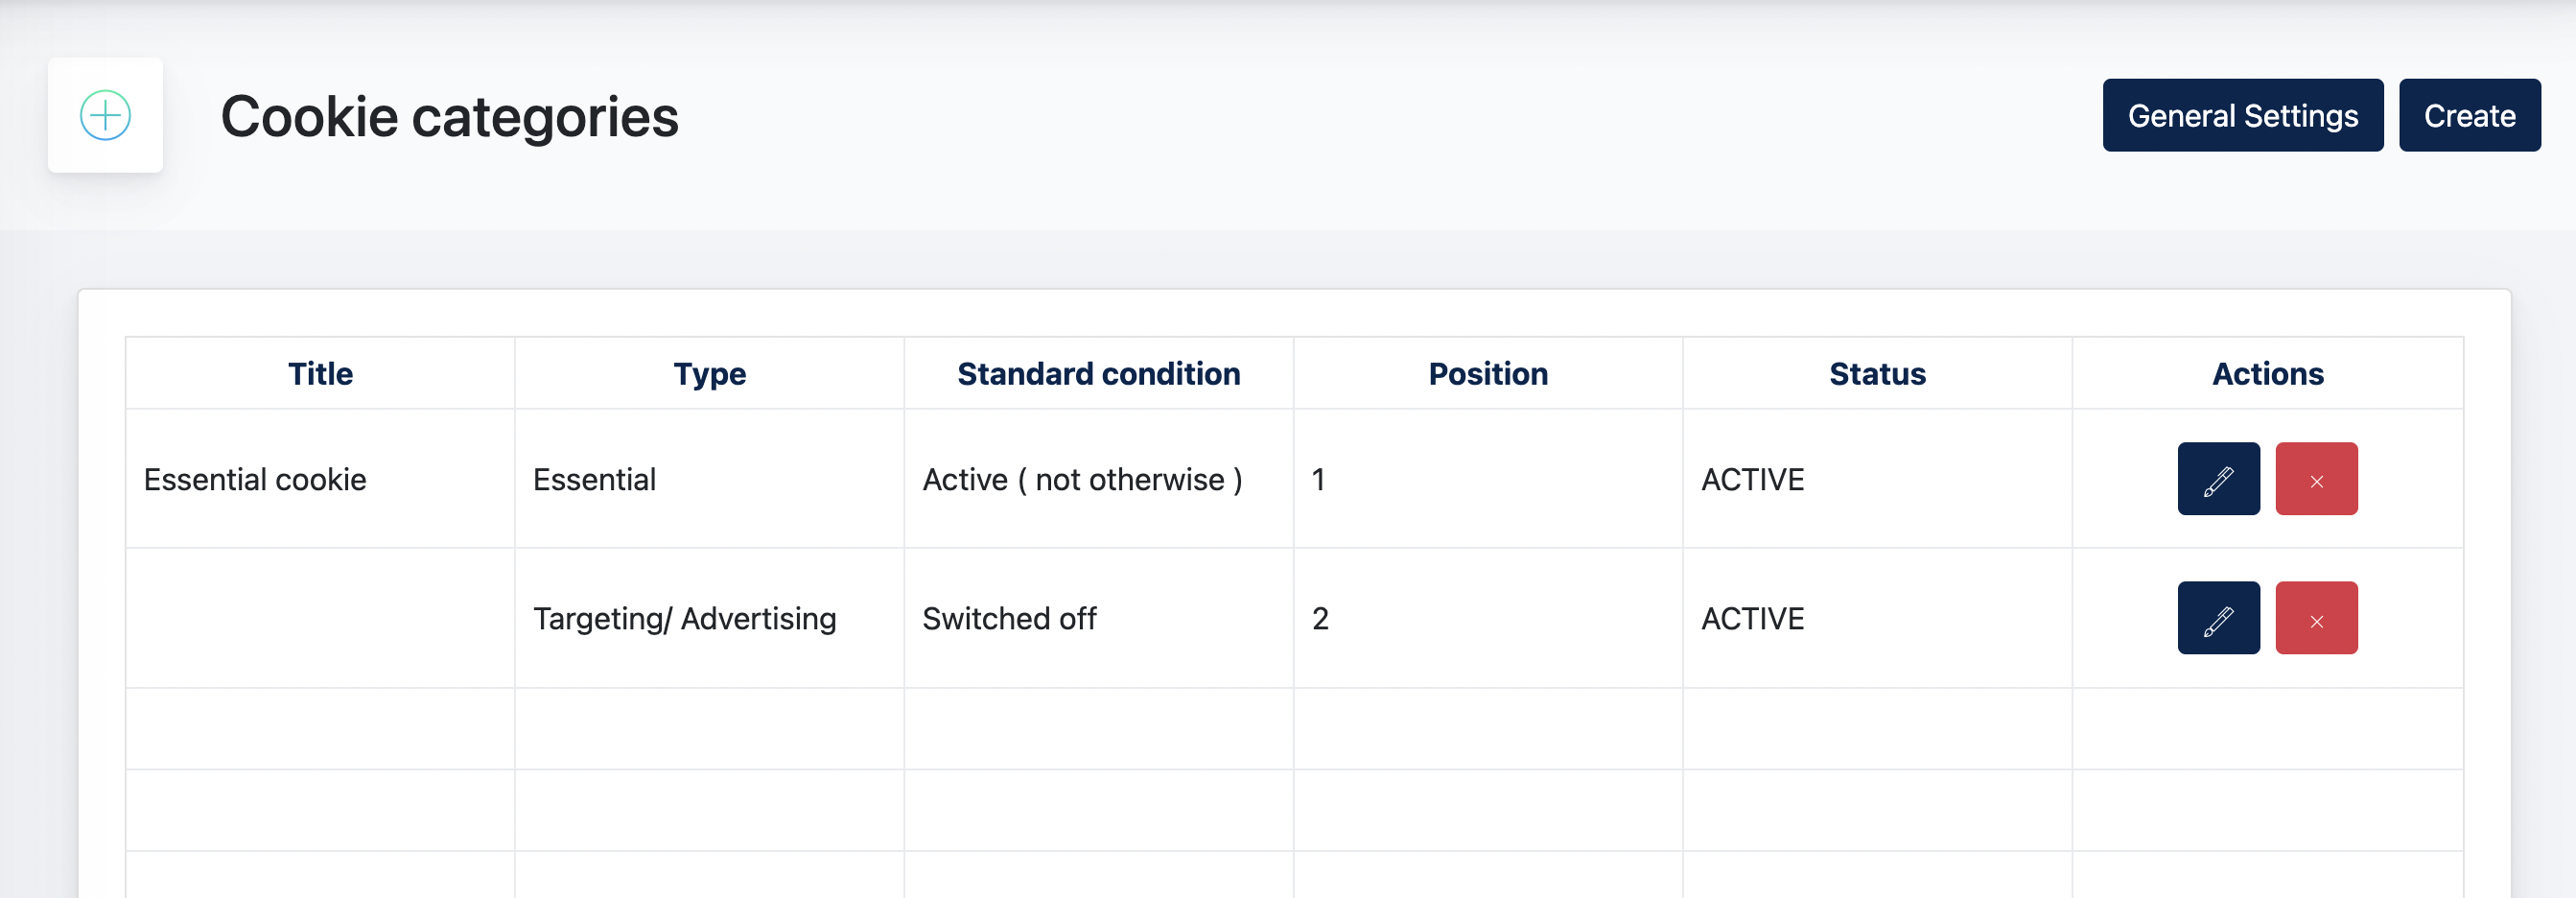
These categories help visitors understand the purpose of different cookies and allow them to manage their consent preferences.
ManagingAvailable Cookie CategoriesActions:
From here, administrators can:
Creating a Cookie Category
Click Create to add a new cookie category.
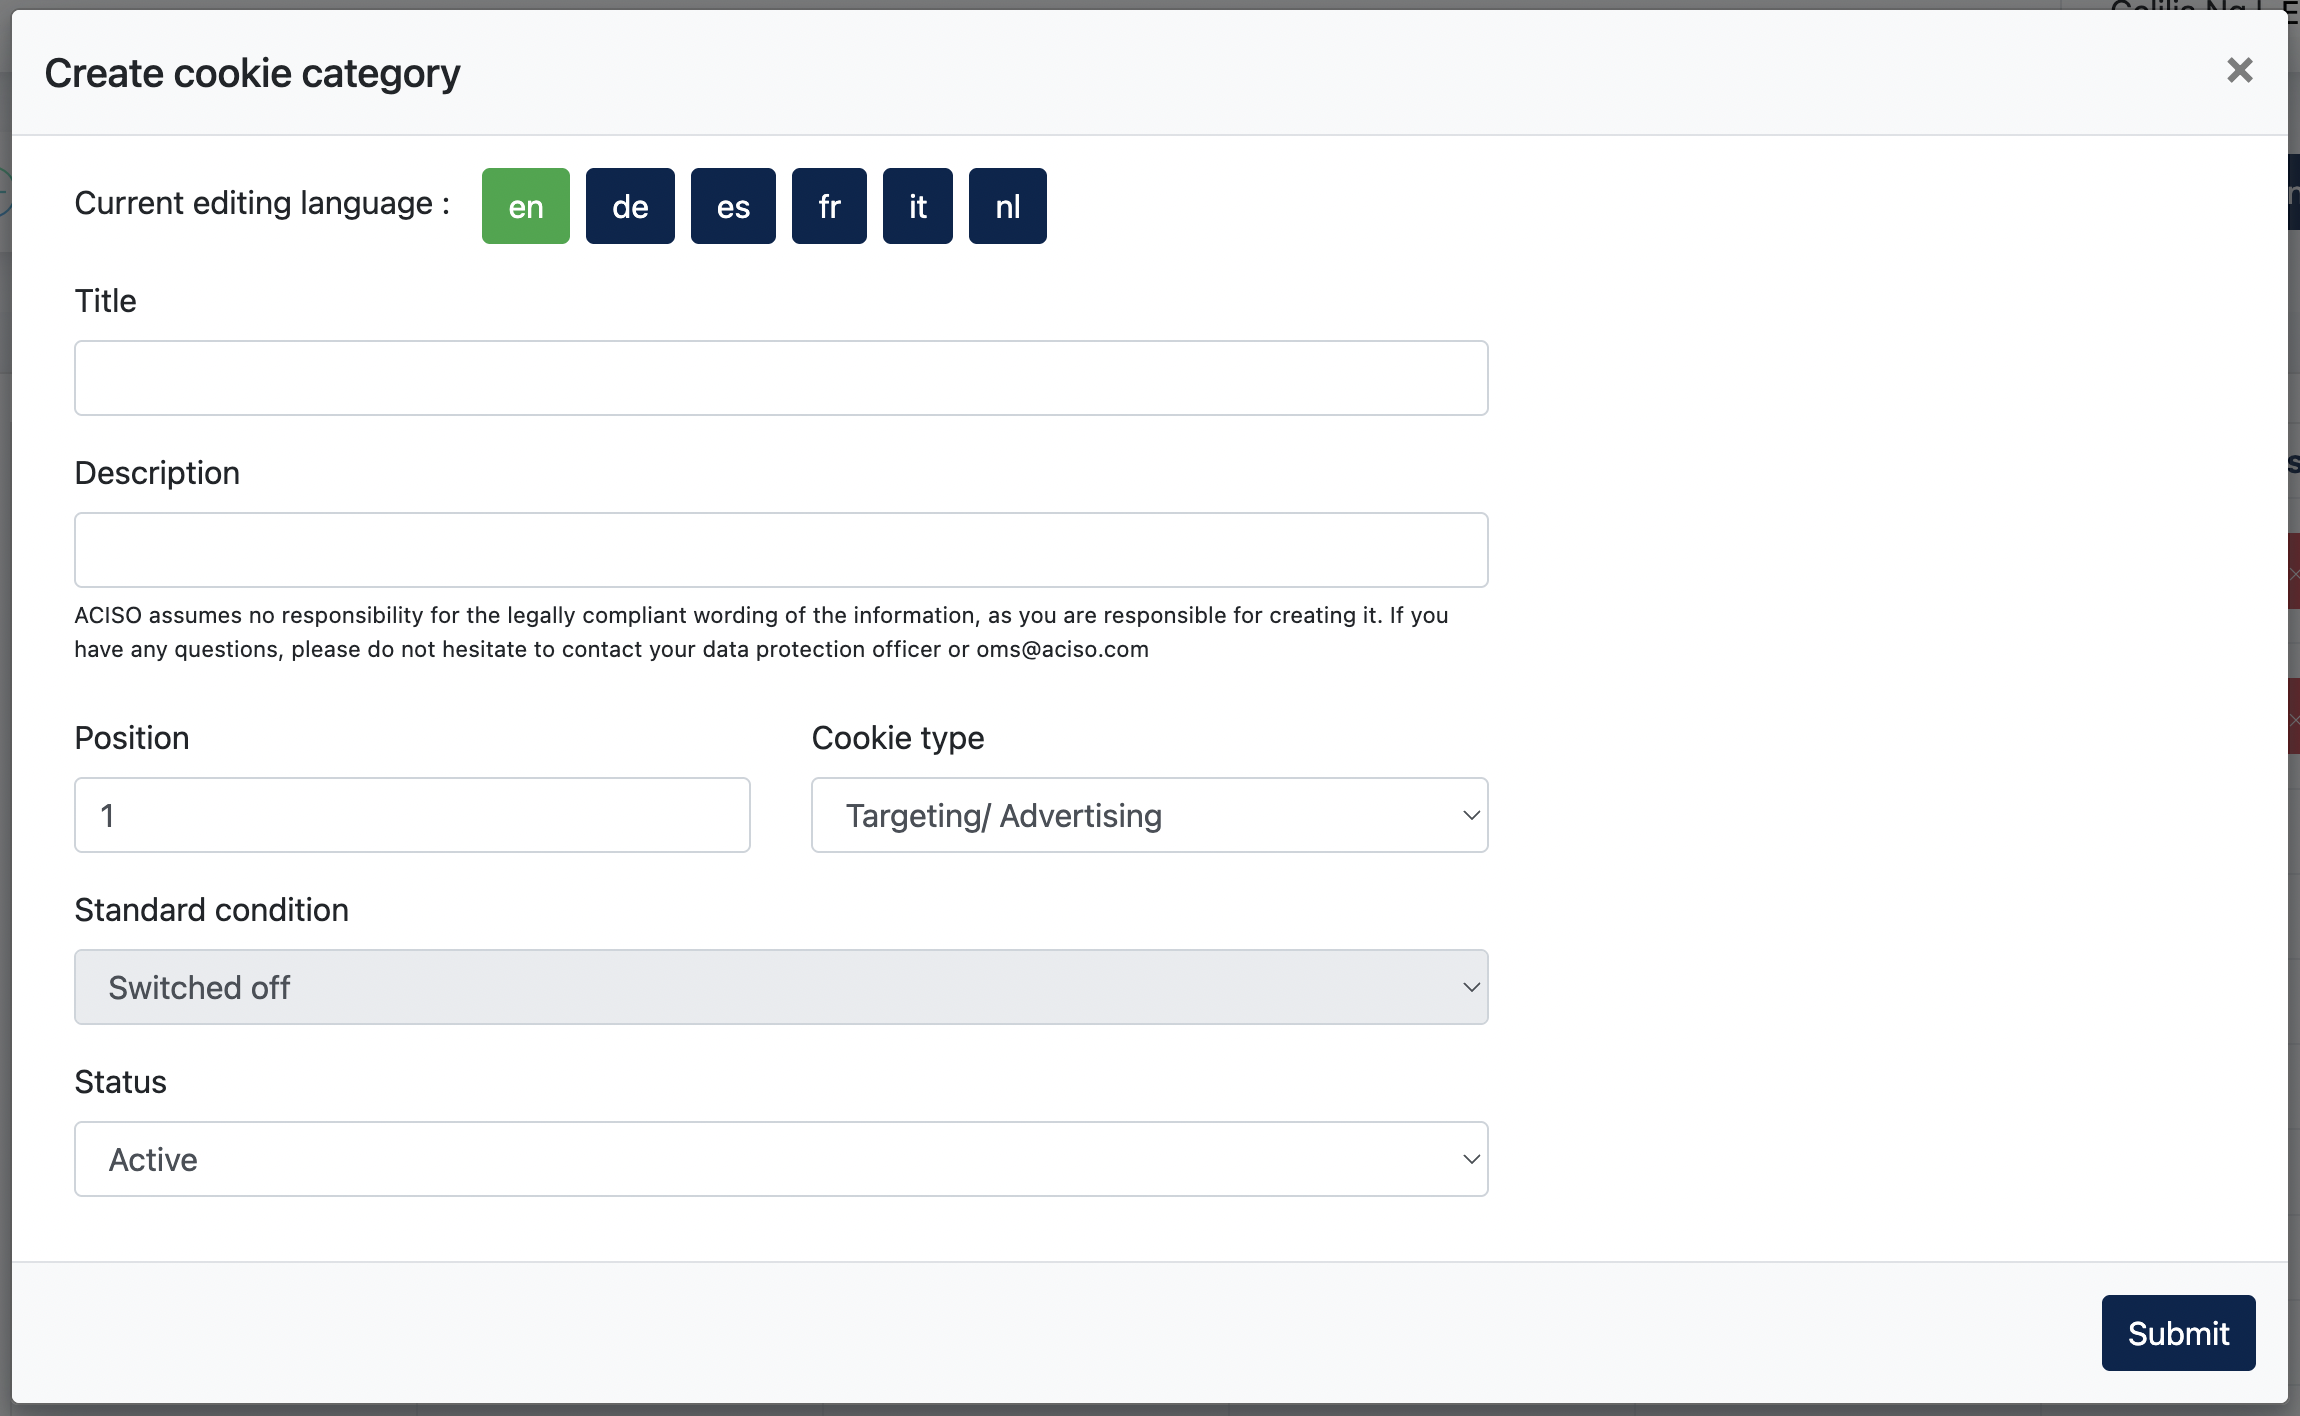
The following settings are available:
- Title – The name displayed to website visitors.
- Description – A description explaining the purpose of the cookie category.
- Position – Controls the display order within the cookie consent banner.
- Cookie Type – Defines the
typepurpose of the cookiecategory.category (e.g. Essential, Statistics, Marketing). - Standard Condition – Determines whether the category is enabled or disabled by default.
- Status – Controls whether the category is active.
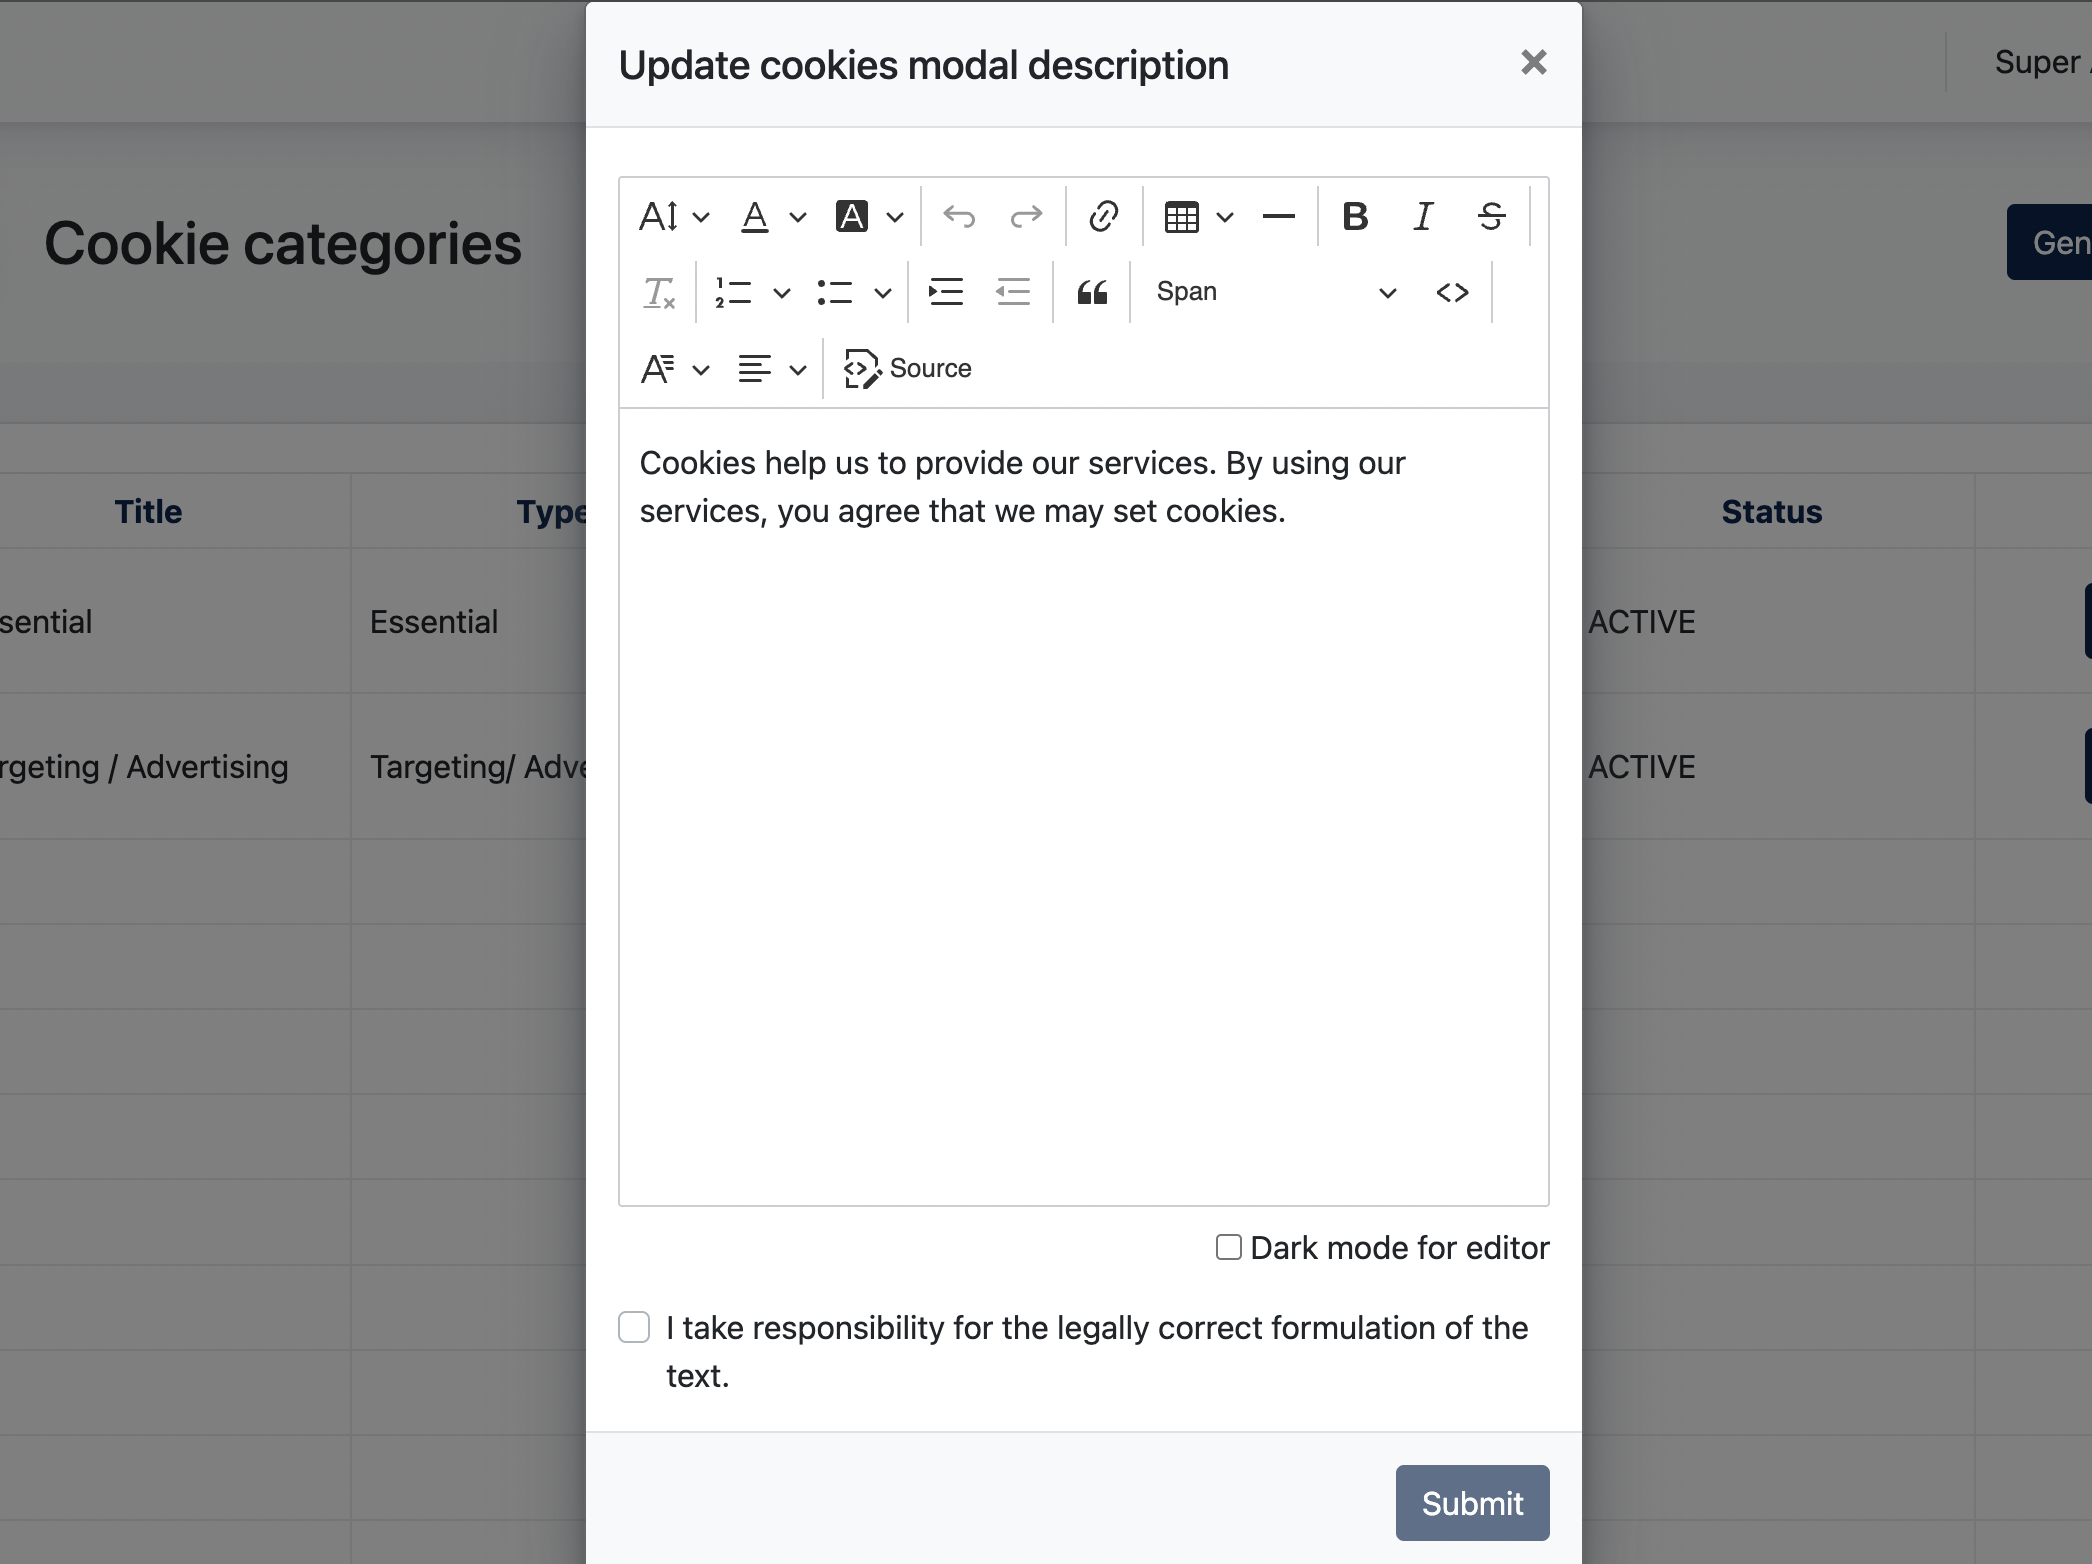
General Settings
The General Settings option allows administrators to customize the content displayed in the cookie consent modal.
This content is presented to visitors when they review the website's cookie settings.
Important Information
Administrators are responsible for ensuring that all cookie
descriptionsdescriptions, consent texts, andconsentcookie-relatedtextsinformation comply with the applicable legal requirements in their country.ARK/ACISO does not assume responsibility for the legal accuracy of the content provided.