Ark Site - On boarding Configuration
Overview
When a center subscribes to Ark-Site. There are a few steps to setup basic configuration in order to launch the website.
1. Setting up GDPR
When a Client / Center admin needs to use the subscribed modules on Cockpit, Client role needs to provides consent for AV contract on cockpit.
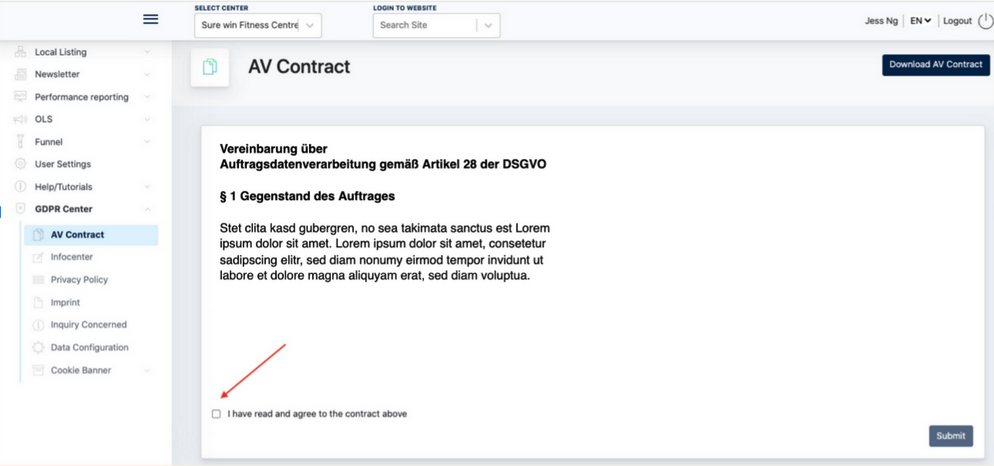
1.1 How to provide consent on the AV contract
Login to Cockpit > GDPR Center > AV Contract
Tick the checkbox “I have read and agree to the contract above”
And then click “Submit”
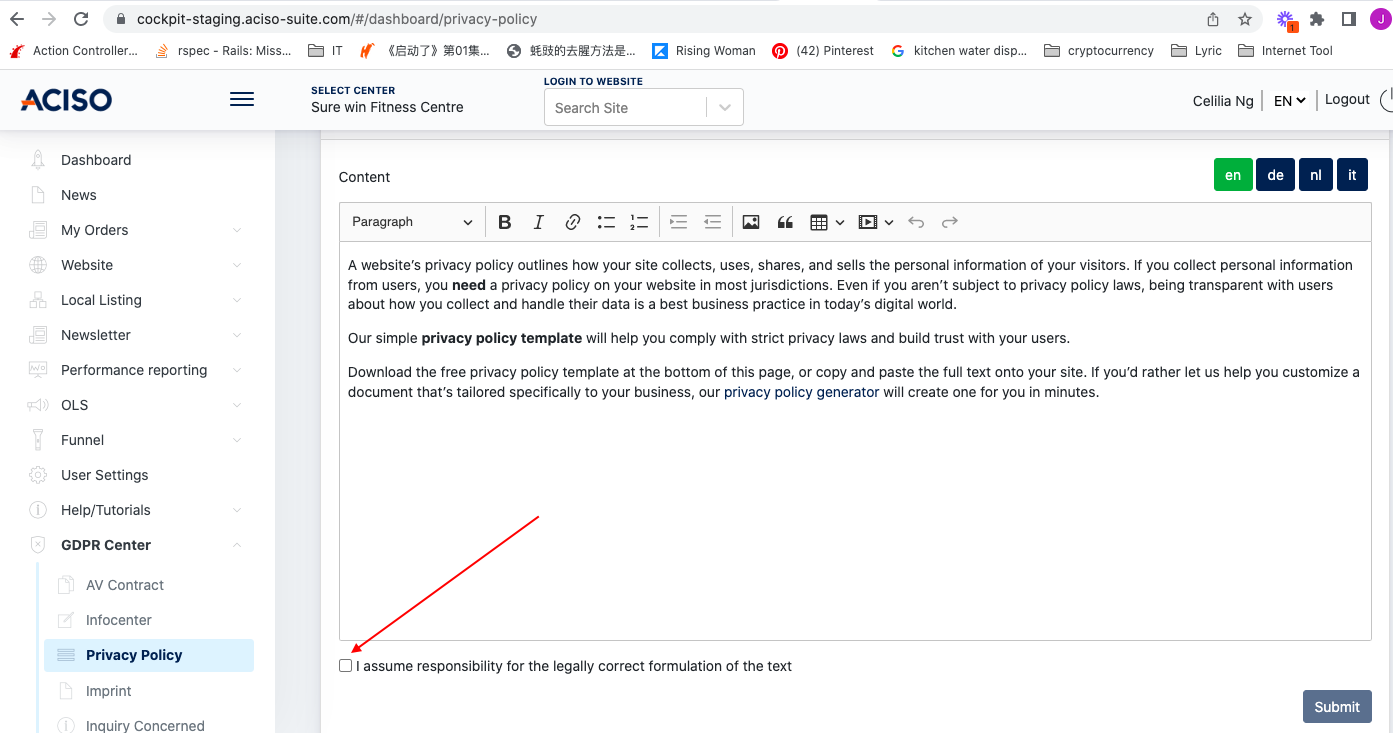
1.2 Provide consent on the Privacy Policy & Impressum :
Next, Client role needs to also provide consent for the content of Privacy Policy & Impressum before they can access the Ark Site Admin Panel.
This workflow ensures Client acknowledge that it is his duty and accountability to take care of the site content.
- Login to Cockpit as Client Role
- Tick on the checkbox for both Privacy Policy & Imprint to provide consent.
- Click Submit button.
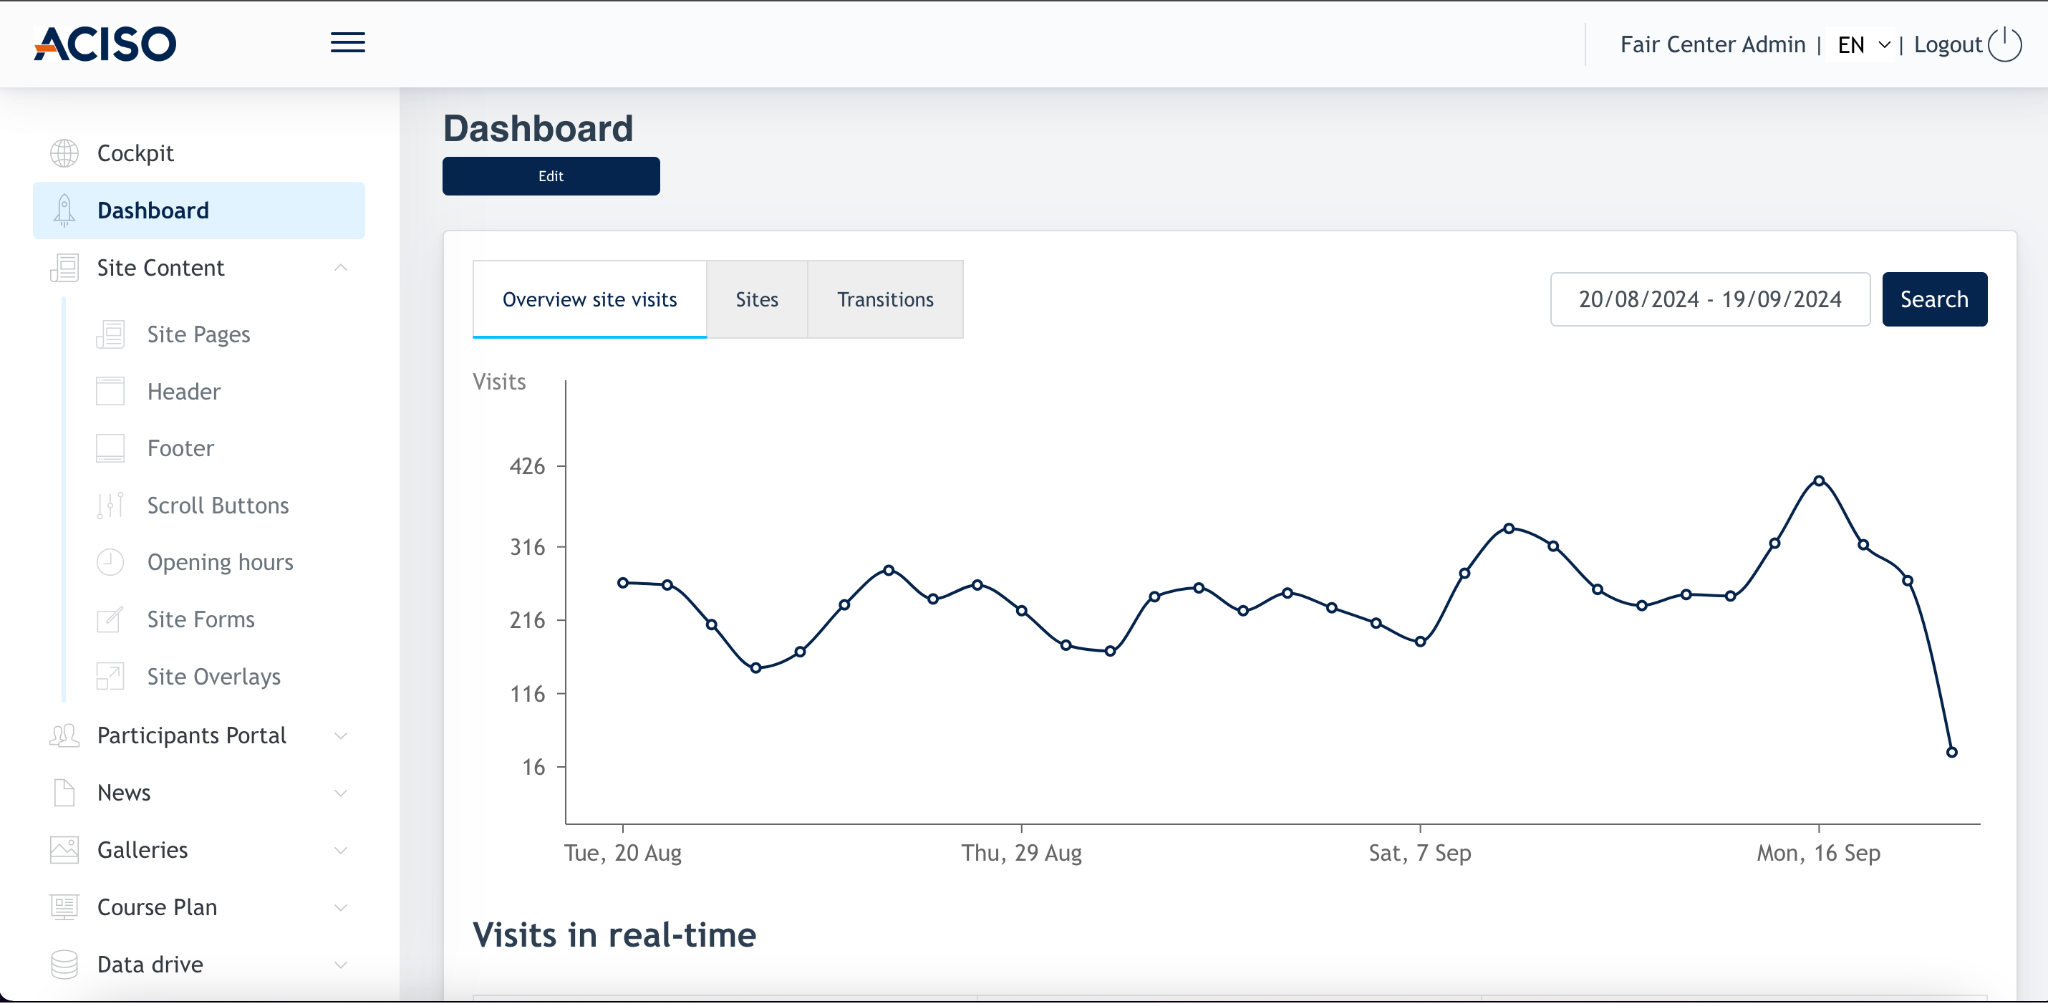
After 1.1 & 1.2 is completed, Client/Center admin can now access Ark Site admin panel.
Screenshot example:
2. Setting up center location
Many of the modules within Ark Site requires location to work properly. Thus, we need to set up Center location.
To set up location, Center Admin logins into Cockpit > Local Listing > Locations

Click on [ Create ] and you’re allowed to create multiple locations for the center.
It is mandatory to create 1 location for 1 center.
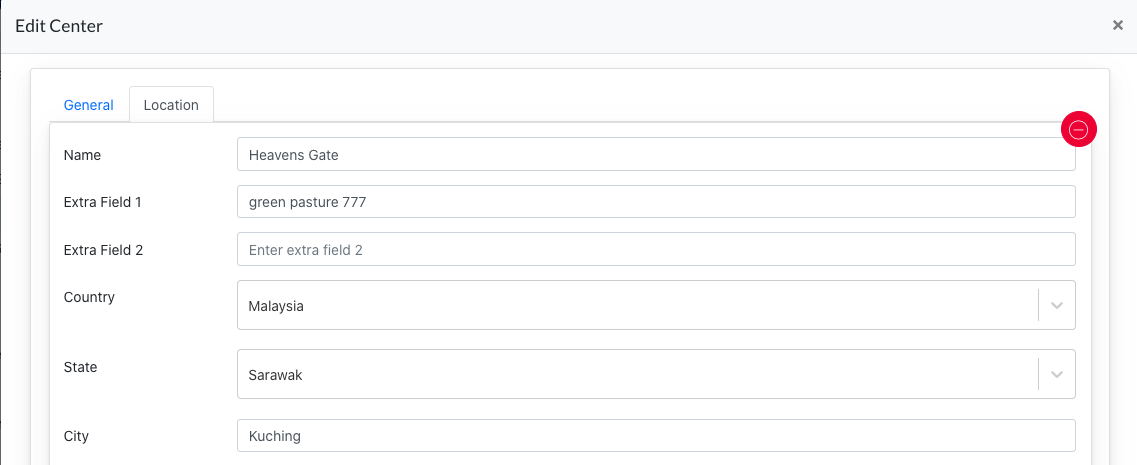
Another way to setup a location is via Ark Management > Center > Edit Center > Location tab
Important to know: This location tab on AM is sync with the Cockpit Location page. They share the same data.
2.1 Main location
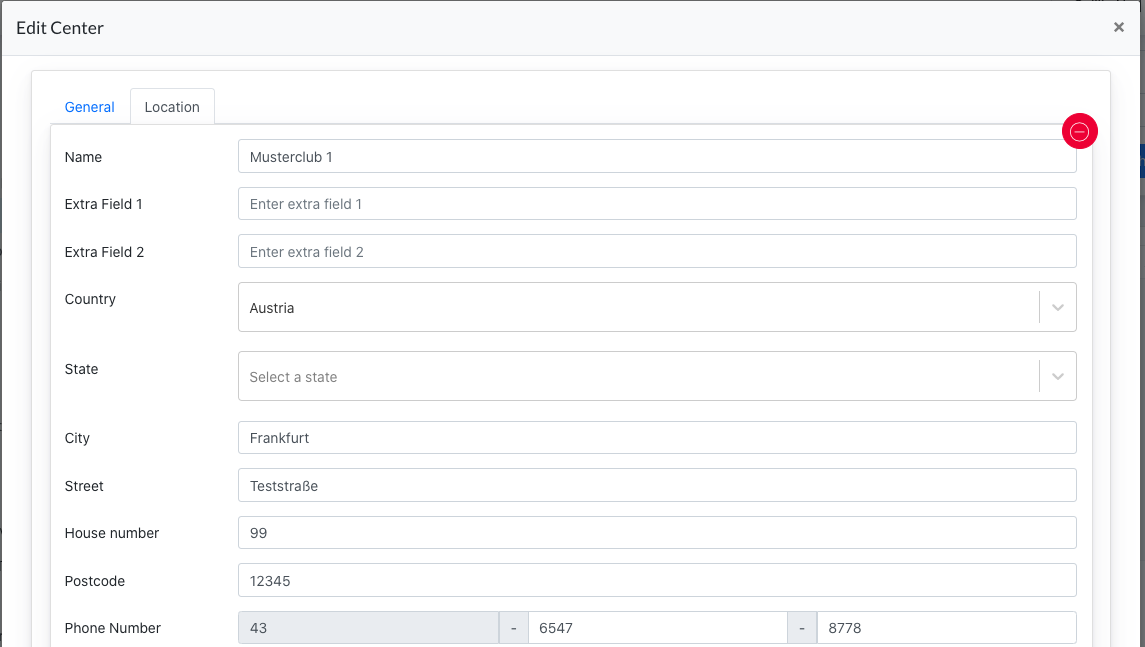
For every center’s location setting, there is always a main location. Main location comes from following configuration:
- Ark Management → Center → Edit → Location → 1st location appear on the top of the listing
3. Setting up Center Setting
On Ark Site Admin Panel, Go to Center Setting. Here you set up all the fundamental site configurations.
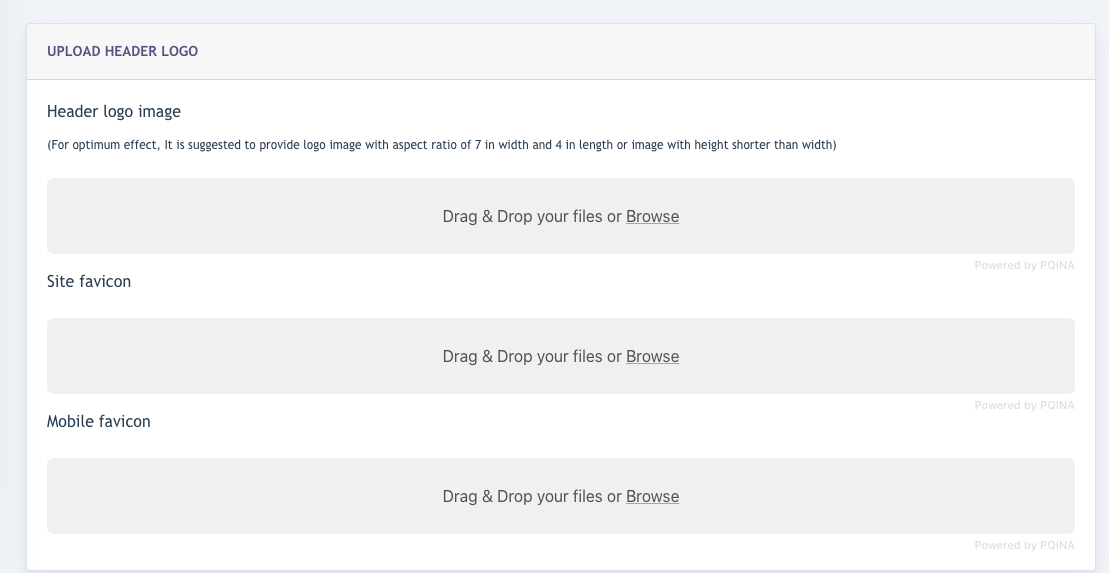
3.1 Logo Icons
This is mandatory setting for the site.
Admin may upload images for Header logo, Site favicon, Mobile favicon here.
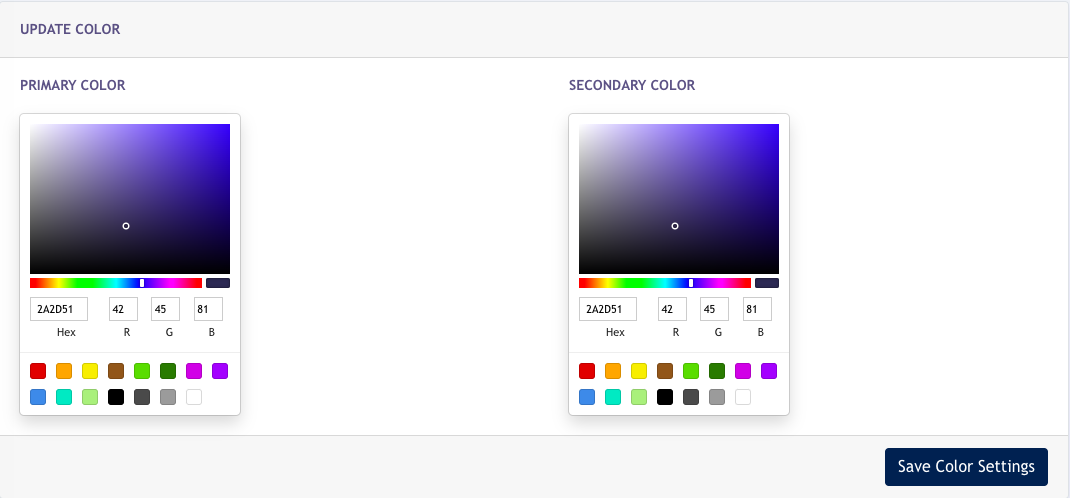
3.2 Colour Setting
This is mandatory setting for the site. Primary & secondary colours are 2 main colours applied to the entire site.
This can be used to make sure Center's identity is consistent across all pages of the site.
3.3 Social Media
Center Admin may setup Social Media buttons for the website. This is optional and not mandatory.
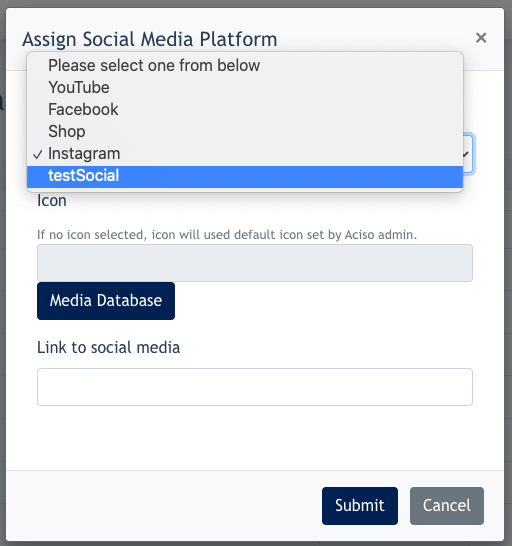
Screenshot below show Social Media icons appearing at the Footer

3.4 Email Config
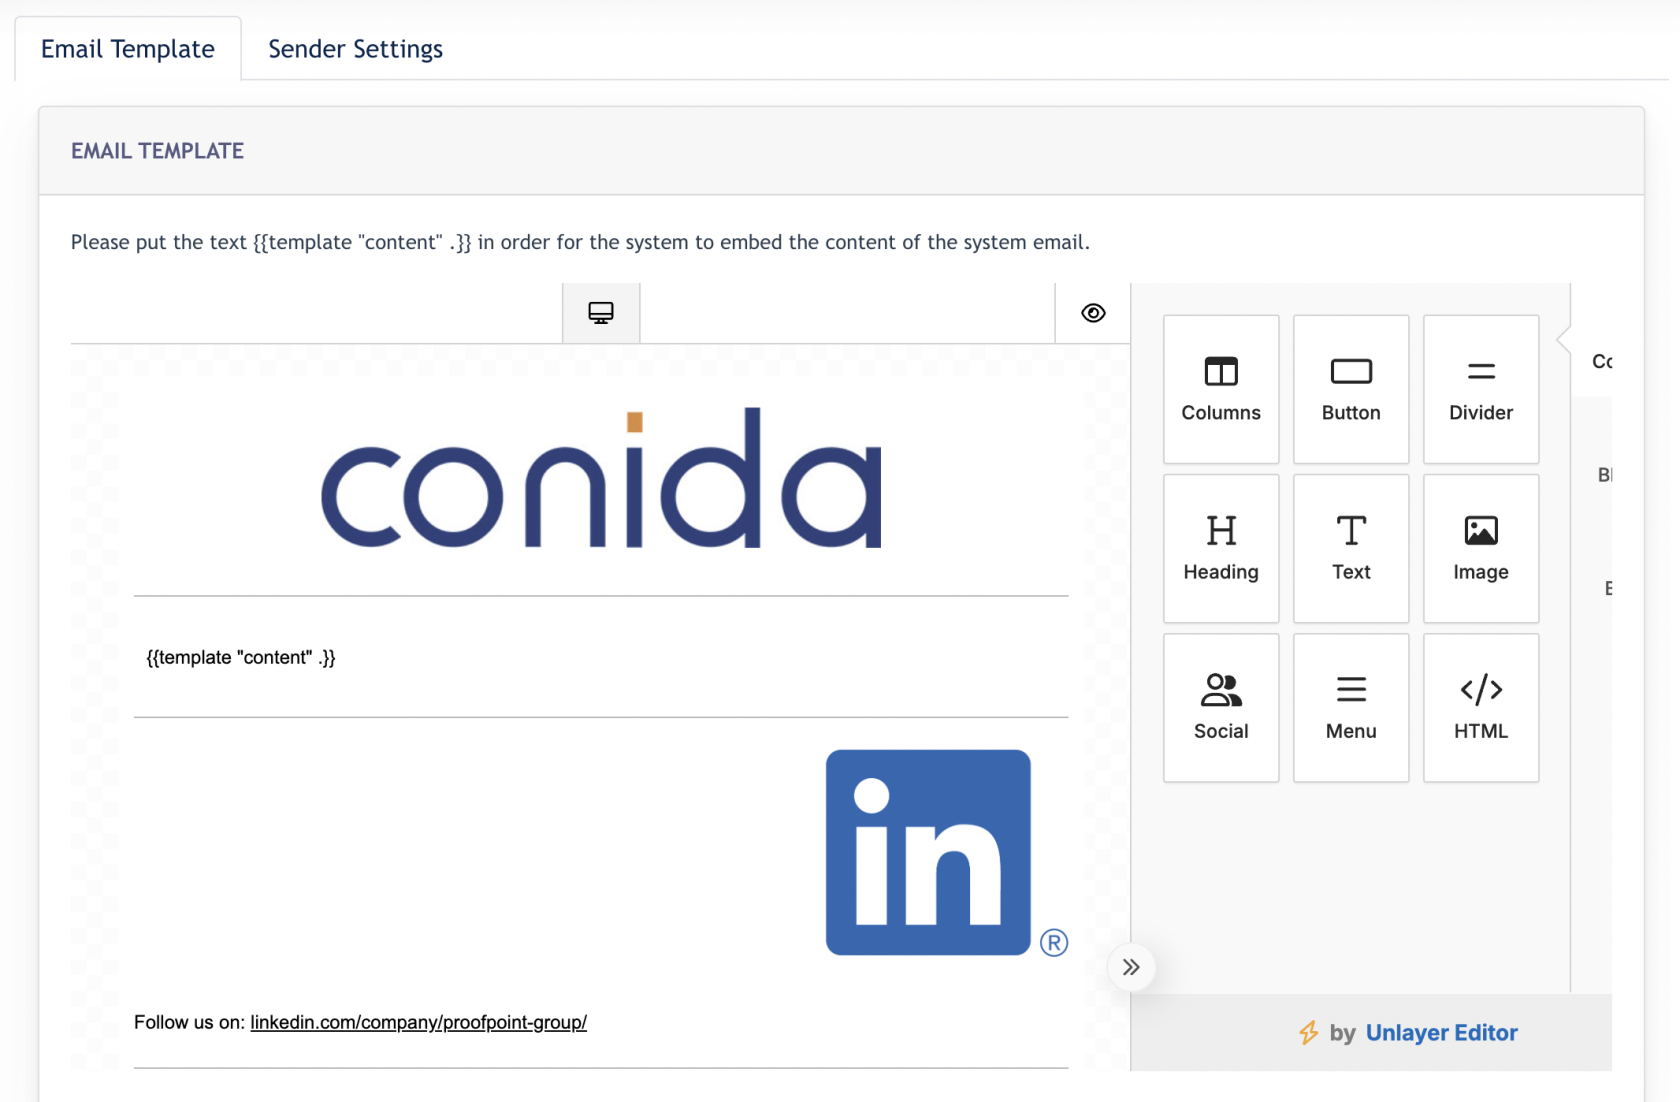
Admin can configure and customize an email template for the center. When any emails are sent from Center, this email template will be applied.
Go to Center Setting > Email Config > Email Template tab
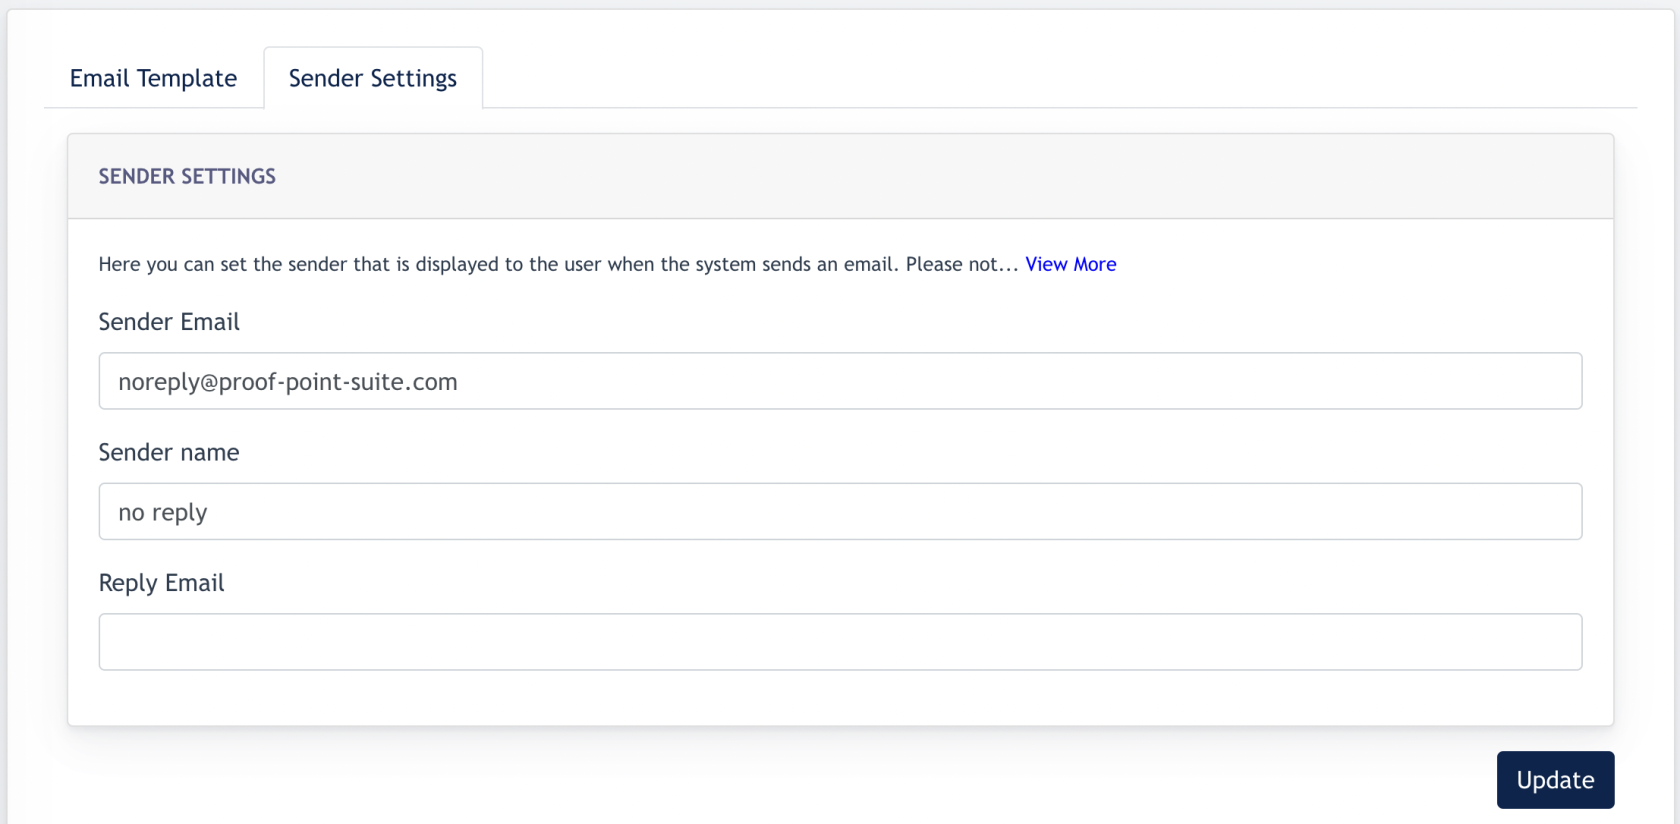
- Admin can also setup the Sender's information via the [ Senders Settings ] tab.
- Sender Email : email address appears to the receiver
- Sender Name : sender's name appears to the receiver
- Reply Email : another email address used for reply purpose
Remarks : If Admin sees "E-mail dispatch domain" field appear under the Sender Settings. This is only for Mailgun server users. Center Admin should contact Consultant if like to use its own domain name for the Sender's email.
Example screenshot :
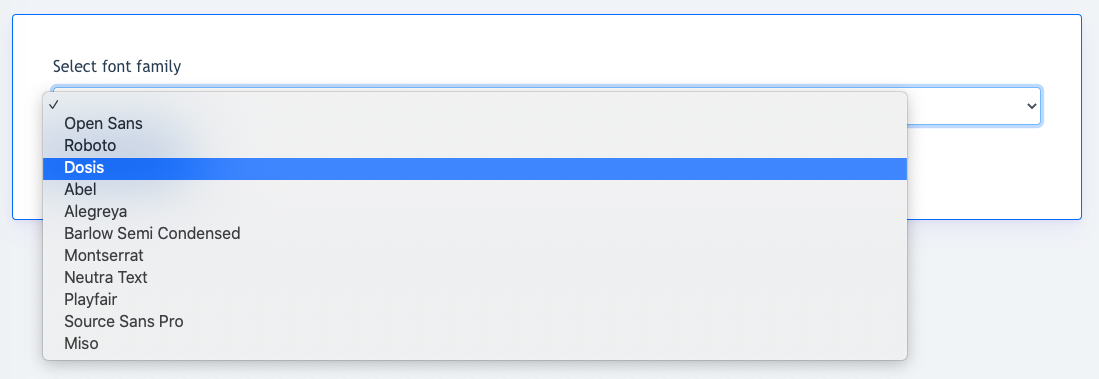
- Font Family - select the font family you want to apply for the site.
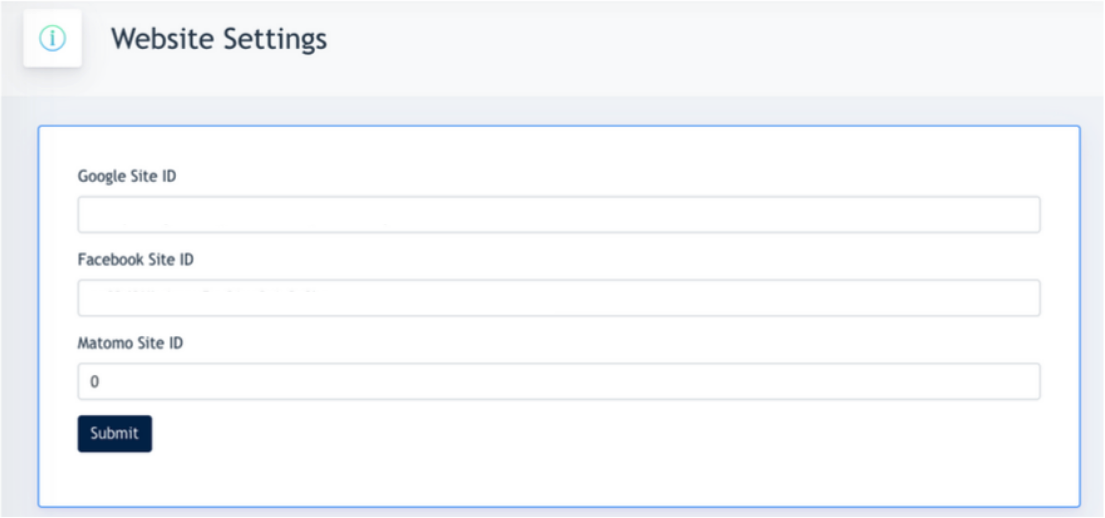
- Website Setting - Google site ID & Facebook Site ID is for Google Ad & Facebook Ad purpose. And Matomo Site ID is for statistical tracking.
