Ark Site - On boarding Configuration
Ark Site | On-boarding Configuration
Overview
When a center subscribs to Site Panel, and wanted to use them. There are a few basic setup to do in order for the site to function smoothly.
Content Outline
Site Panel | On-boarding Configuration 1
1.1 Provide consent on the AV contract 2
1.2 Provide consent on the Privacy Policy & Impressum : 2
2. Setting up center location 4
3. Setting up Center Settings 6
4. Setting Up the Online Shop 9
1. Setting up GDPR
When a Client / Center admin needs to use the subscribed modules on Cockpit, Client role needs to provides consent for AV contract on cockpit.
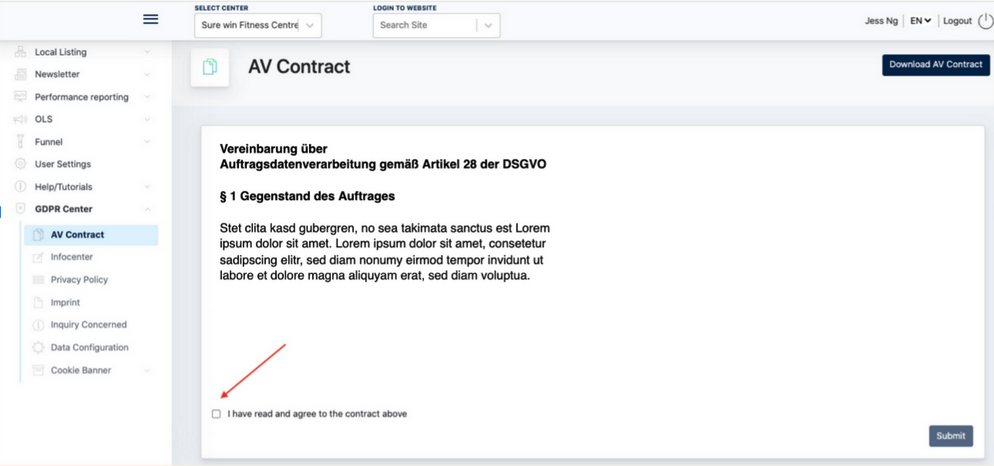
1.1 How to provide consent on the AV contract
Go to GDPR Center > AV Contract > tick the checkbox
“I have read and agree to the contract above”
And then click “Submit”
1.2 Provide consent on the Privacy Policy & Impressum :
Next, Client role needs to also provide consent for the content of Privacy Policy & Impressum before they can access the Ark Site Admin Panel.
This workflow ensures Client acknowledge that it is his duty and accountability to take care of the site GDPR topic.
- Login to Cockpit as Client Role
- Tick on the checkbox for both Privacy Policy & Imprint to provide consent.
- Click Submit button.

After 1.1 & 1.2 is completed, Client/Center admin can now access Ark Site admin panel.
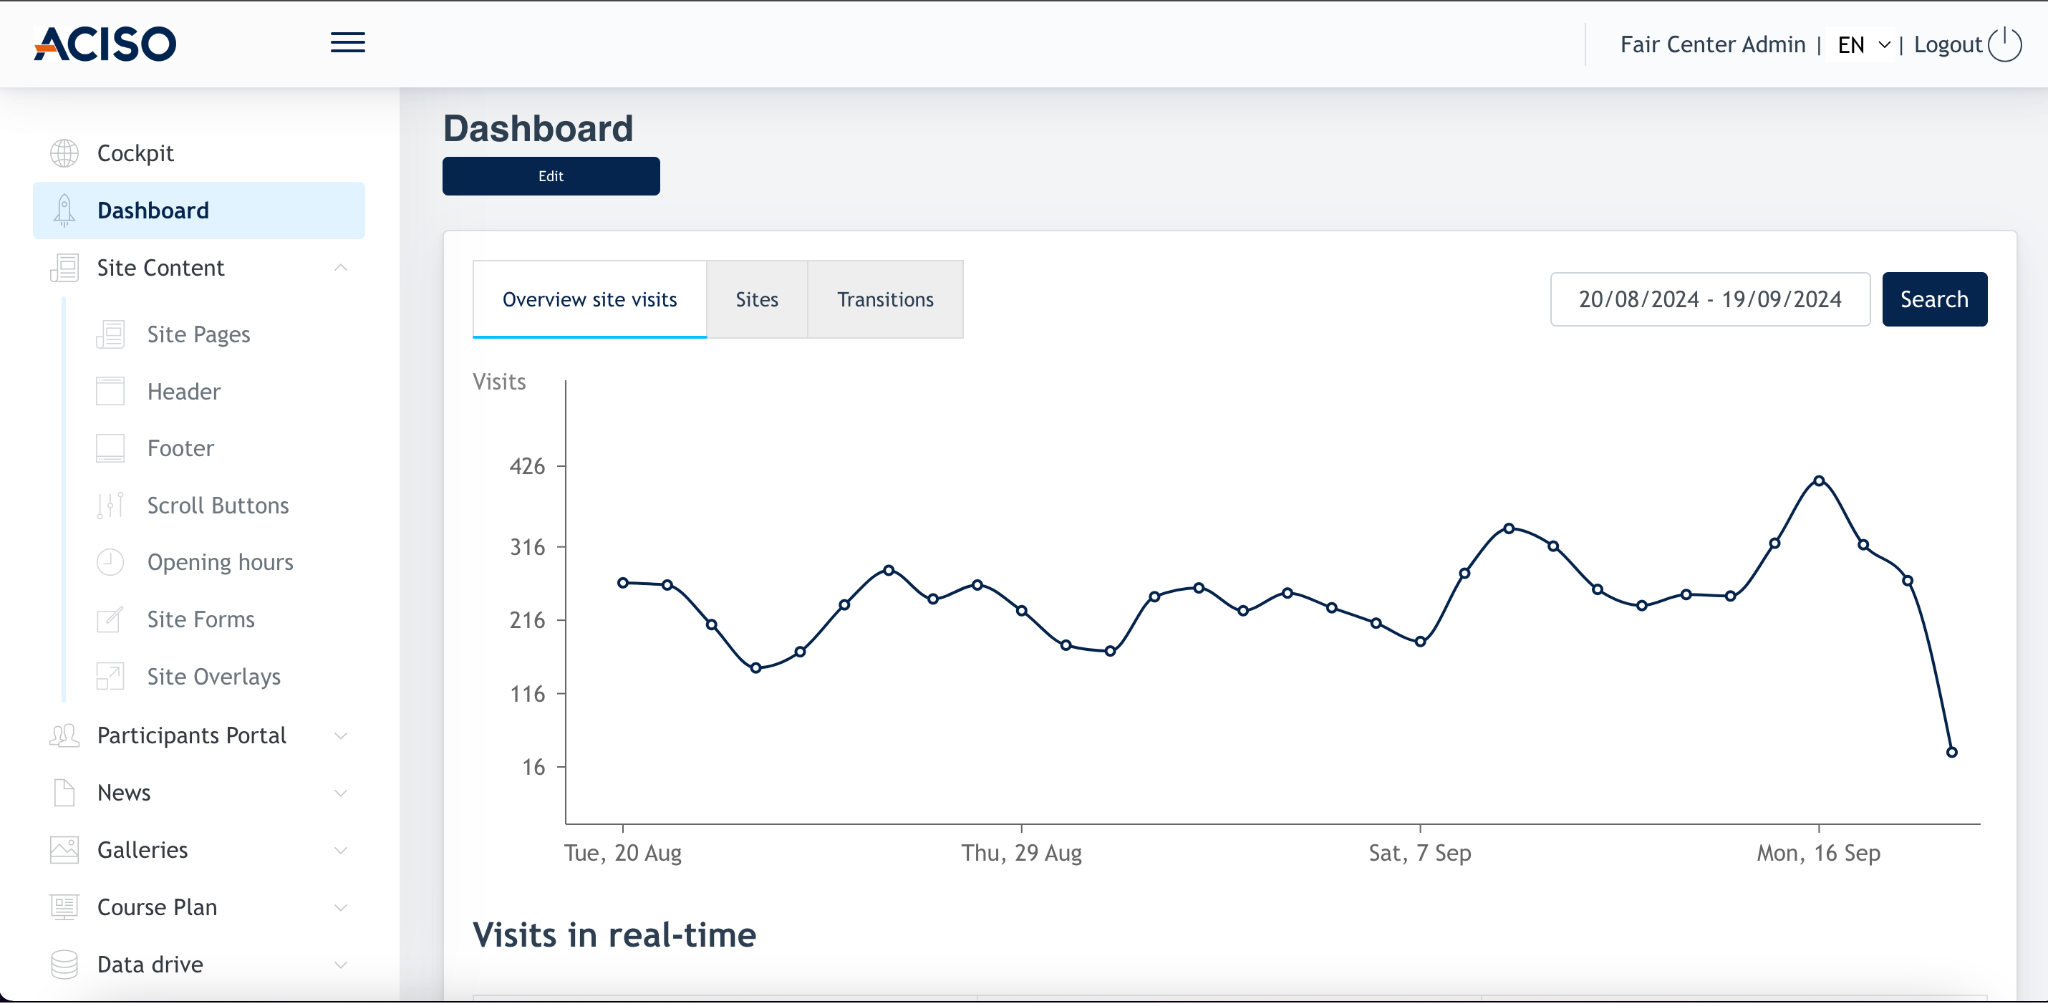
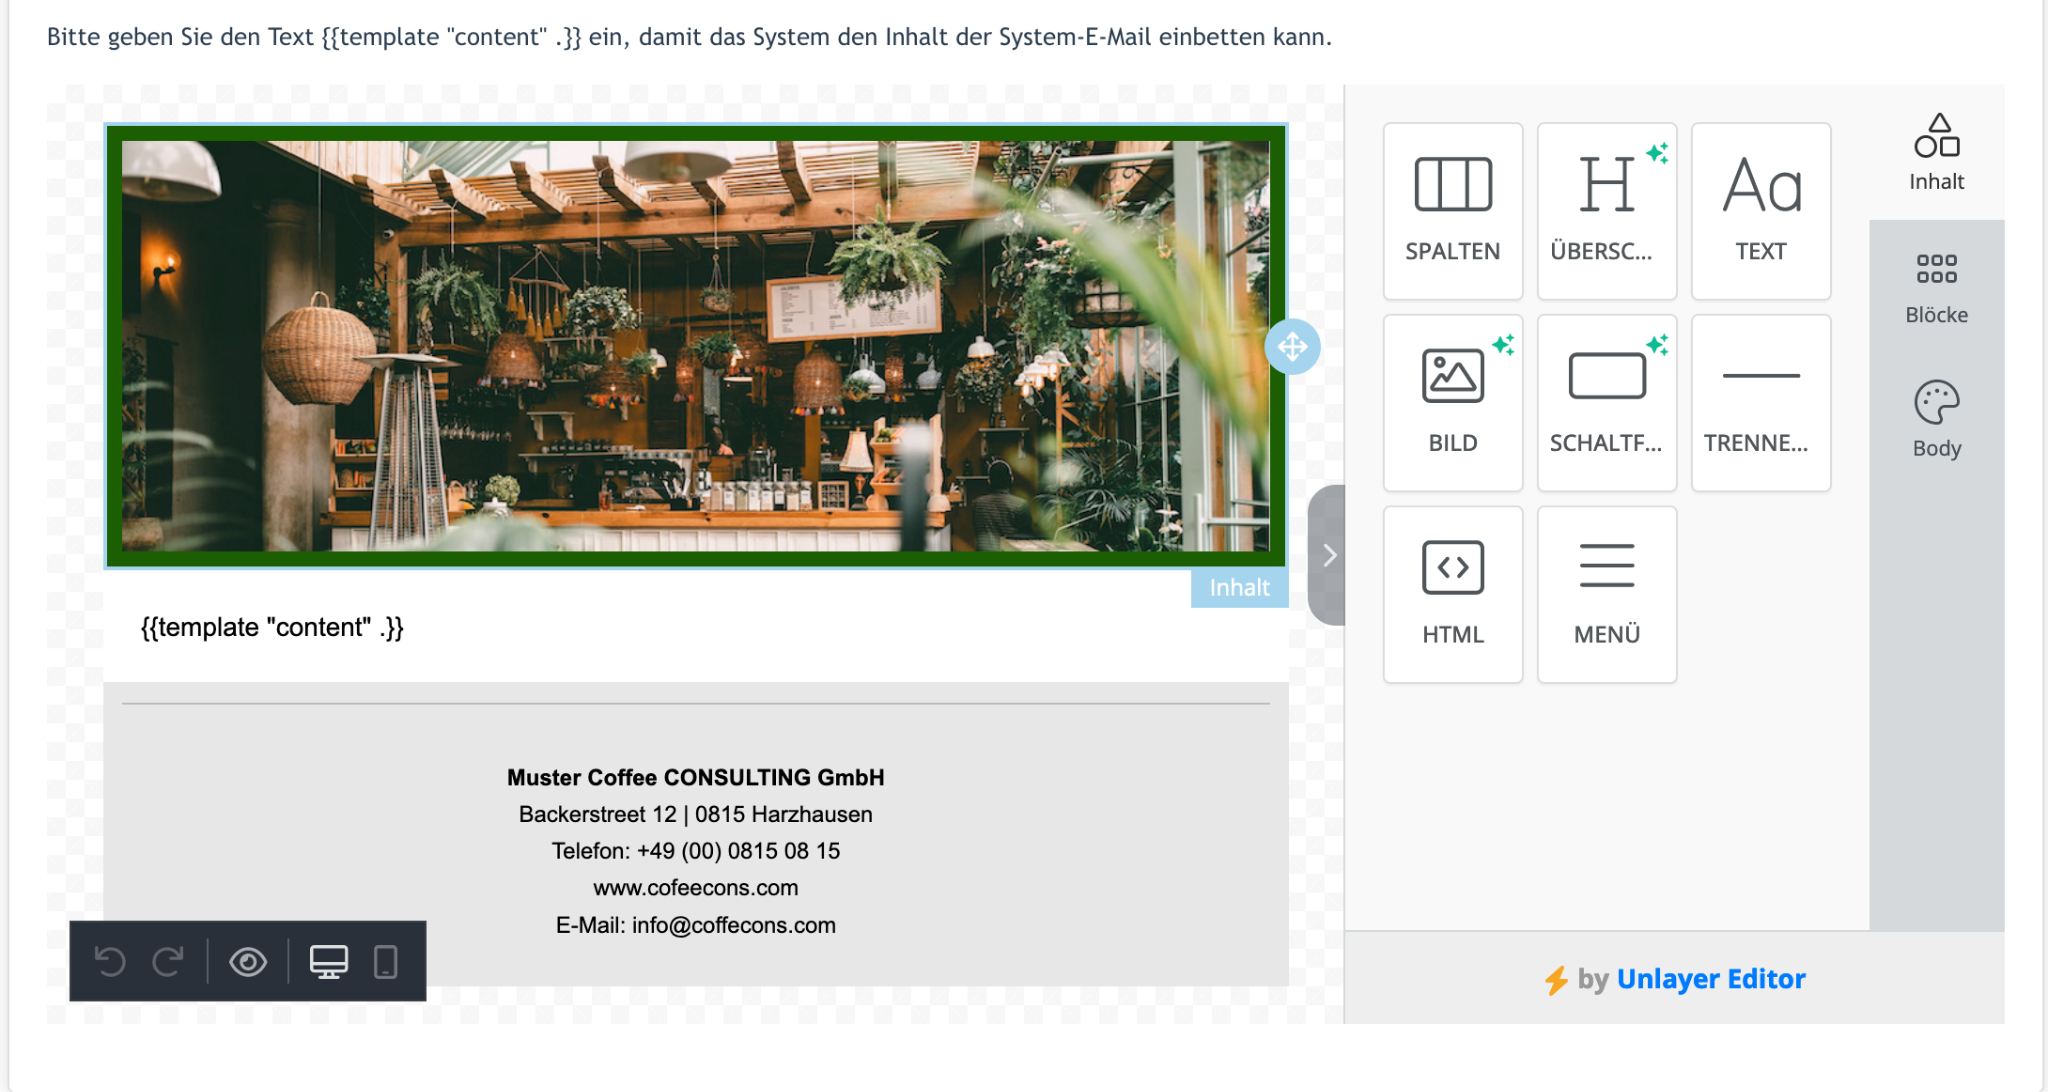
Screenshot example:
2. Setting up center location
Many of the modules within Ark Site requires location to work properly. Thus, we need to set up Center location.
To set up location, Center Admin logins into Cockpit > Locations
R
URL : https://cockpit-staging.aciso-suite.com/#/dashboard/local-listing/locations
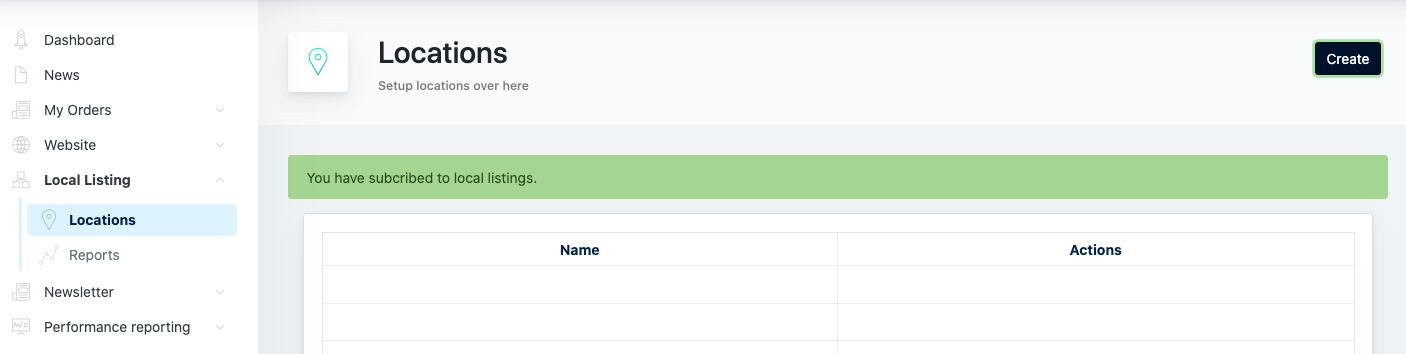
Click on [ Create ] and you’re allowed to create multiple locations for the center.
It is mandatory to create 1 location for 1 center.
Another way to setup a location is via Ark Management > Center > Edit Center > Location tab
Important to know: This location tab on AM is sync with the Cockpit Location page. They share the same data.
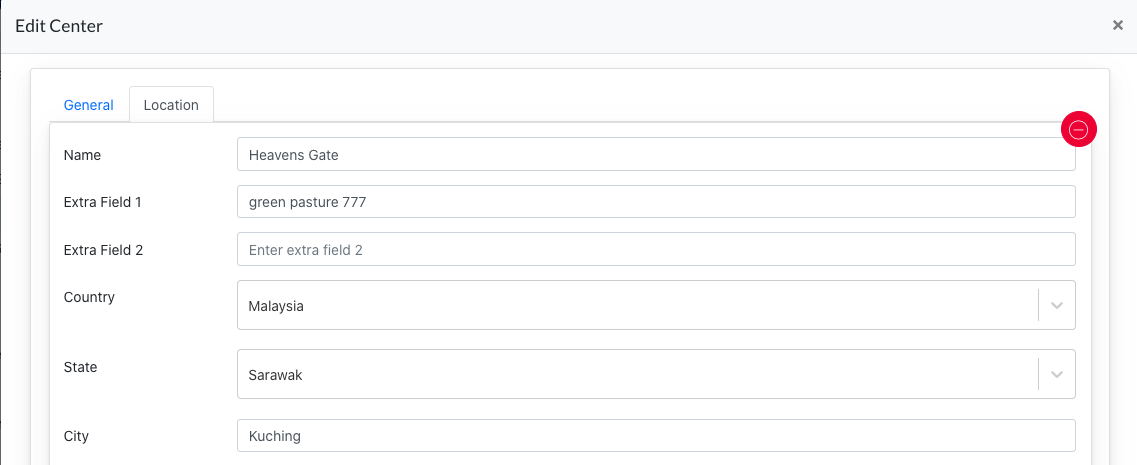
2.1 Main location
For every center’s location setting, there is always a main location. Main location comes from following configuration:
- Ark Management → Center → Edit → Location → 1st location appear on the top of the listing
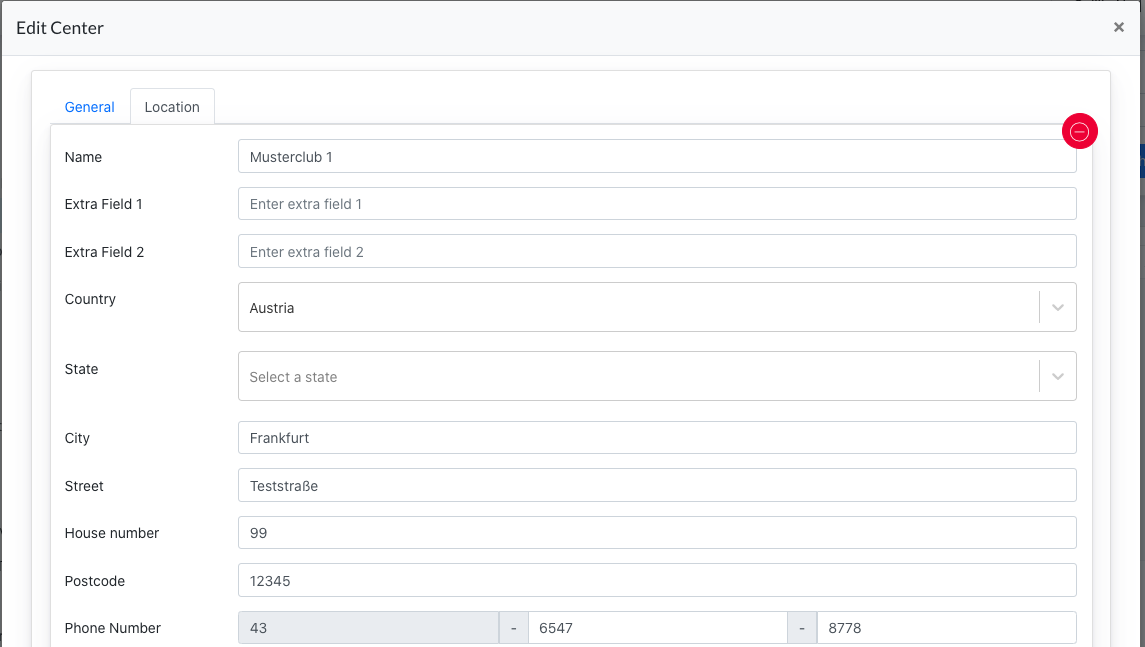
3 data from here will be displayed on every site’s top right as contact info.
These are : phone number, Email, and Address

3. Setting up Center Setting
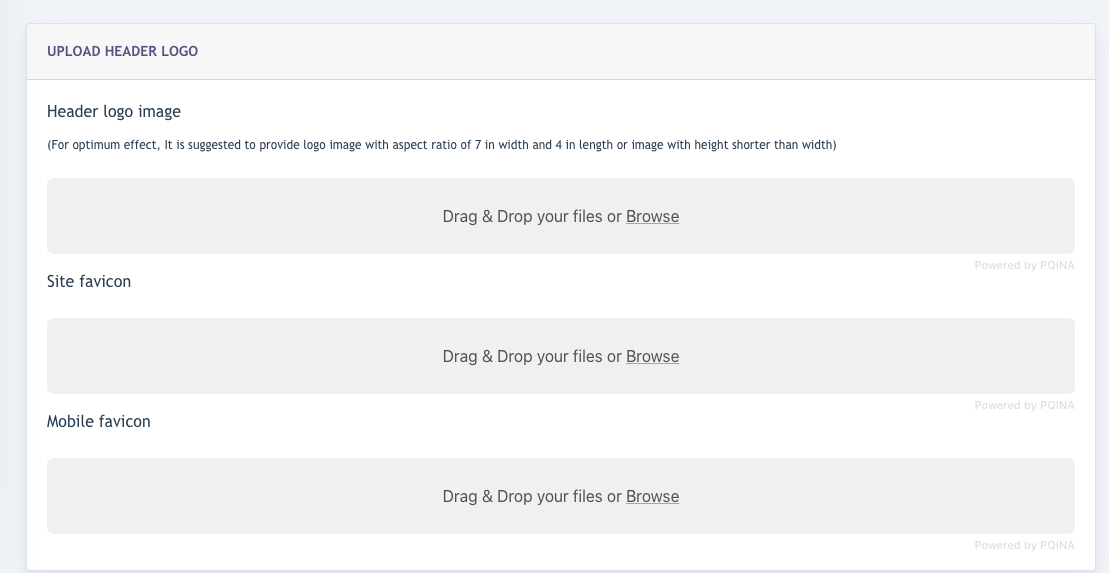
On Ark Site Admin Panel, Go to Center Setting. Here you set up all the fundamental site configurations.
- Logo icons : Header logo, Site favicon, Mobile favicon (mandatory)
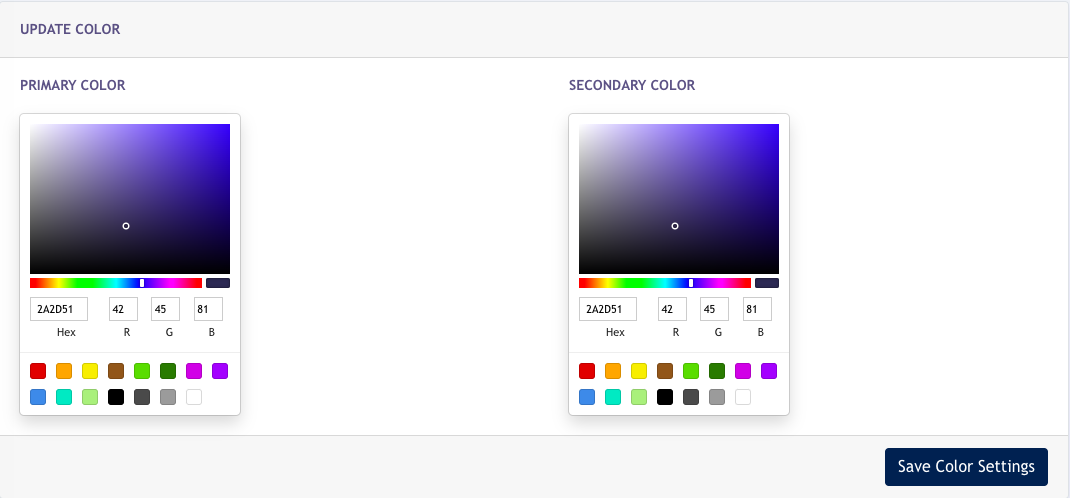
- Colour Setting : Primary & Secondary Color (mandatory)
Primary & secondary colours are 2 main colours applied to the entire site. This can be used to make sure your corporate identity is visible on the whole homepage.

- Email Config : Center Email template configuration
The user can choose to use his own domain for sending emails. If so, he will need to fill in the following details :
- Email dispatch domain
- Sender Email, Send Name
- Reply Email
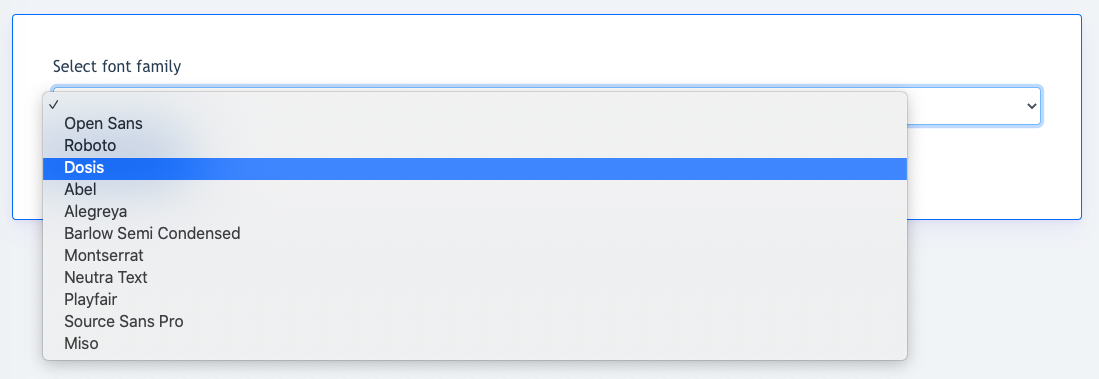
- Font Family - select the font family you want to apply for the site.
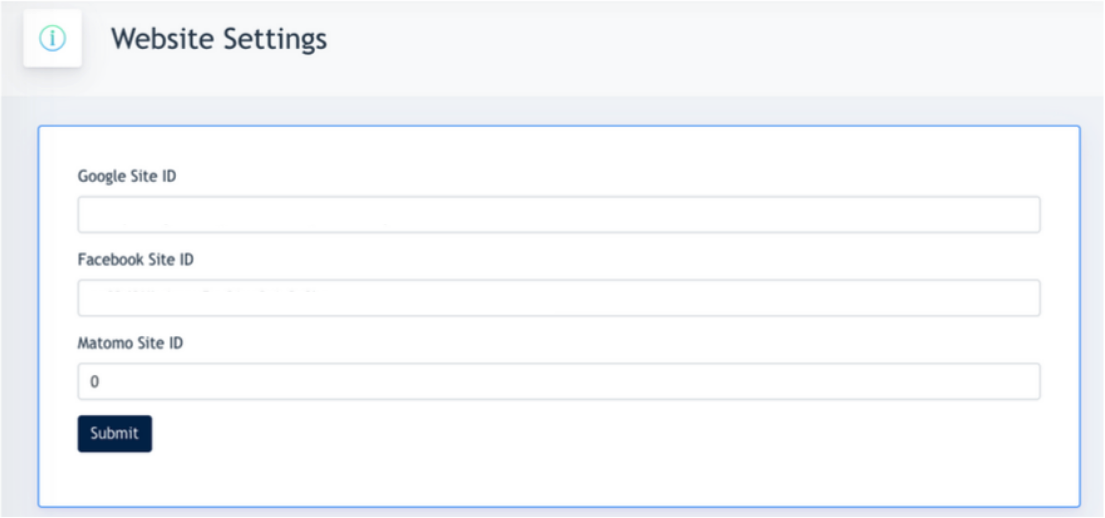
- Website Setting - Google site ID & Facebook Site ID is for Google Ad & Facebook Ad purpose. And Matomo Site ID is for statistical tracking.
4. Setting Up the Online Shop
To use the Online Shop, there are a few initial settings required, before the whole shopping process is complete for the user.
Complete Process:
- Select a package
- Fill in Data
- Make Payment
- Receive confirmation with Order in PDF
Thus, we first must set up a few fundamental configurations to allow the shopping process doesn’t return any errors.
Under Online Shop > Setting > General
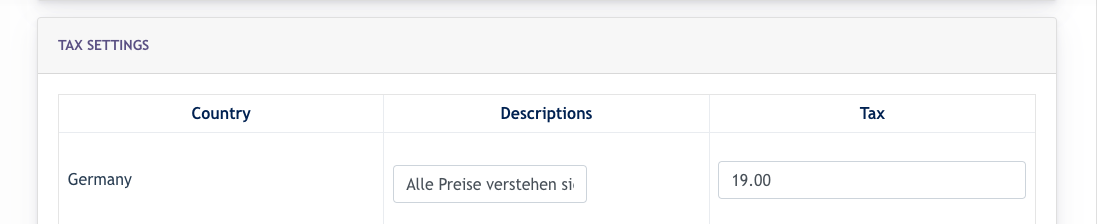
Tax setting is a required field
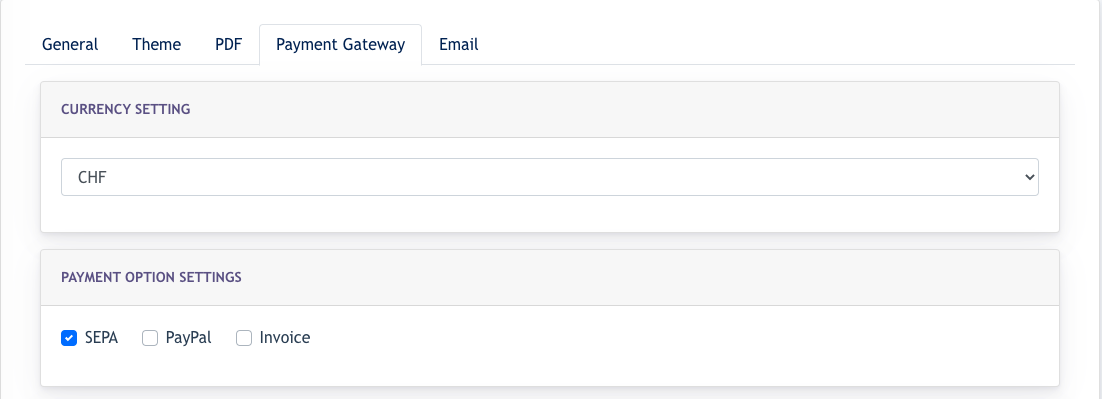
Under Online Shop > Setting > Currency Setting
Select which currency is available on the online shop for your customer

Under Online Shop > Setting > Payment Gateway
Select which payment gateway is available on the website for your customer.
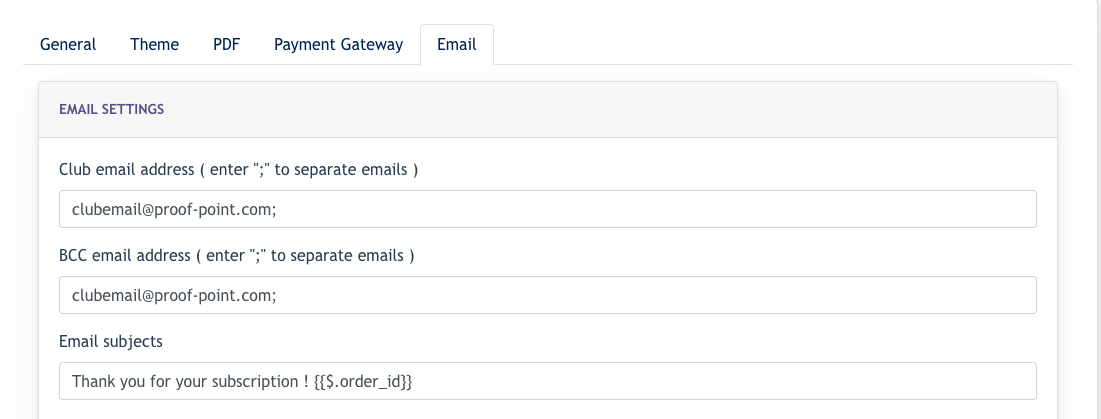
Under Online Shop > Setting > Email
Configure your email - This is the email that the user will receive after purchasing a package from the online shop. If this email is not configured, the user will encounter an error when purchasing a package from the online shop.
5. Setting up Courseplan
For the courseplan to function, the user needs to set the following:
- Under General Tab
- User register course in advance of [ x ] - for eg: 1 week. Means the joiner needs to register the course at least 1 week before the course time & date.
- Course cancellation up to x hours before course starts - for eg. 24 hours. Means the joiner needs to cancel the joined course at 24 hours before the course starts.
- Under Email Tab
- User needs to set at least 1 email address
