
Newsletter
Overview
It provides tools for managing recipient lists, organizing recipients into groups, configuring sender information, and using newsletter templates.
The module consists of the following sections:
-
Listing: Create and manage newsletters, including viewing their delivery status.
-
Recipients: Manage newsletter subscribers and their subscription status.
-
Groups: Organize recipients into groups for targeted newsletter distribution.
-
Sender: Manage the sender information used for newsletters.
-
Template: Manage reusable newsletter templates.
1. Newsletter Listing
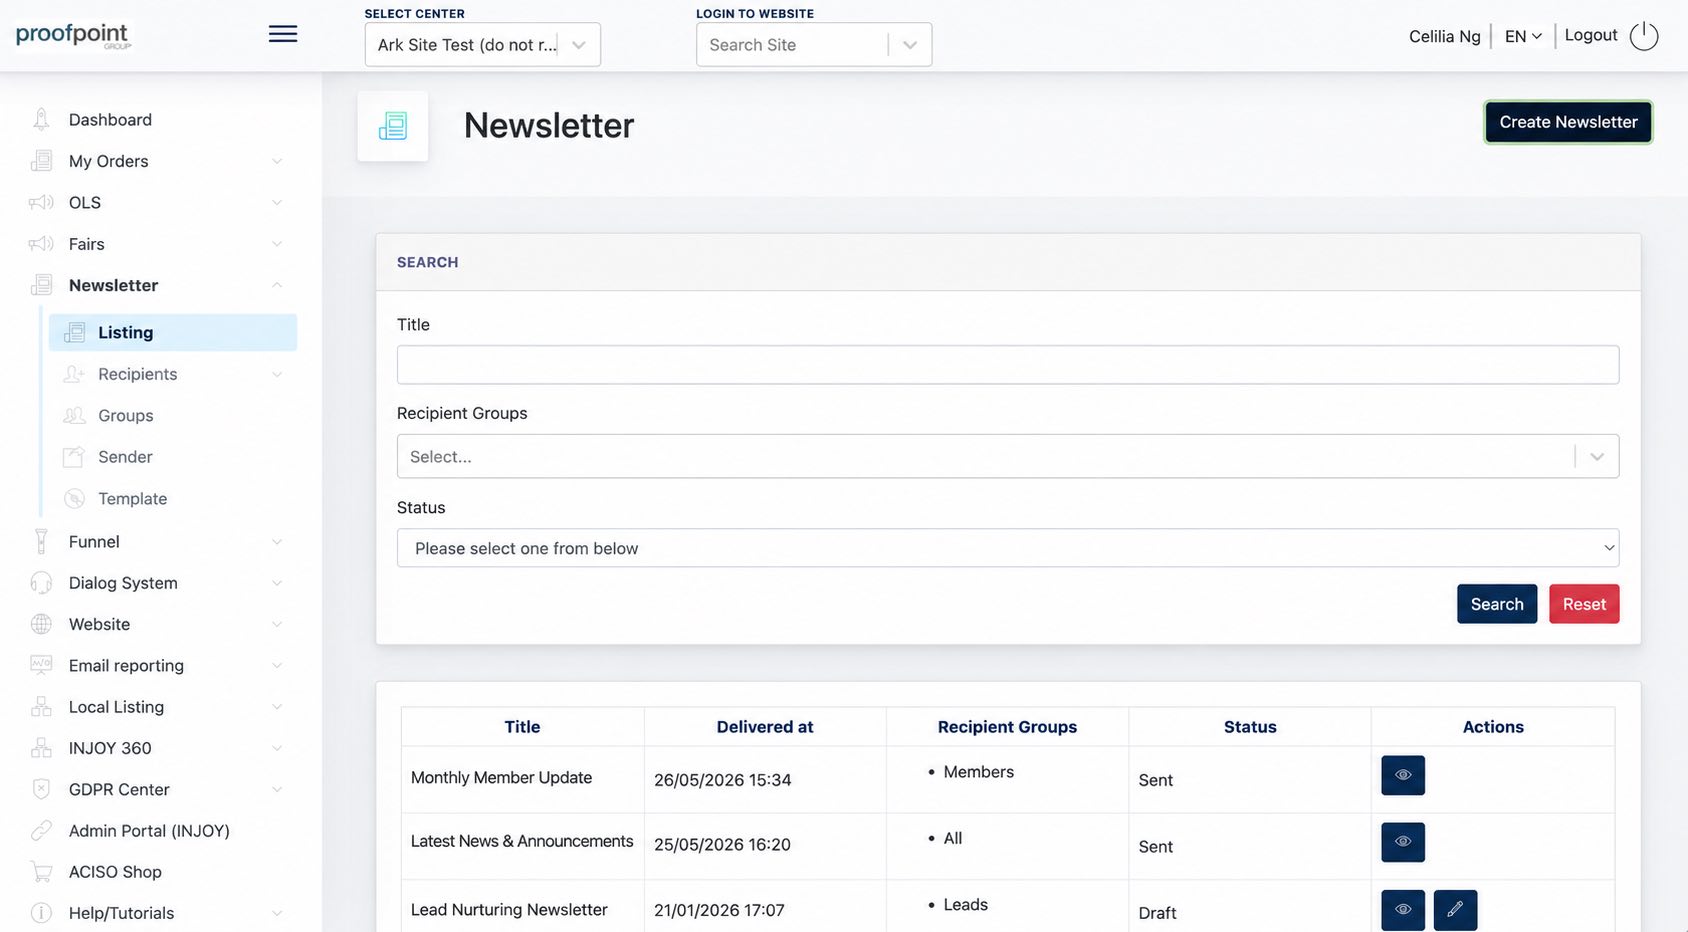
The listing allows Center Admin to see which Recipient Groups each newsletter is assigned to and whether its status is Sent or Draft.
1.1 Creating a Newsletter
The creation process consists of two steps: entering the newsletter details and designing the newsletter before saving, sending, or scheduling it.
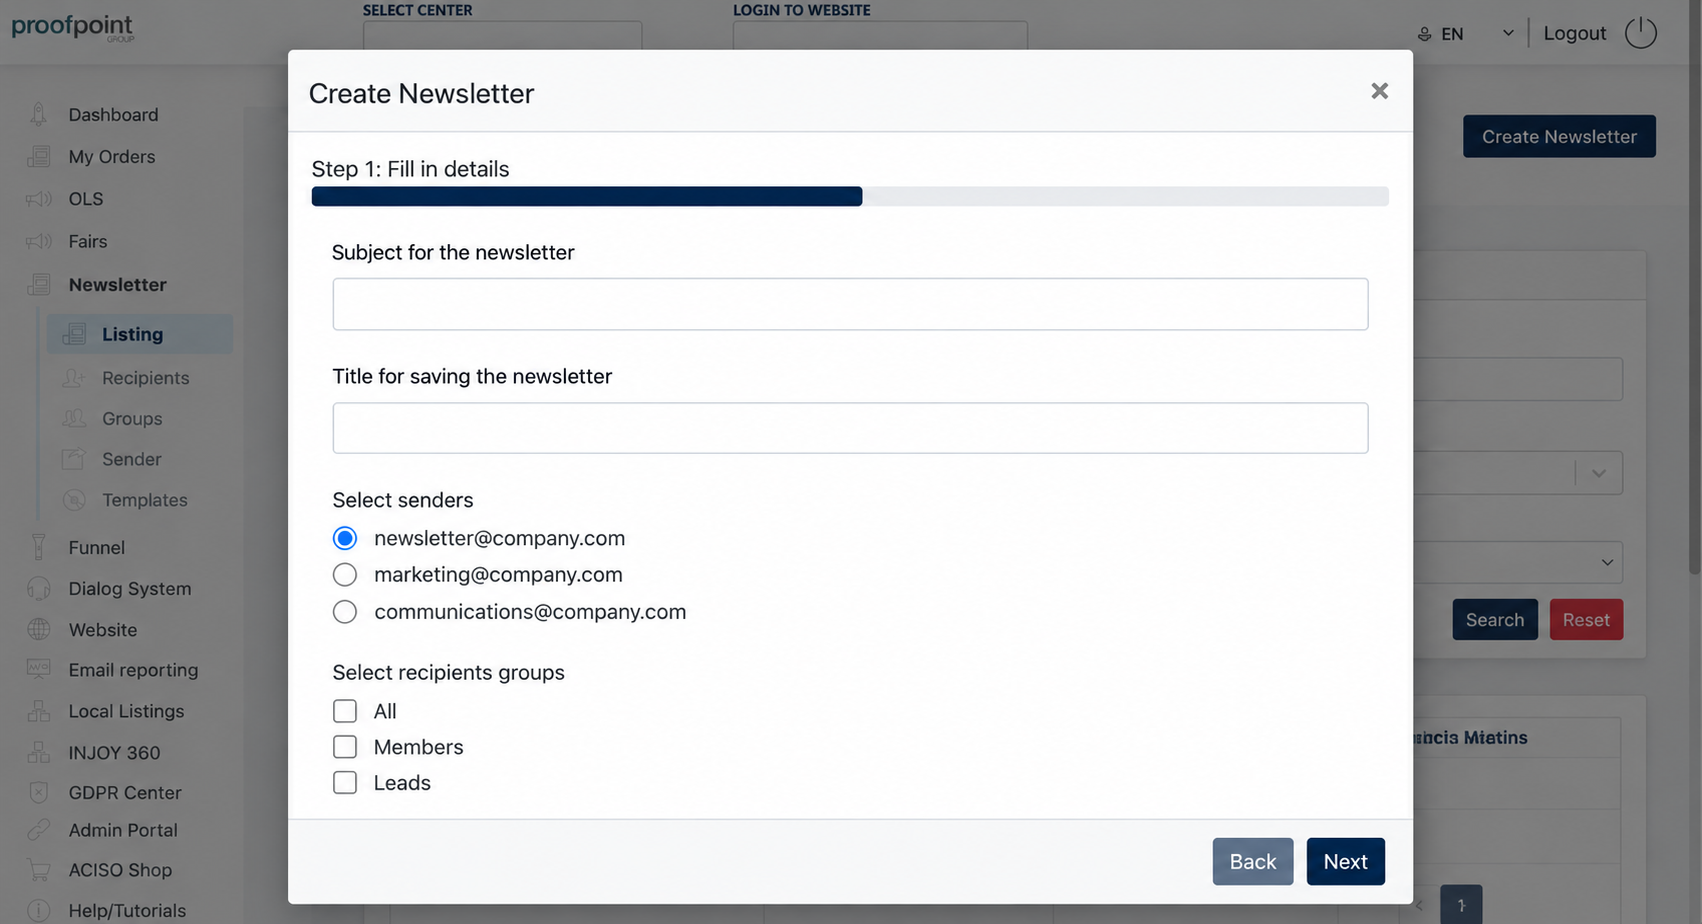
Step 1: Fill in Details
Enter the following information:
-
Subject for the newsletter: Enter the email subject that recipients will see in their inbox.
-
Title for saving the newsletter: Enter an internal title to identify the newsletter in the Cockpit listing.
-
Select senders: Choose the email address that will be used to send the newsletter.
-
Select recipients groups: Select the recipient groups that should receive the newsletter, or choose All to include all recipients.
Click Next to continue.
Step 2: Design and Schedule Your Newsletter
Create the newsletter content using the drag-and-drop editor.
Click Choose a template to use an existing newsletter template, or design the newsletter from scratch by adding elements such as text, images, buttons, and columns.
The editor also supports recipient placeholders, allowing personalized information such as the recipient's name or email address to be automatically inserted when the newsletter is sent.
Saving the Design as a Template
Select Save template for future use? if you want to save the newsletter design as a reusable template for future newsletters.
Sending Options
Once the newsletter is ready, select one of the following options:
Send now: Send the newsletter immediately.
Is draft?: Save the newsletter as a draft to continue editing and send it later.
Is scheduled?: Schedule the newsletter for a future date and time. Select the desired delivery date and time in the Deliver at field.
Testing and Submitting
Before sending, click Send Test Email to preview how the newsletter appears in an email inbox.
Click Submit to complete the process according to the selected sending option.
2. Managing Newsletter Recipients
Recipients can be added manually by Center Admin or collected through the Newsletter Subscription Banner on the centre's website.
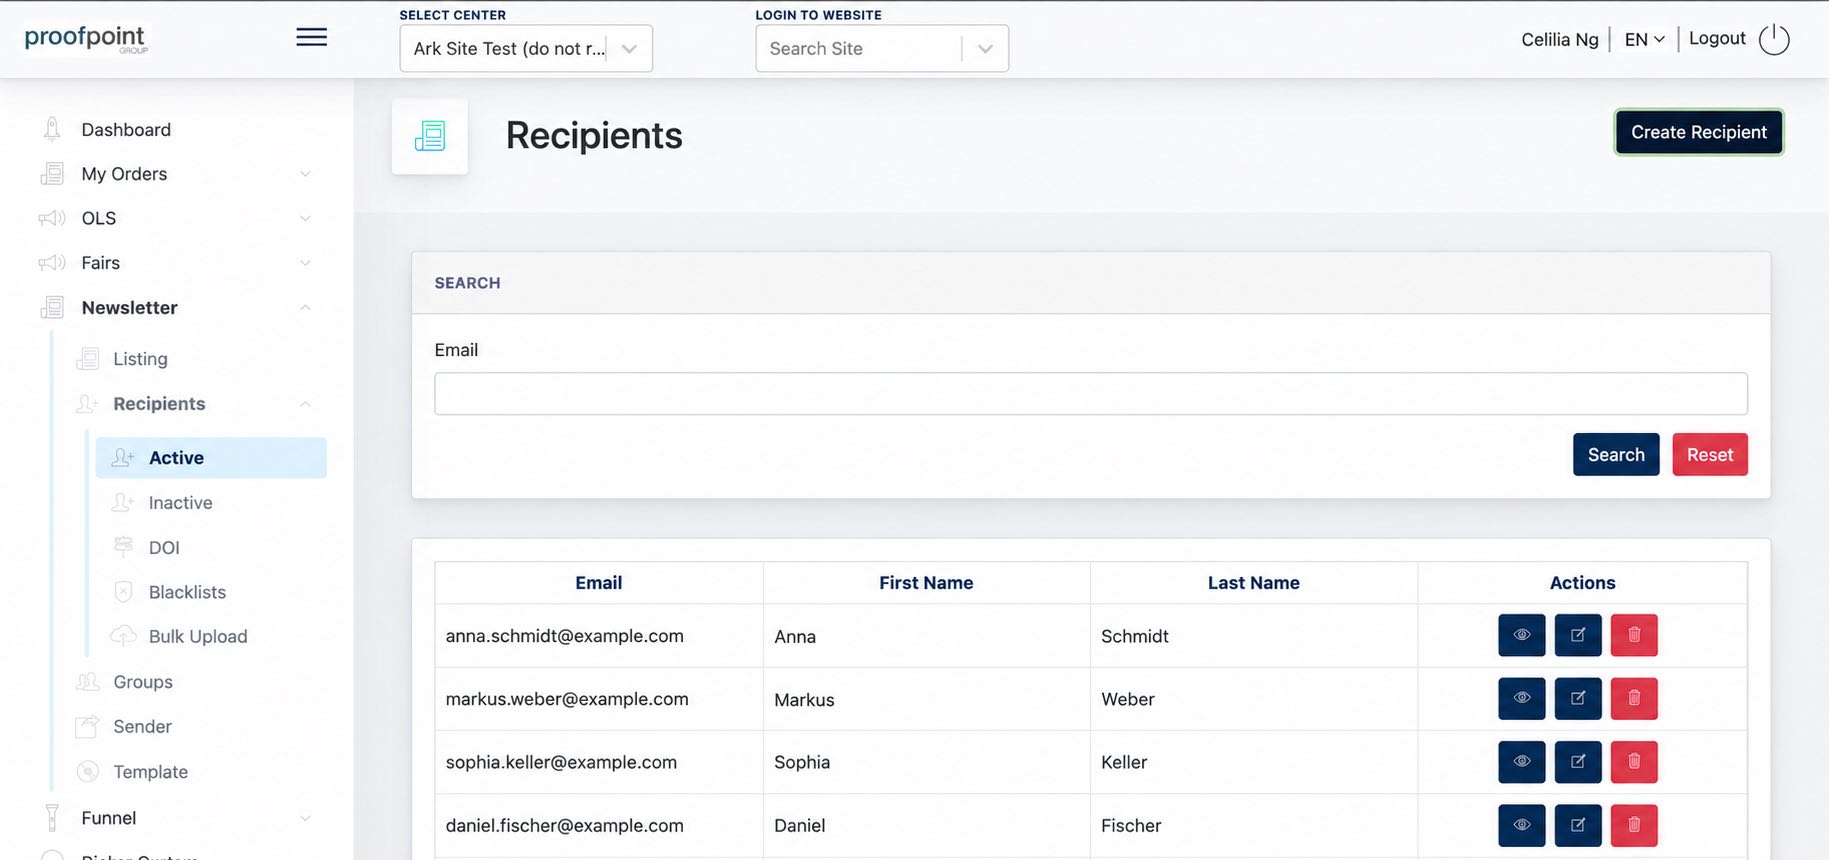
Recipients are organized into different sections based on their subscription status: Active, Inactive, DOI, and Blacklists. The module also provides a Bulk Upload feature for importing recipients.
Double Opt-In (DOI) Verification
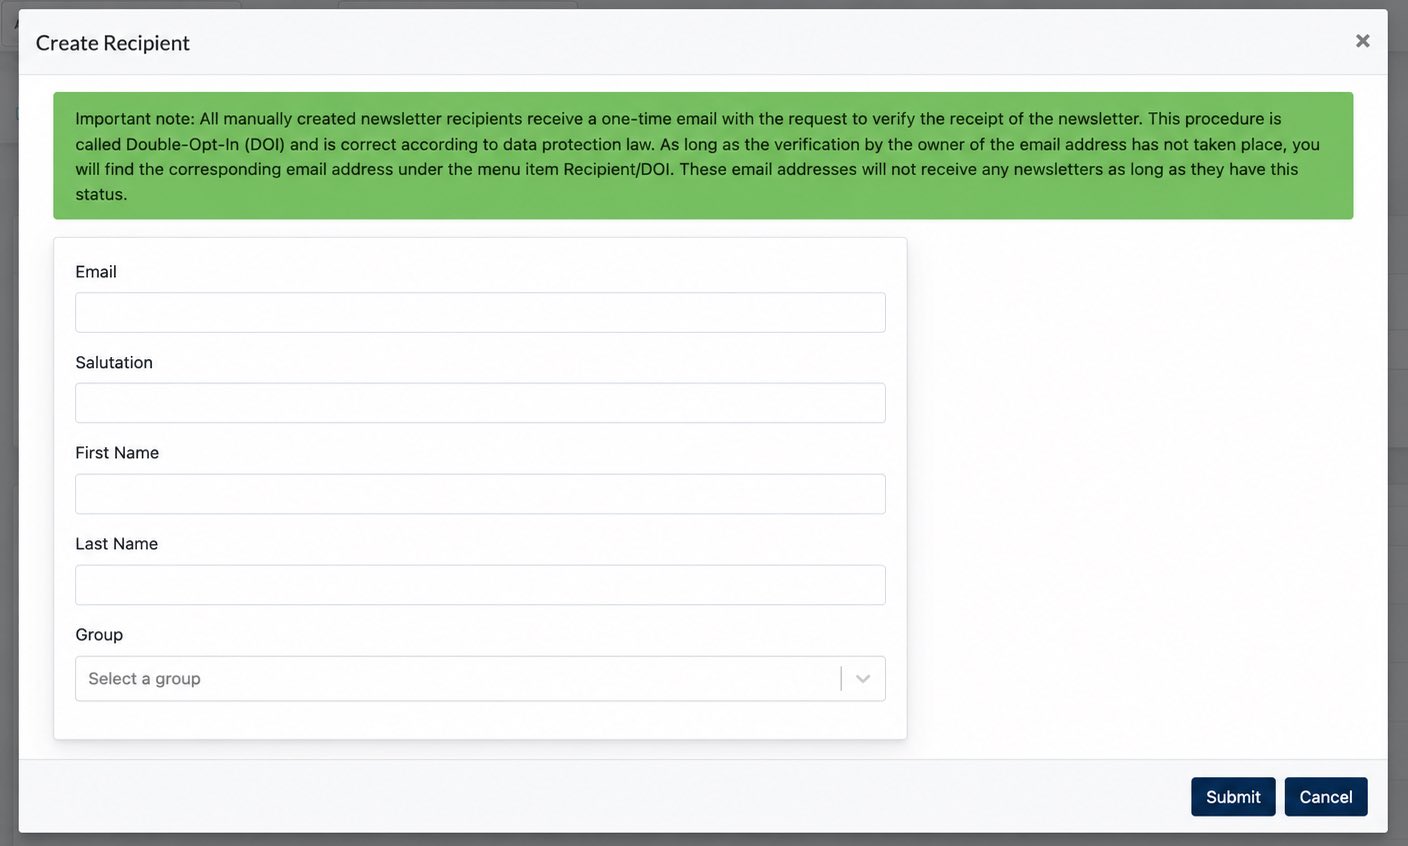
All newly added newsletter recipients, whether created manually or collected through the website's Newsletter Subscription Banner, must complete the Double Opt-In (DOI) verification process.
A confirmation email is sent to the recipient to verify their subscription. Until the recipient confirms, their record remains under Recipients > DOI, and they will not receive newsletters.
Once the subscription is confirmed, the recipient is automatically moved to Active Recipients and becomes eligible to receive newsletters.
2.1 Creating and Managing a Recipient
Complete the form and click Submit. The newly created recipient must complete the Double Opt-In (DOI) verification process before appearing in the Active Recipients listing.
Once the subscription is confirmed, Center Admin can view and manage the recipient in the Active listing. To update their information, click the Edit button in the Action column and save the changes.
Create Recipient
Edit Recipient
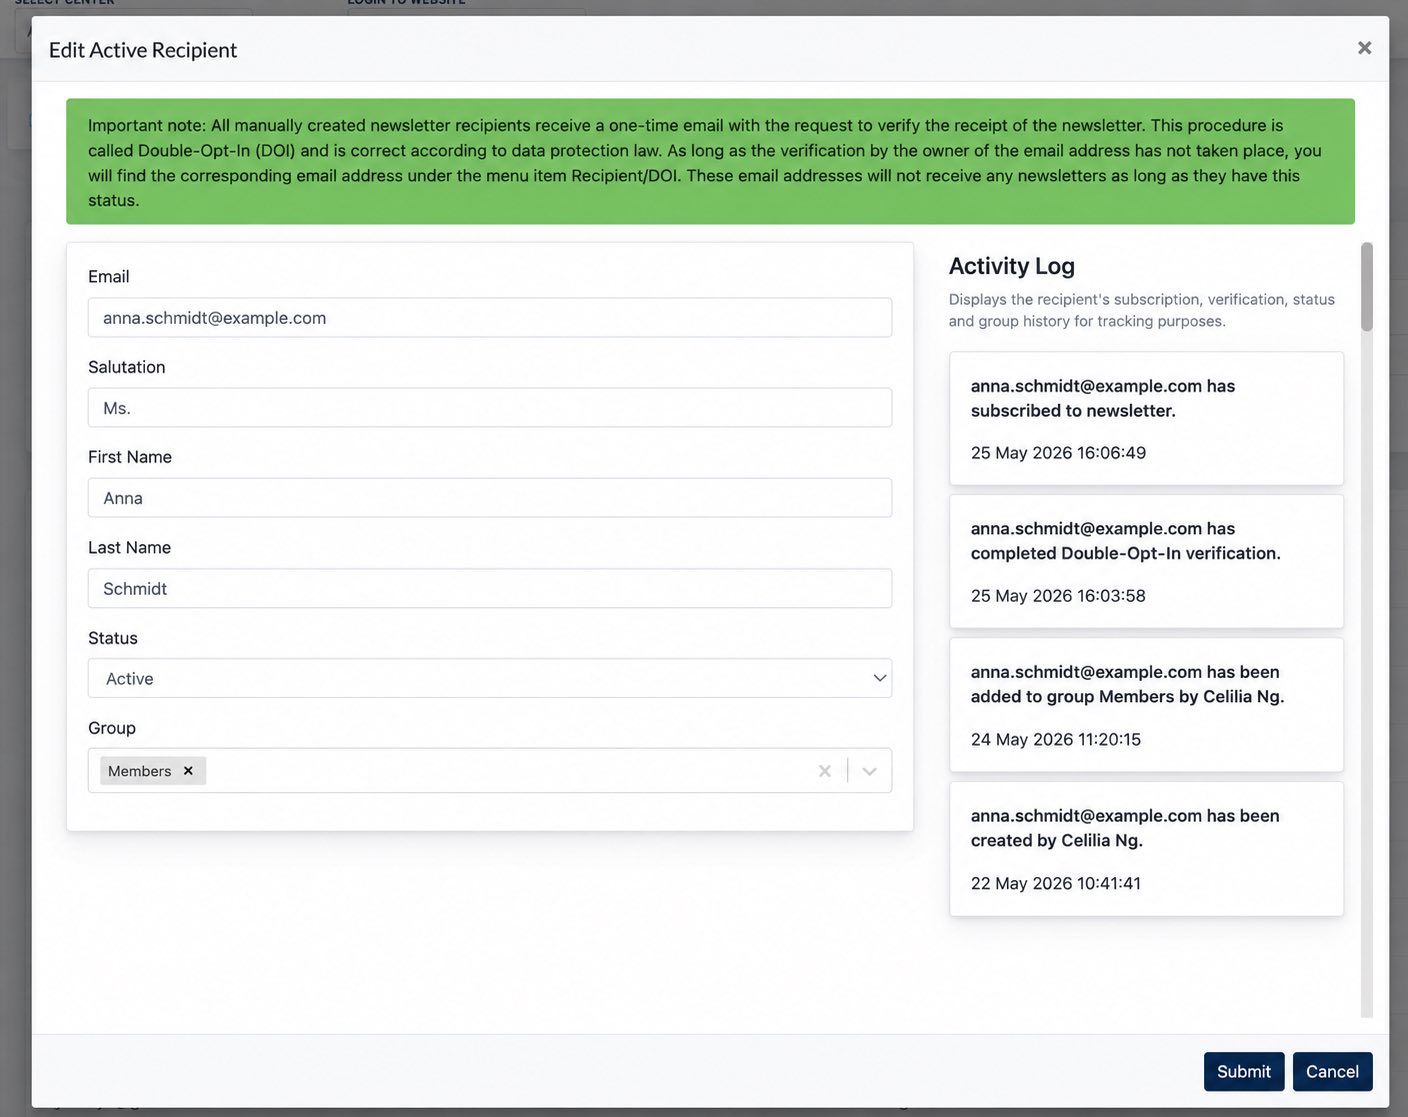
Activity Log
The Activity Log in the Edit Recipient window provides a history of the recipient's activities, including subscription confirmations, status changes, and group assignments.
Each entry includes a date and time, allowing Center Admin to track changes and review the recipient's subscription history.
2.2 Blacklisted Recipients
Center Admin can click Create to add an email address to the blacklist. If the email address already exists under another recipient status, such as Active or DOI, it will automatically be removed from that listing and moved to Blacklists.
2.3 Bulk Upload Recipients
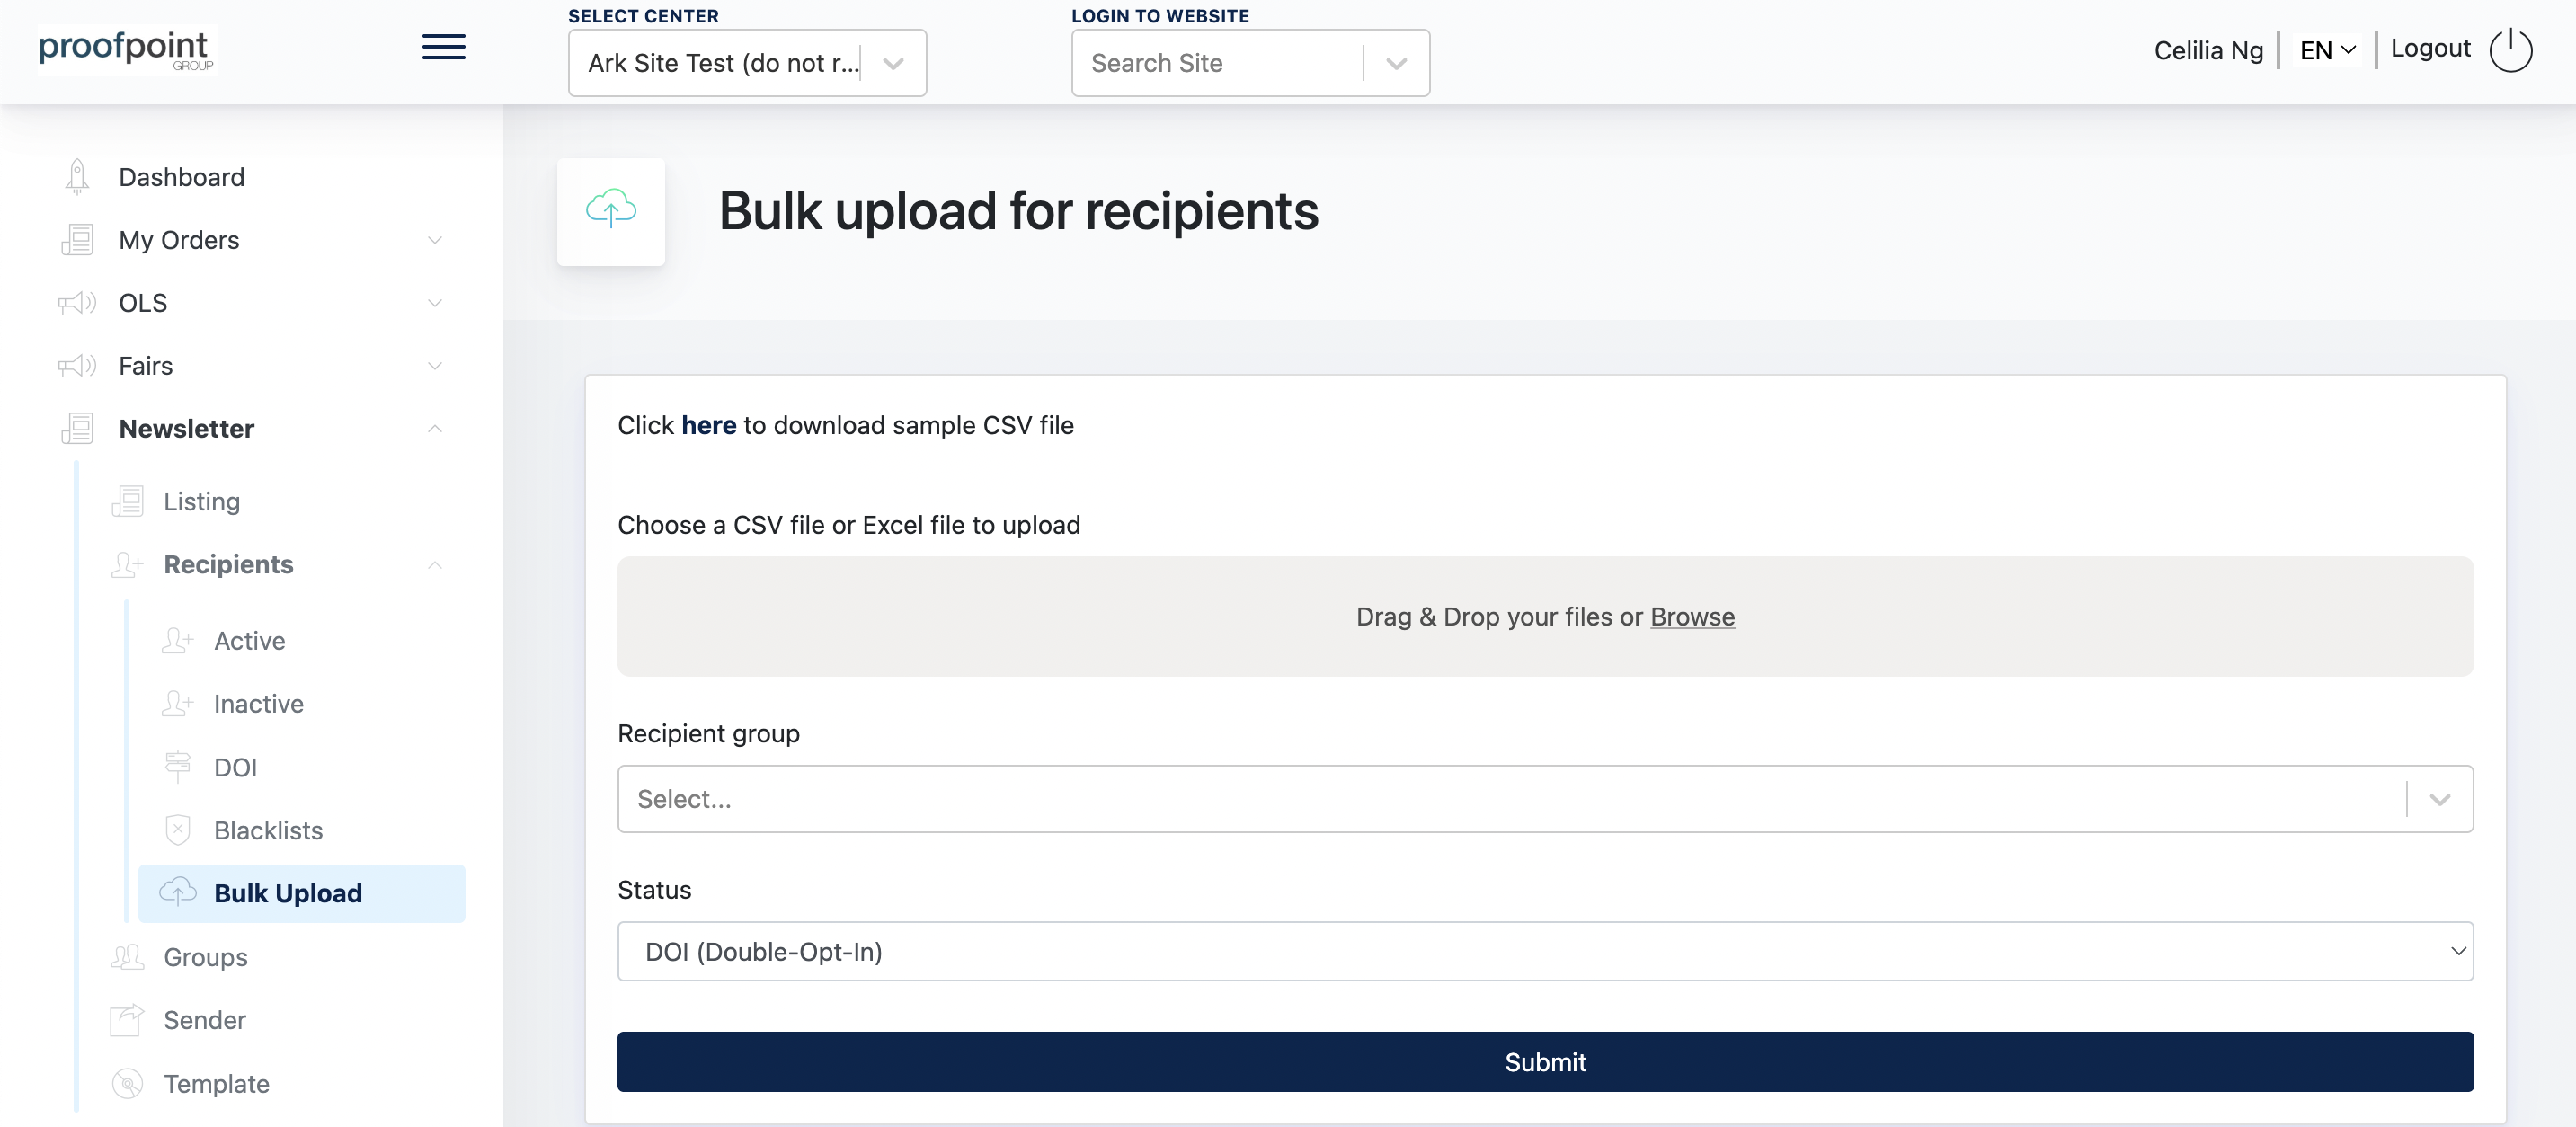
Click here to download a sample CSV file containing the required column format. Use this file as a reference to ensure all necessary recipient information is entered in the correct columns before uploading.
Once the file is ready, upload the CSV or Excel file, select the Recipient Group and Status, then click Submit to import the recipients.
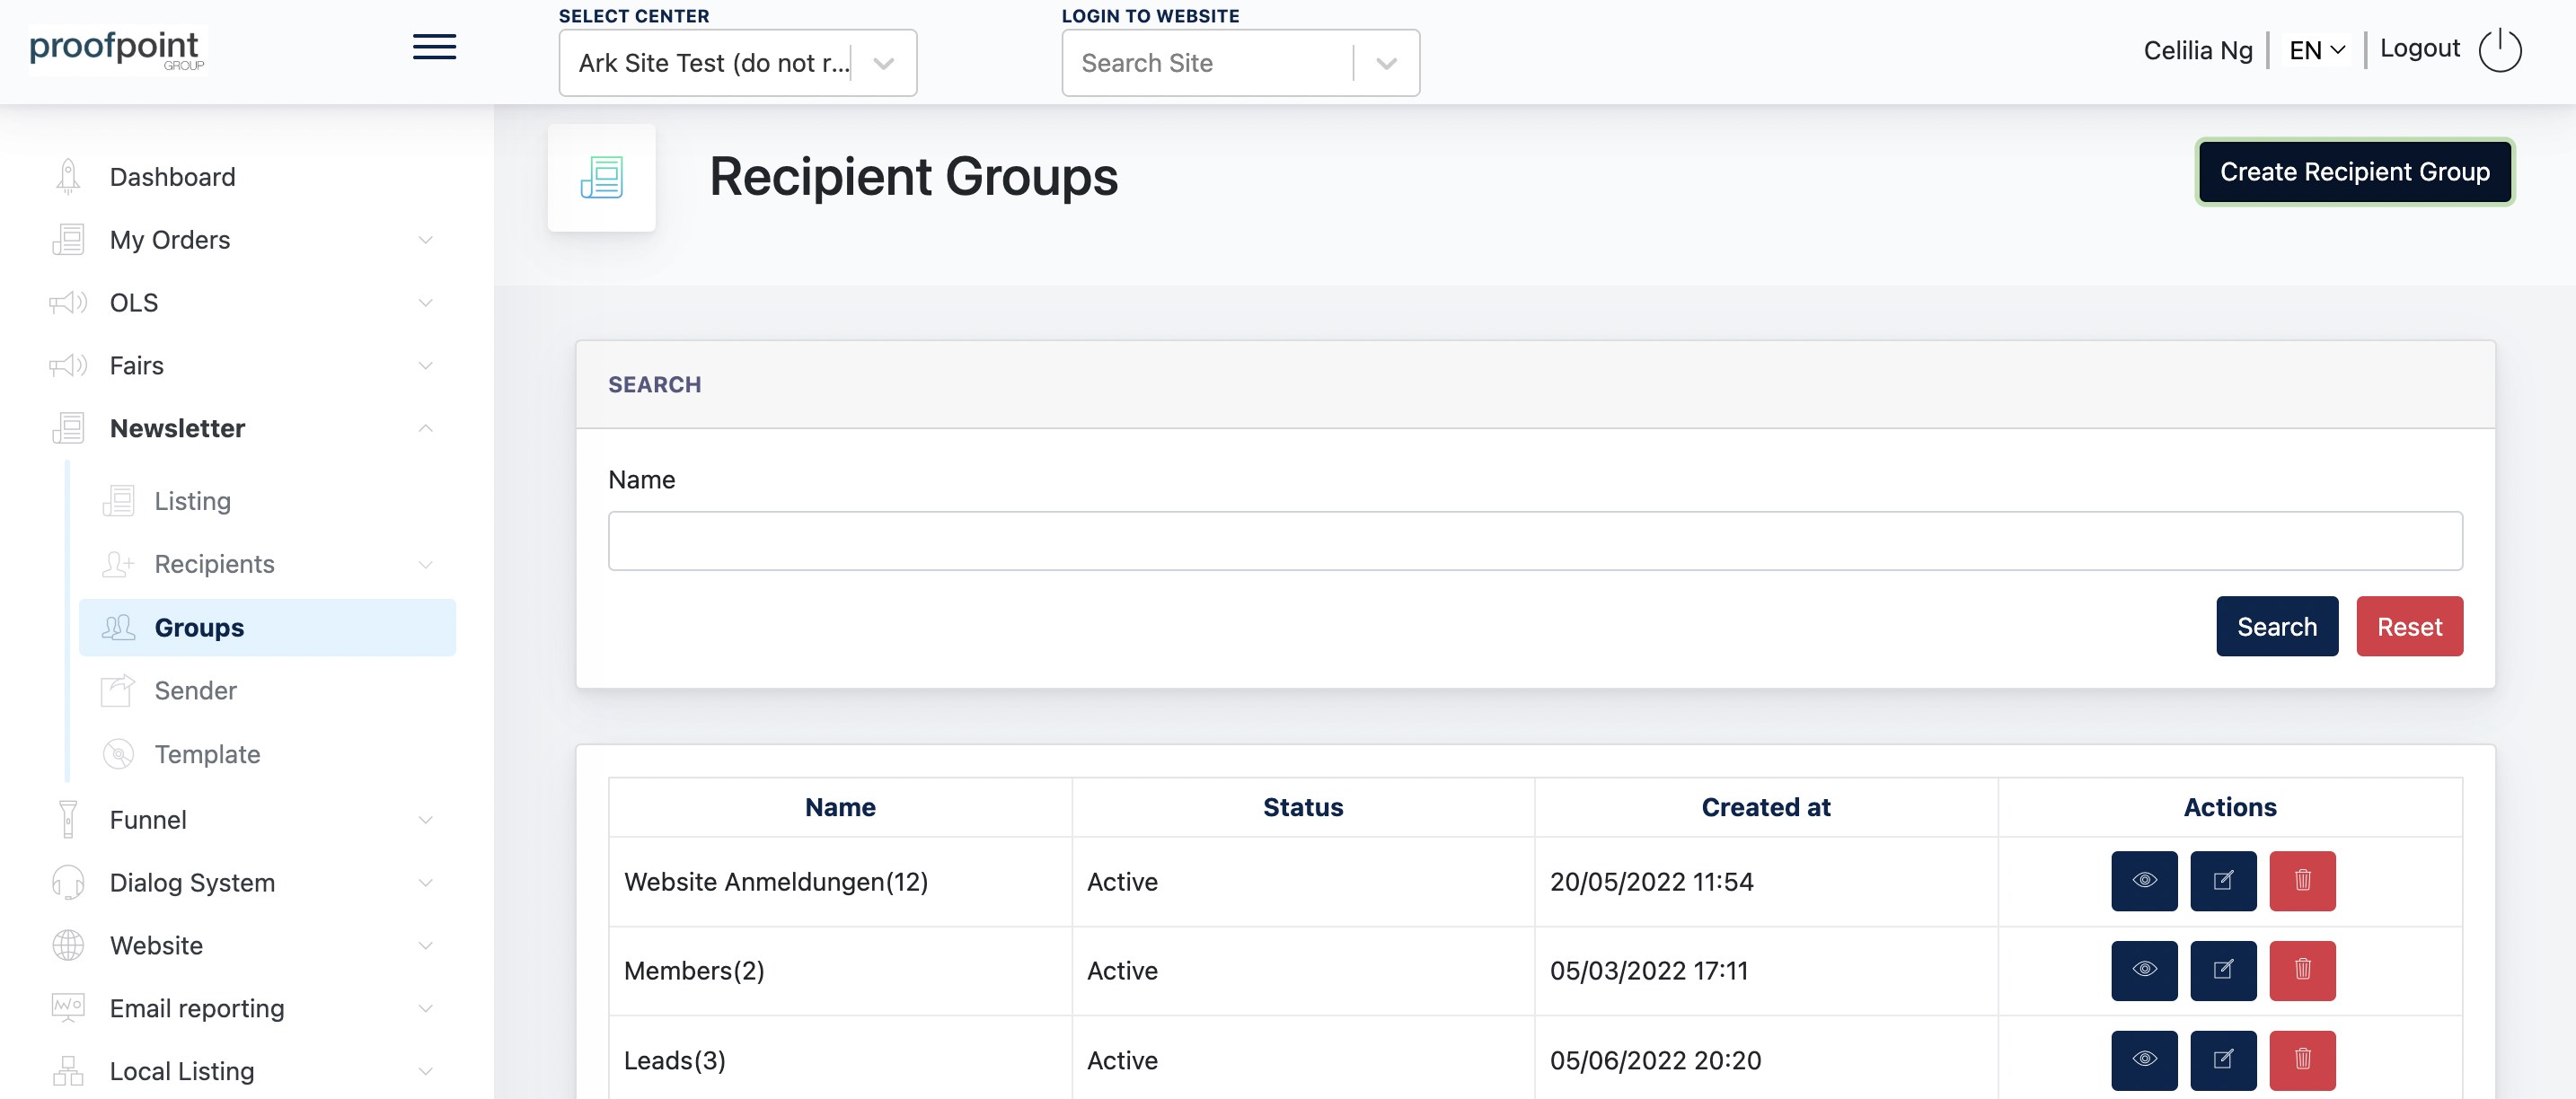
3. Recipient Groups
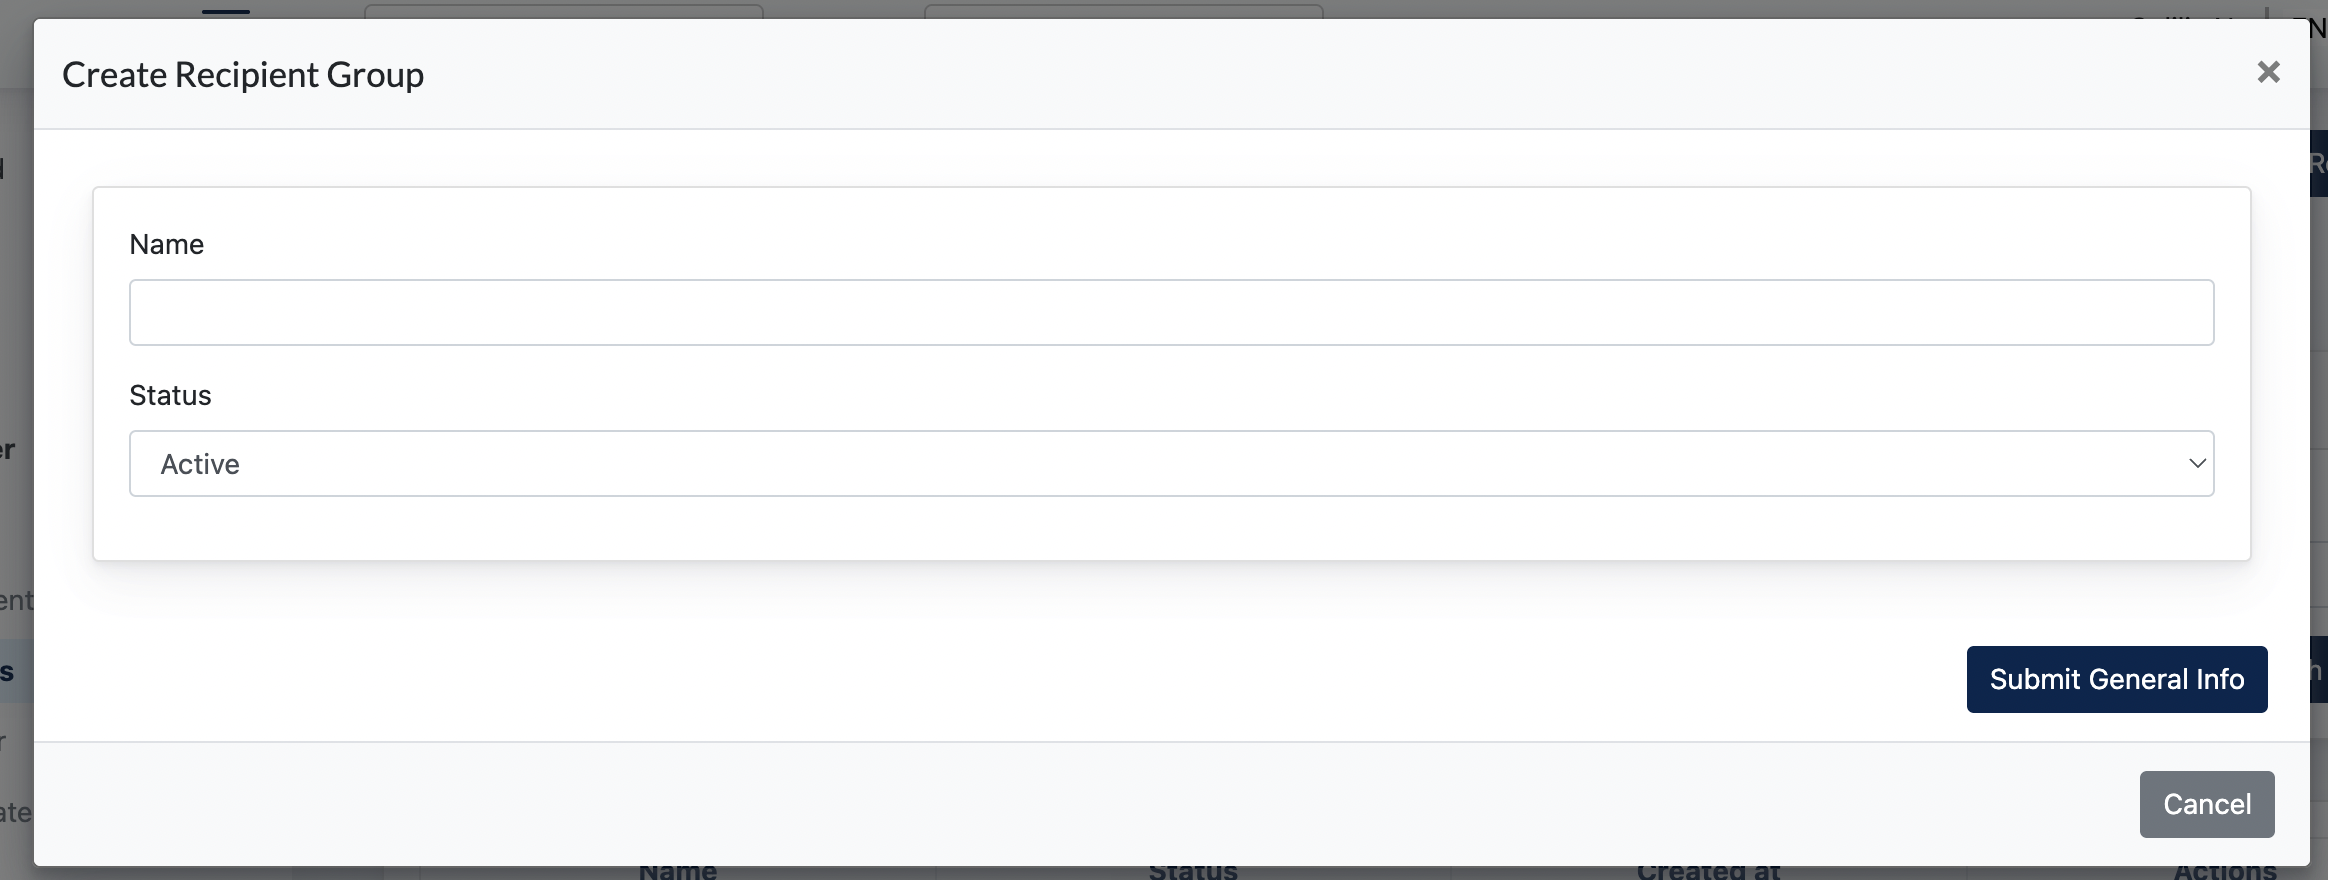
To create a new group, click Create Recipient Group, complete the form, and submit. Existing groups can be viewed, edited, or deleted from the listing.
Note: Only Active Recipients can be assigned to groups, and each recipient can belong to multiple groups.
Create Group
4. Senders
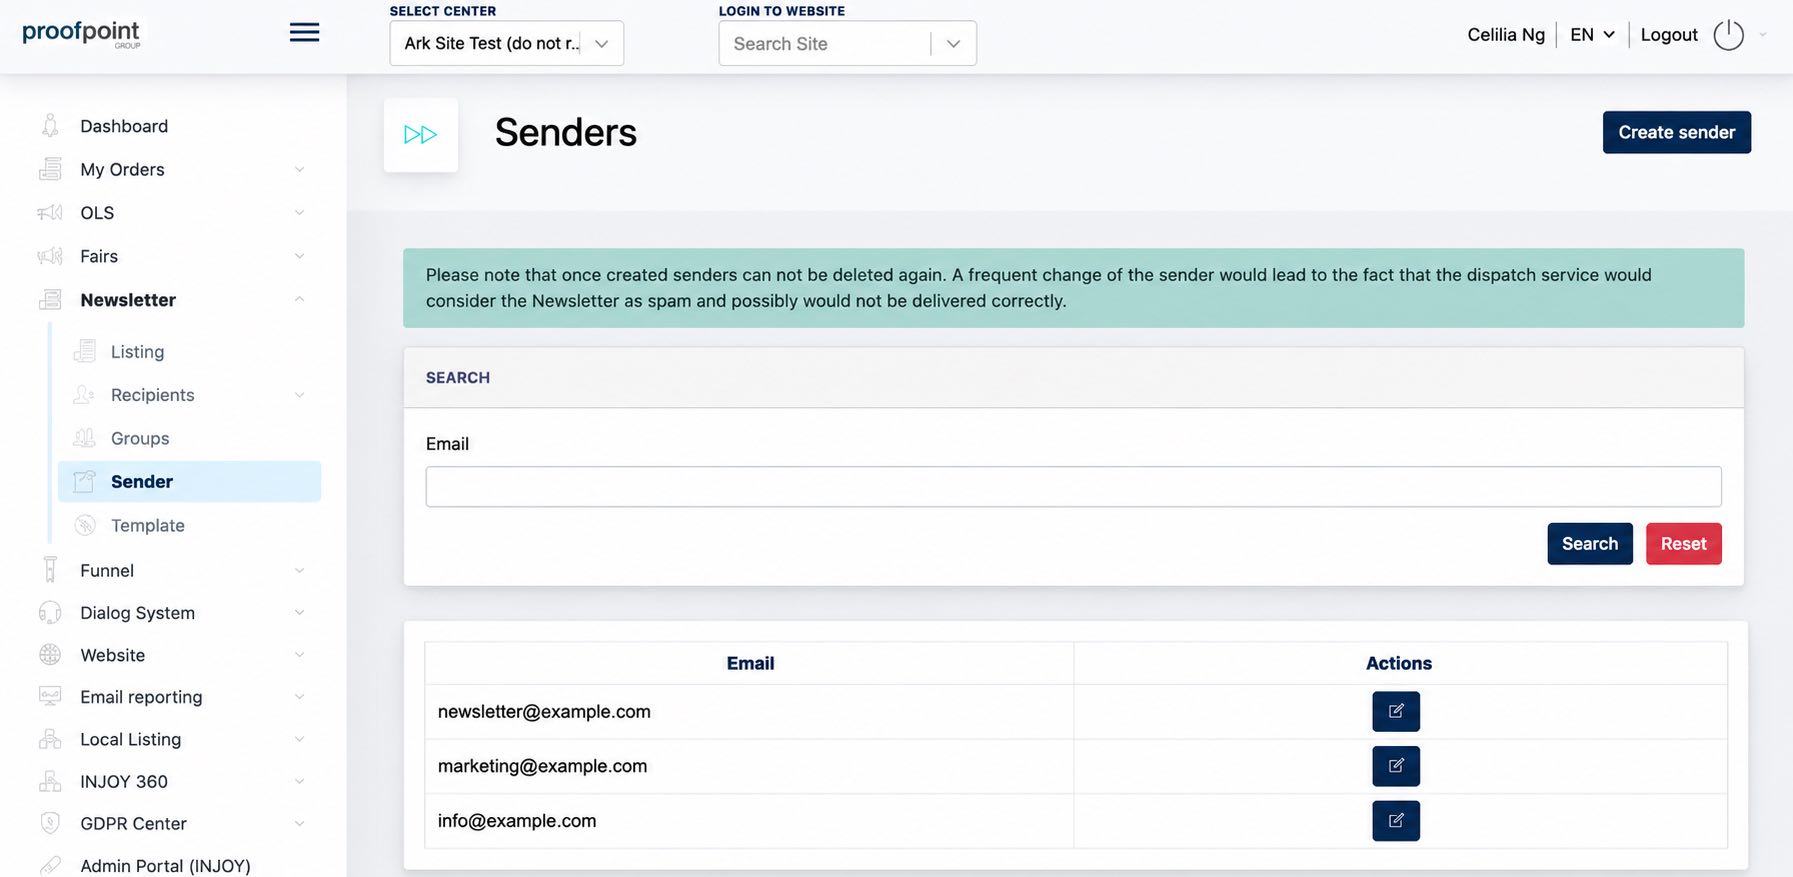
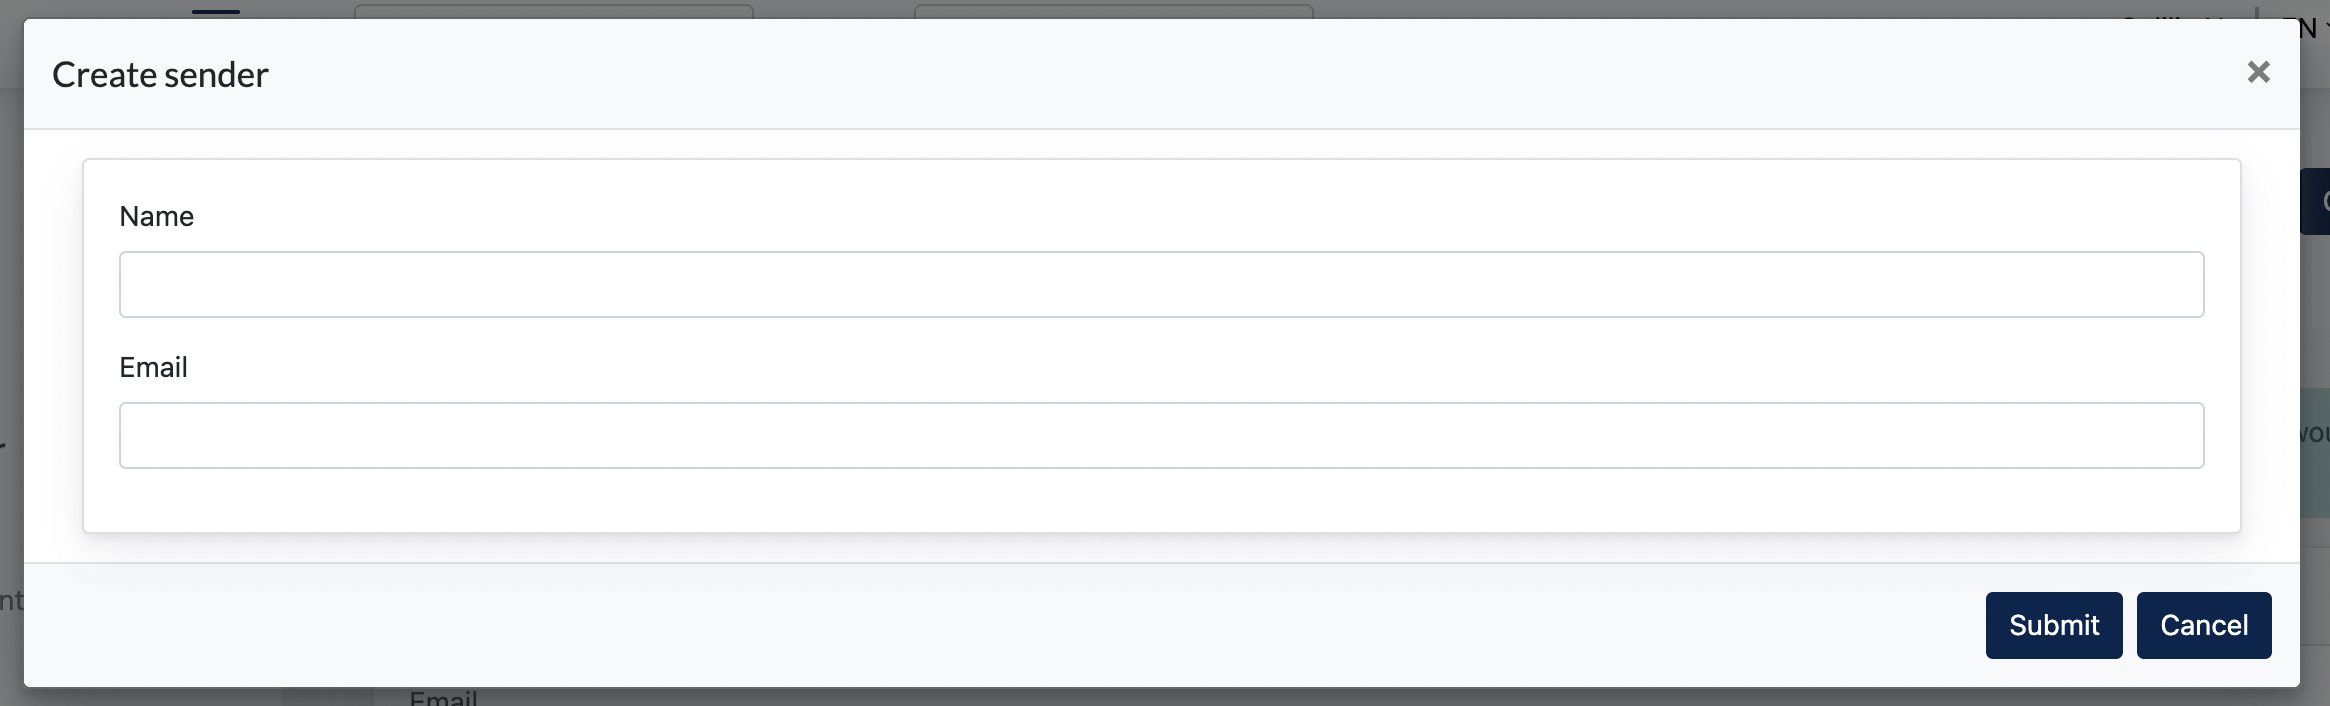
To add a new sender, click Create sender, complete the form, and submit. Existing senders can be edited but not deleted.
Important: Avoid frequently changing sender information, as this may affect email deliverability and cause newsletters to be identified as spam.
Create Sender:
5. Newsletter Templates
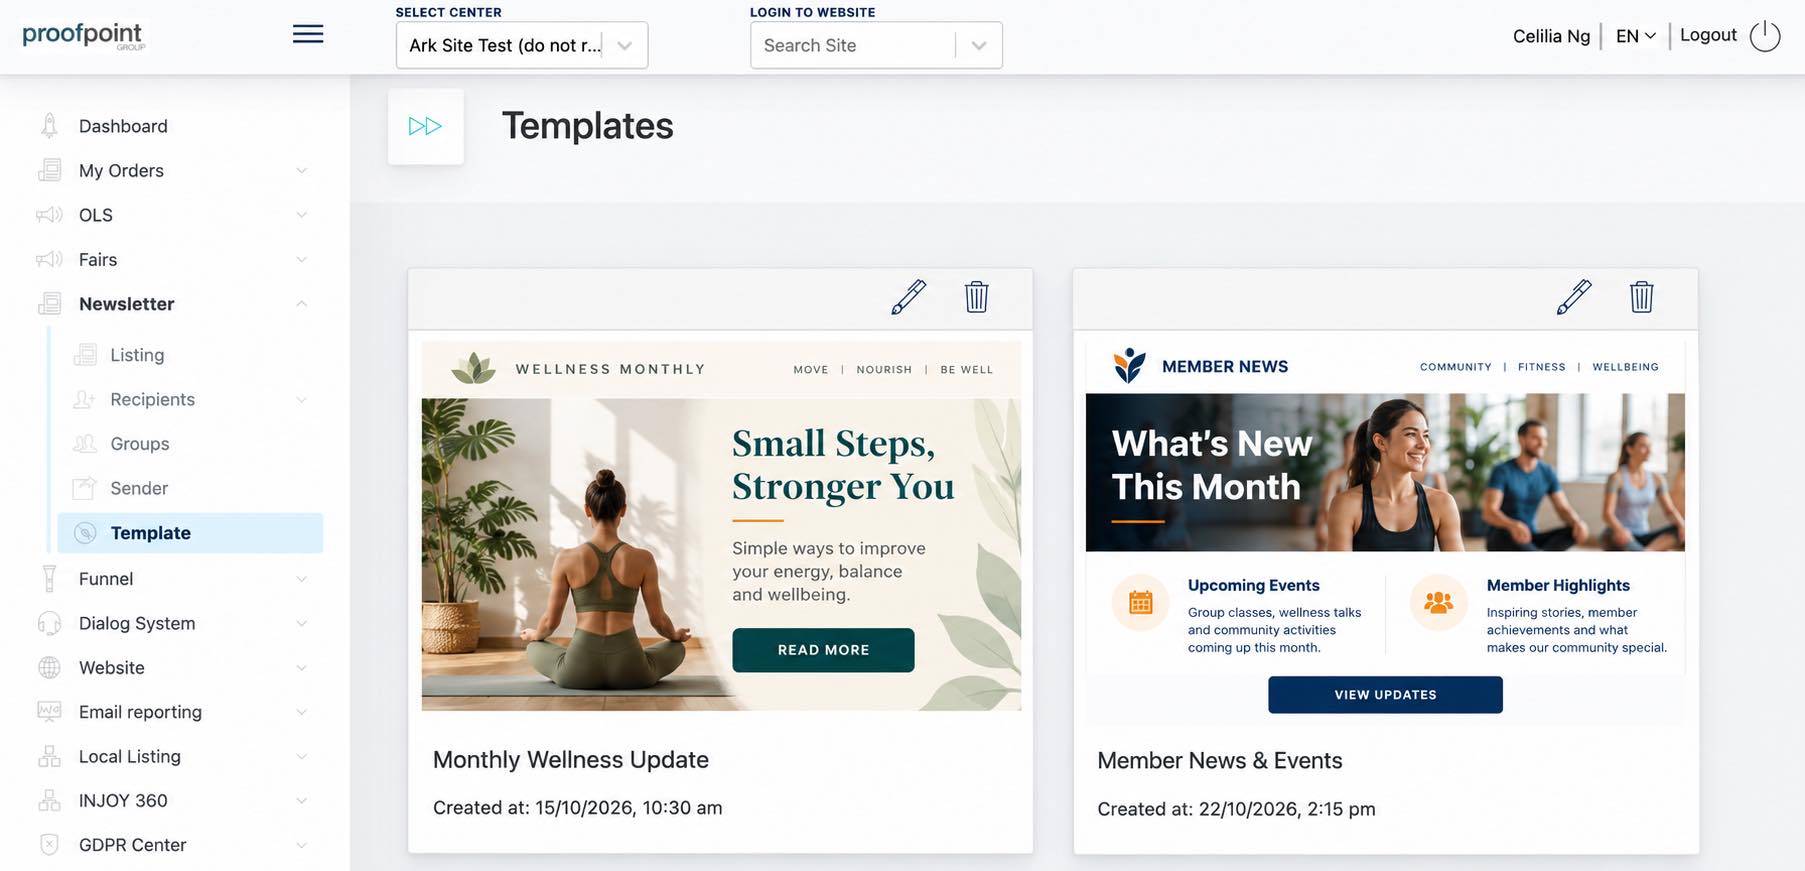
These templates can be reused for future newsletters and can be edited or deleted as needed.
Note: This section displays only templates saved by Center Admin, not the centrally managed templates created in ARK Management (ARK-M).
6. Newsletter Subscription via Website
Center Admin can connect a Site Form to the Newsletter Module to collect leads through marketing campaigns or landing pages.
For example, interested visitors can submit their contact information through a campaign form. By linking the form to the Newsletter Module, these leads can also become newsletter subscribers after completing the Double Opt-In (DOI) verification process.
6.1 Configuring the Newsletter Subscription Form
-
Create a Site Form and ensure that the Email field is mandatory.
-
Under the form's Newsletter tab, select the Newsletter Groups to which subscribers should be assigned.
-
Add the form to the desired website page using a Form Component or Form Section Template in the Page Editor.
Go to Site Form > Edit > Newsletter Tab
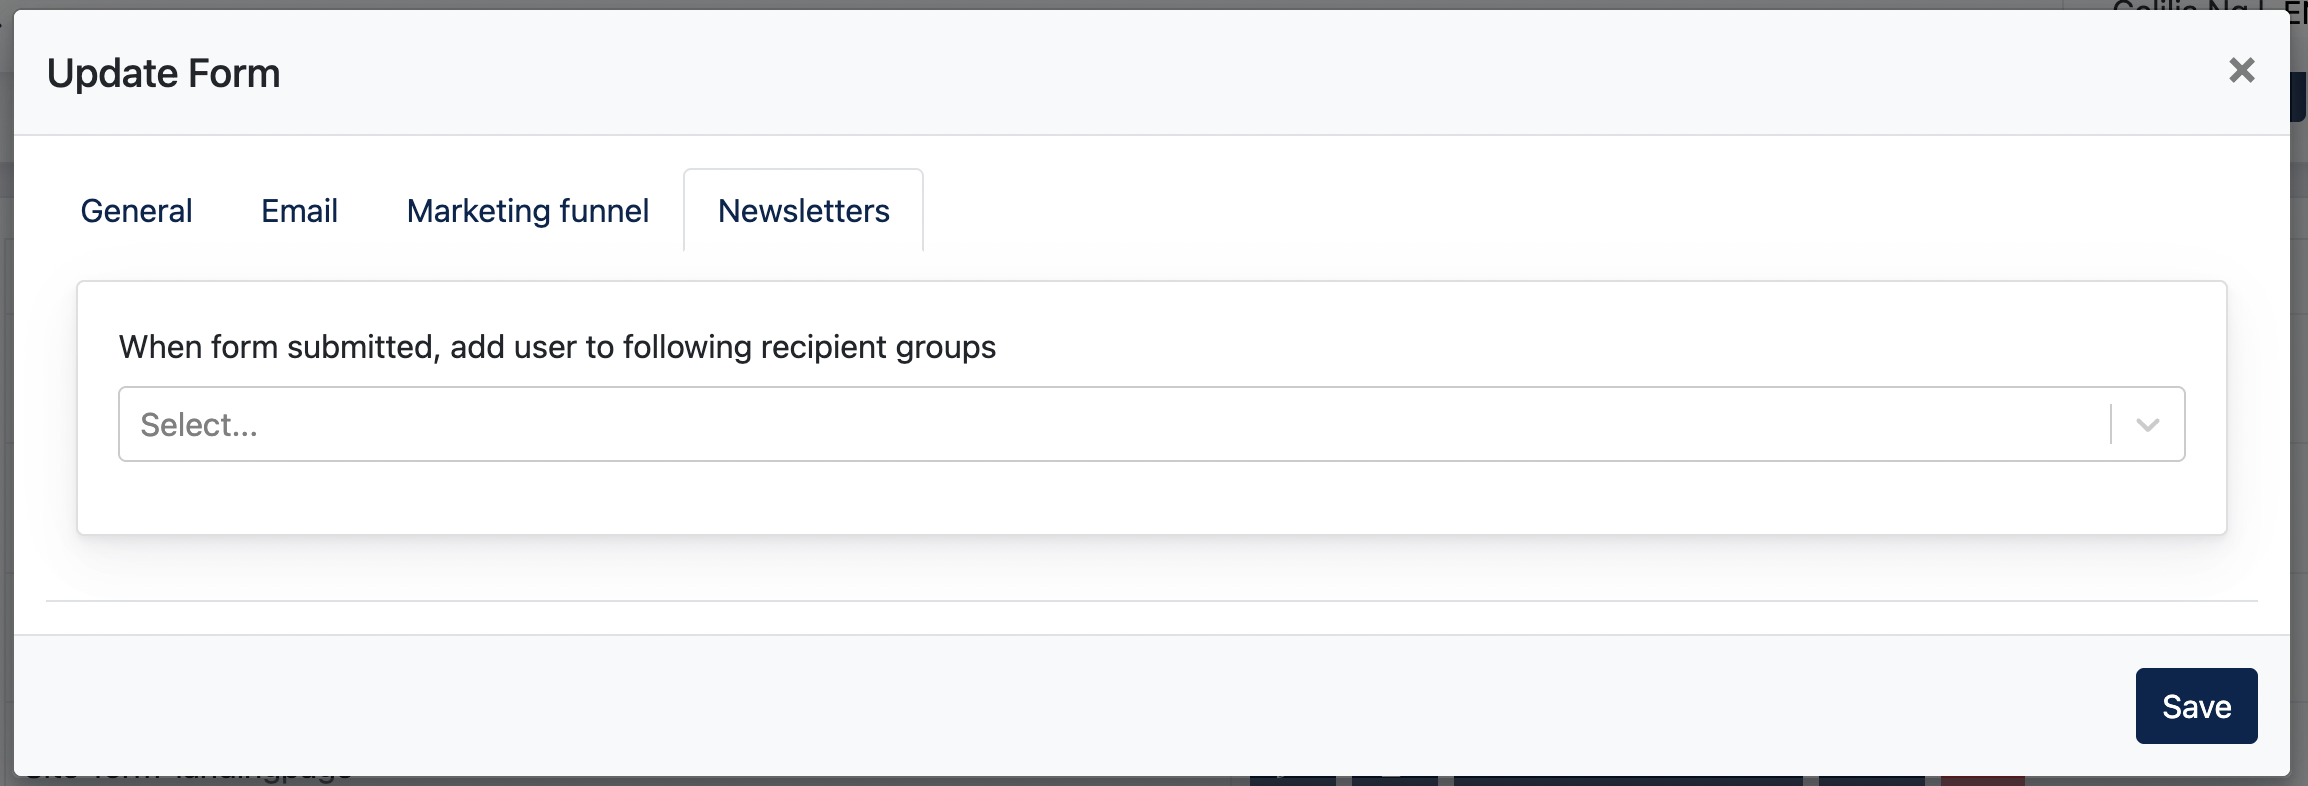
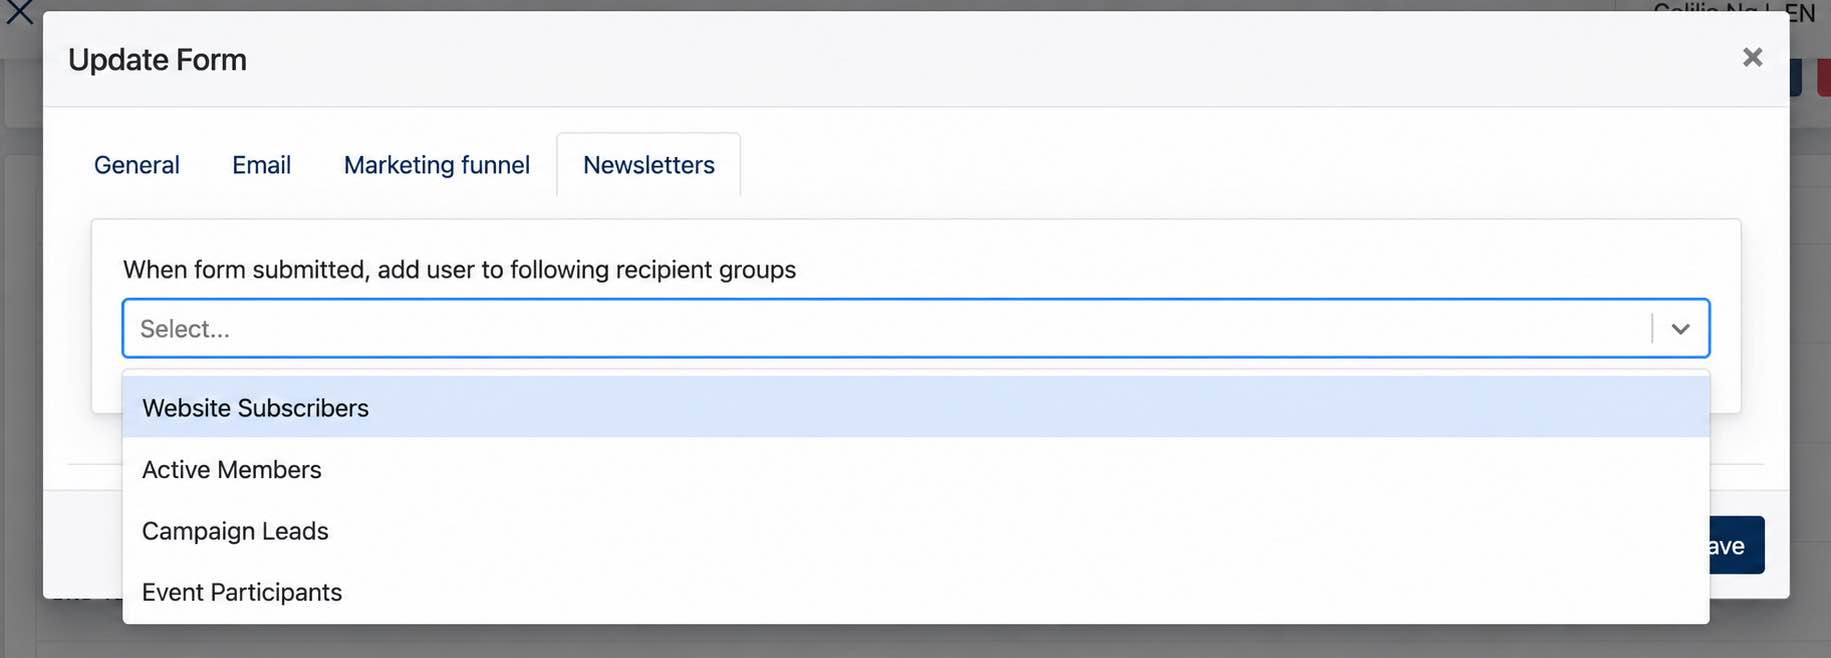
Important: Newsletter Groups must be configured in the Site Form to associate submitted email addresses with the Newsletter Module.
For detailed setup instructions, refer to the Create Site Form documentation.