How to create Site News
[ Site News ] feature allows users to configure news content displayed on the website.
Any client that subscribe conida website, will have news within the site modules. [ News ] is part of the system page, auto-generated once a website is ready.
News consists of the following URL :
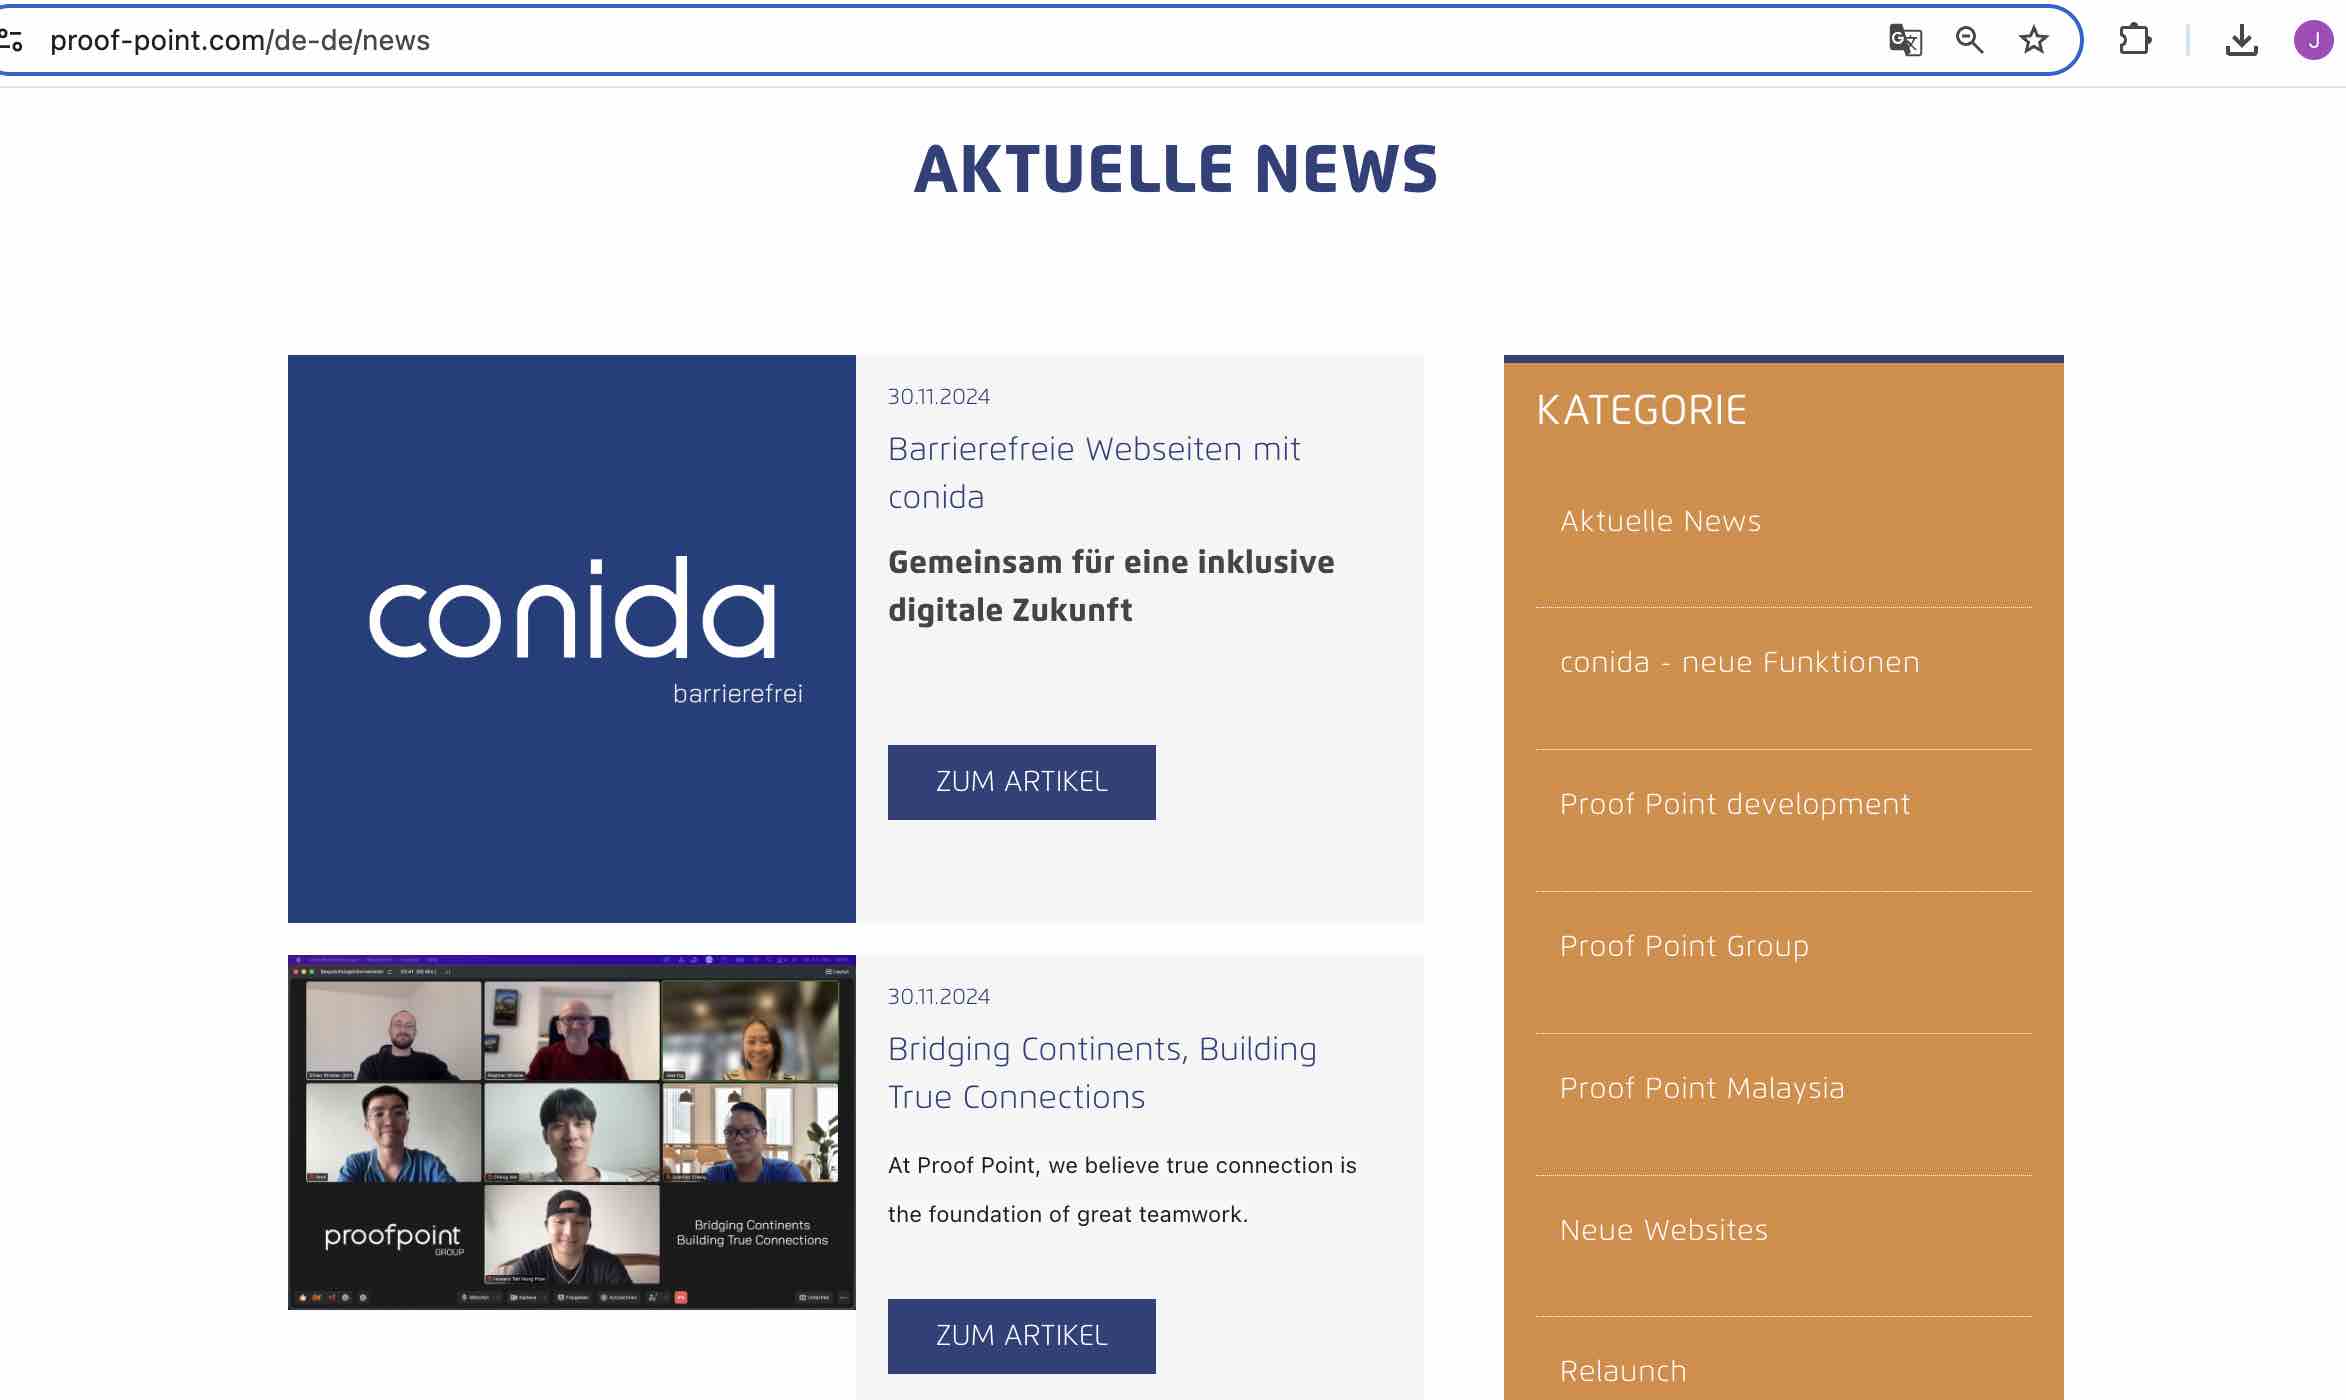
- /news - this is the overall news page
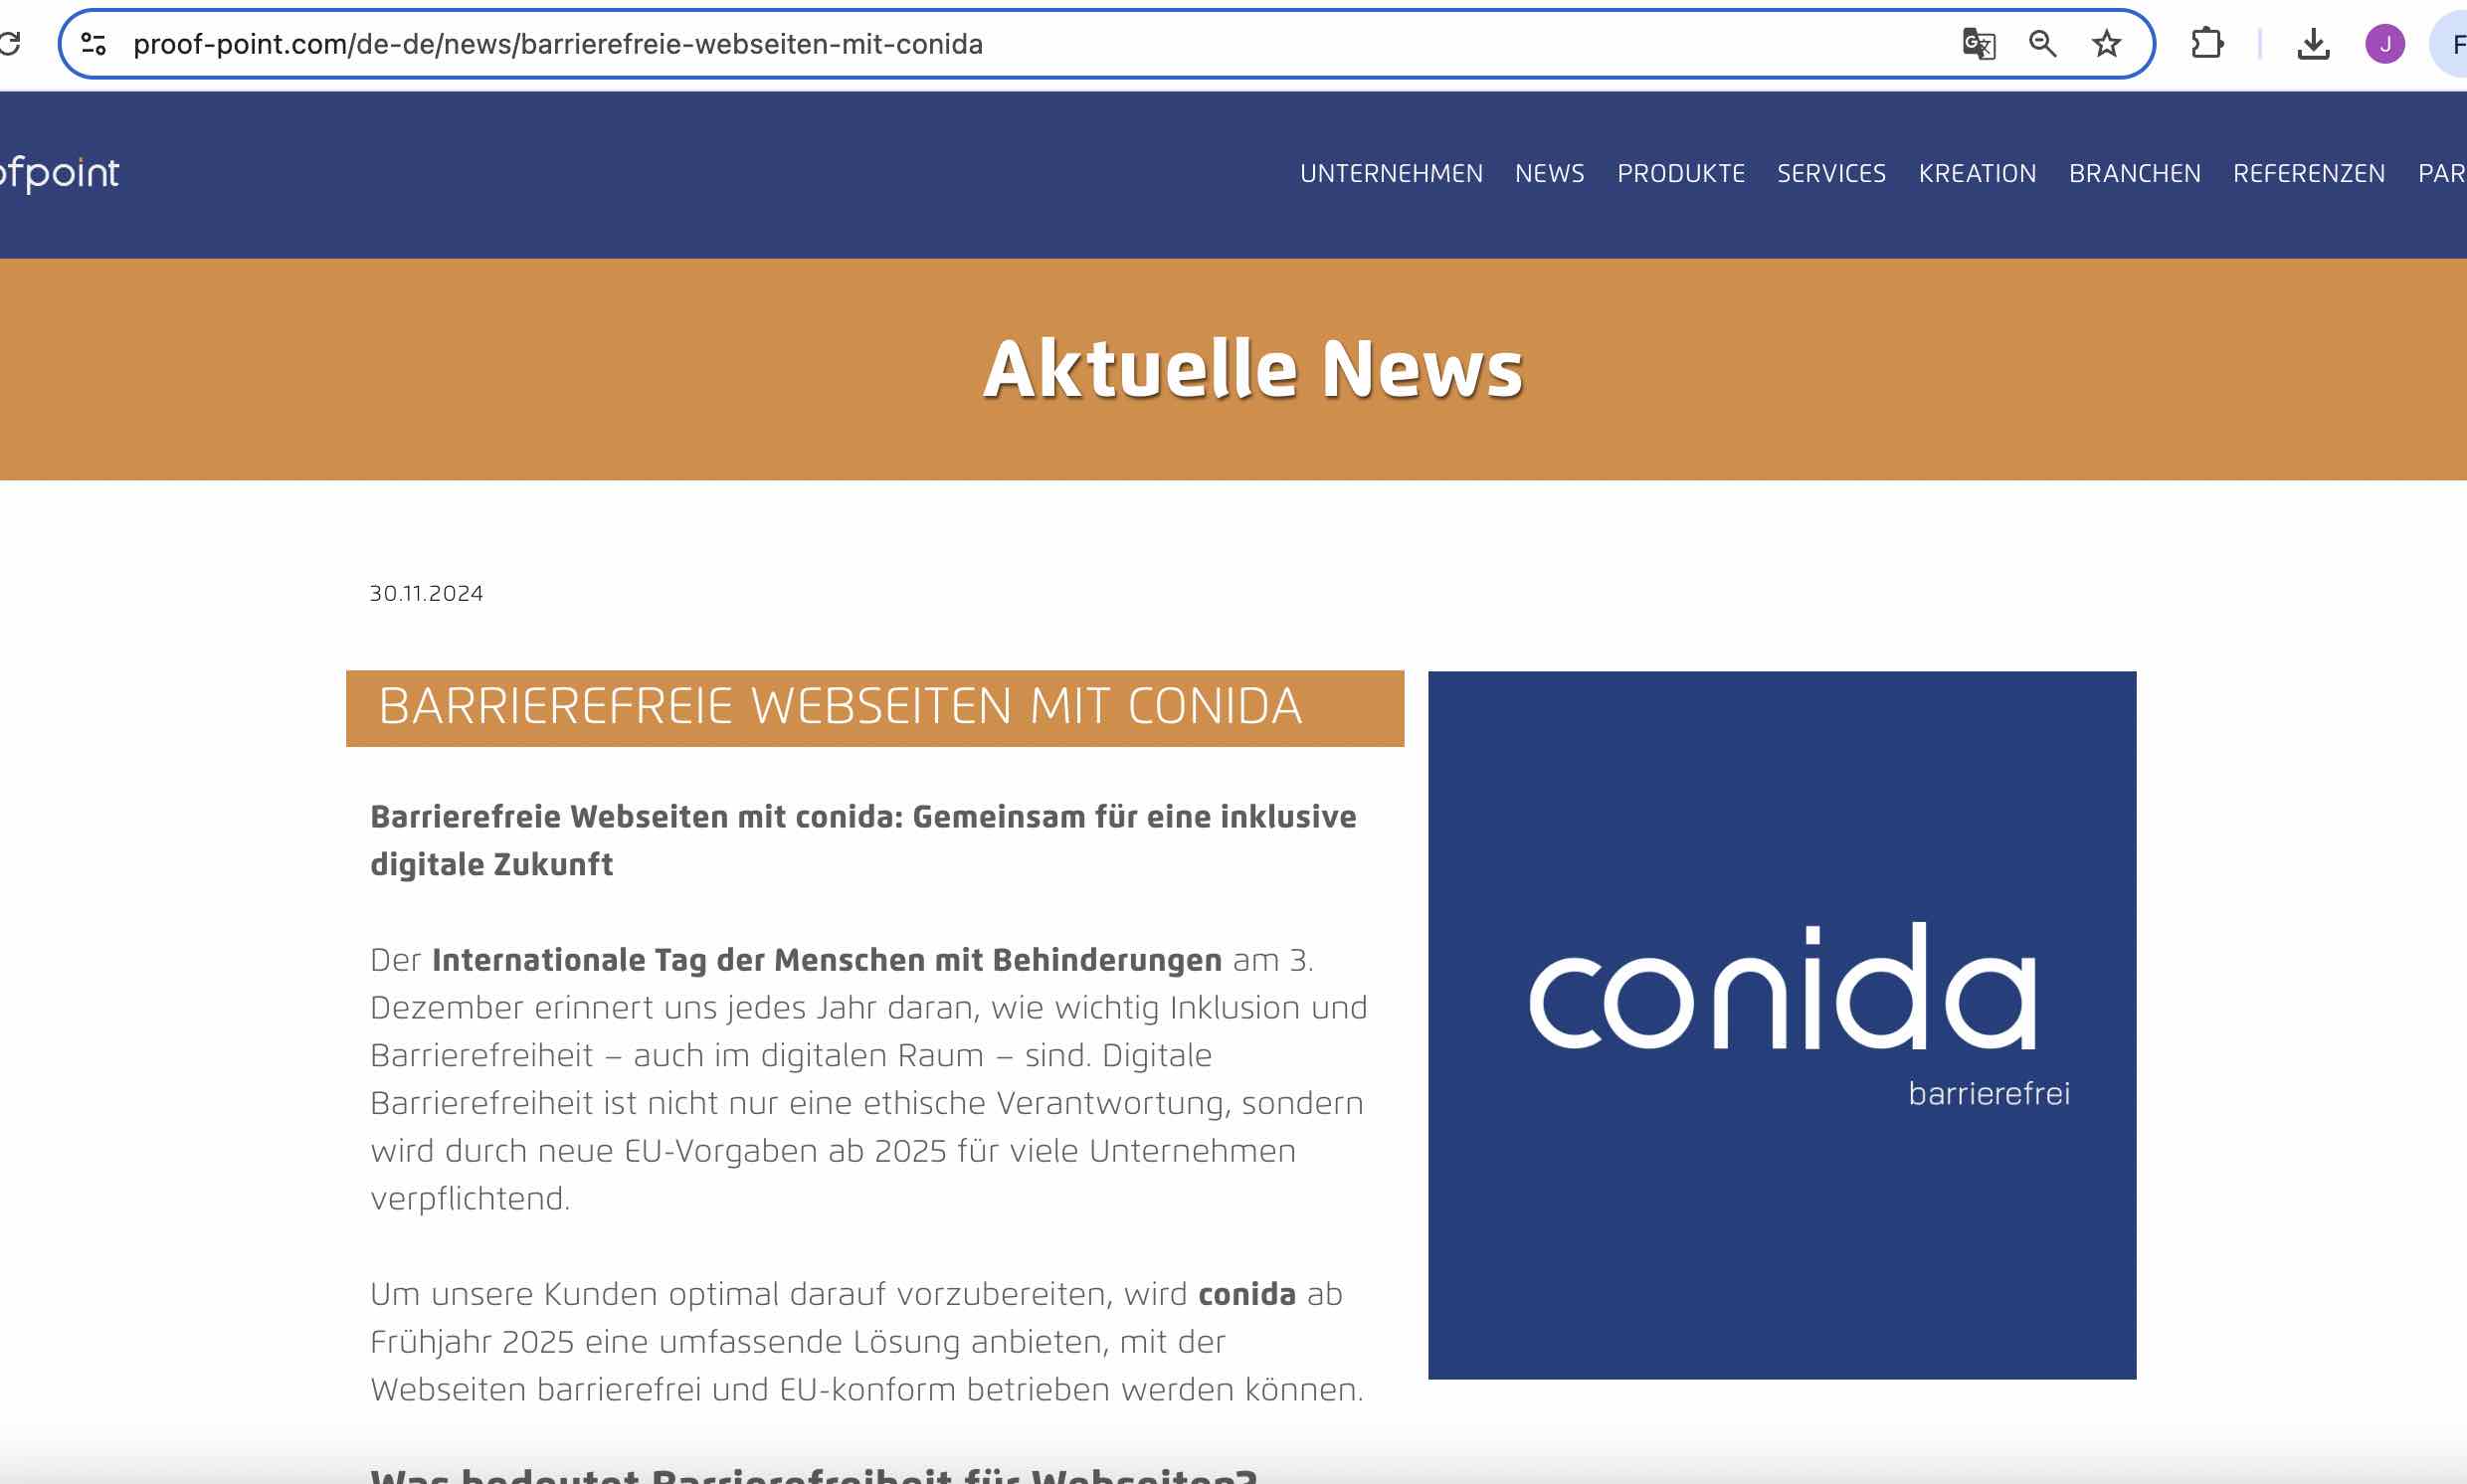
- /news/:id - this is the individual news page, with its own slug created by the User
An example of /news page:
An example of /news/:id page
- News
- Content Service
- Categories
- Setting
1. News
Click on the [ News ] and you will come to the News Listing page. To create news, simply click on [ Create News ] button.
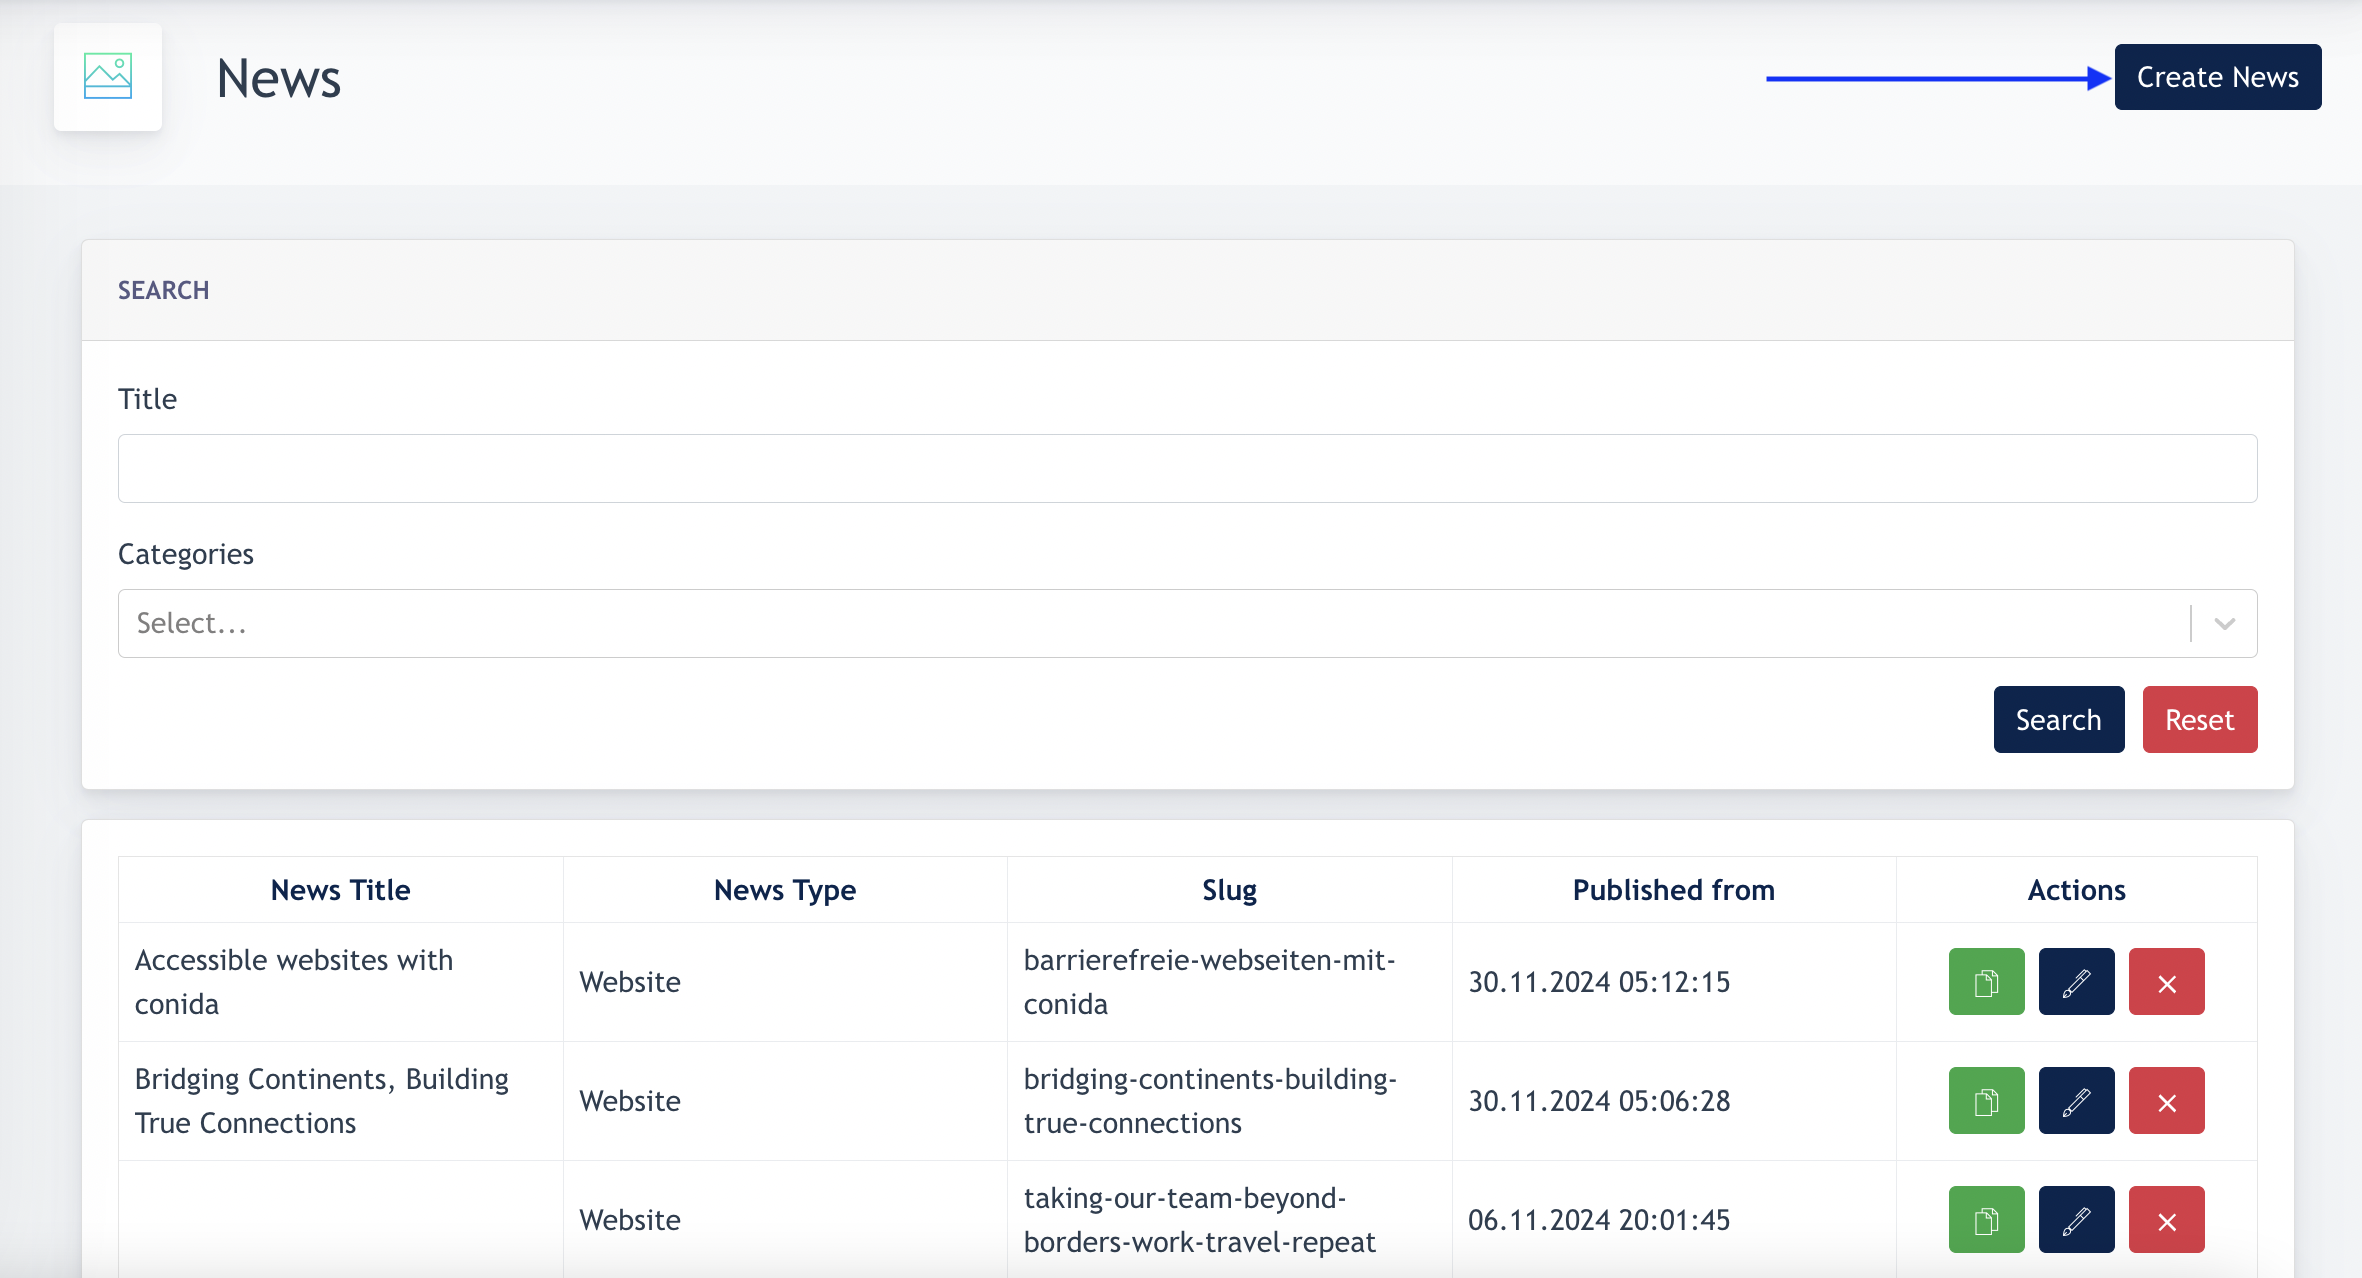
Remarks: Categories are mandatory for news creation. Make sure Categories are created before creating news.
1.1 Create News from Scratch
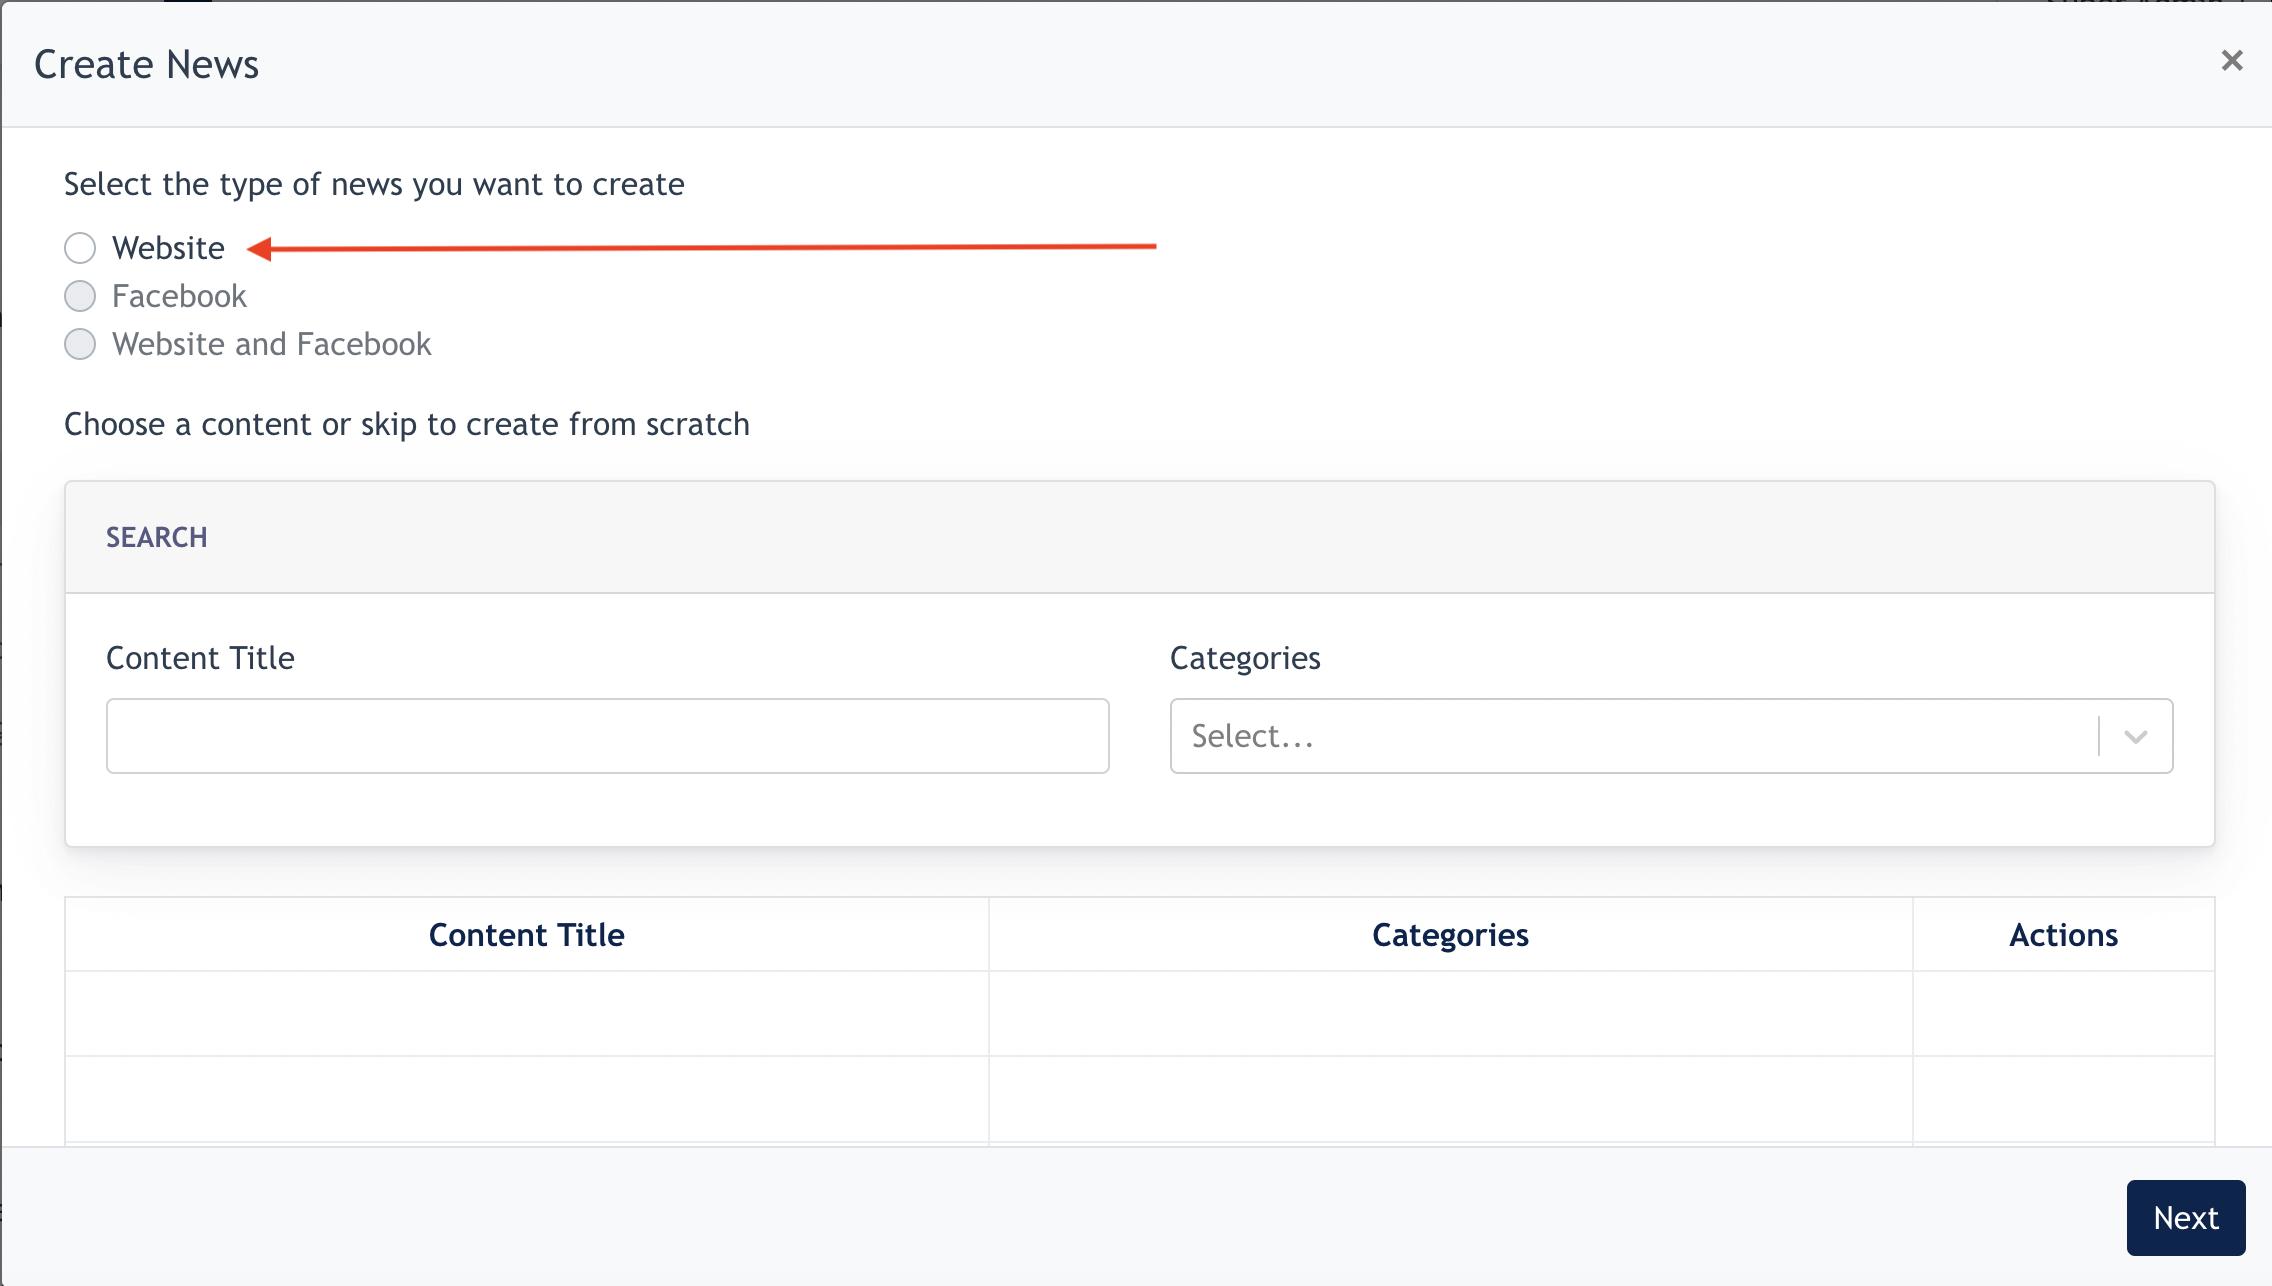
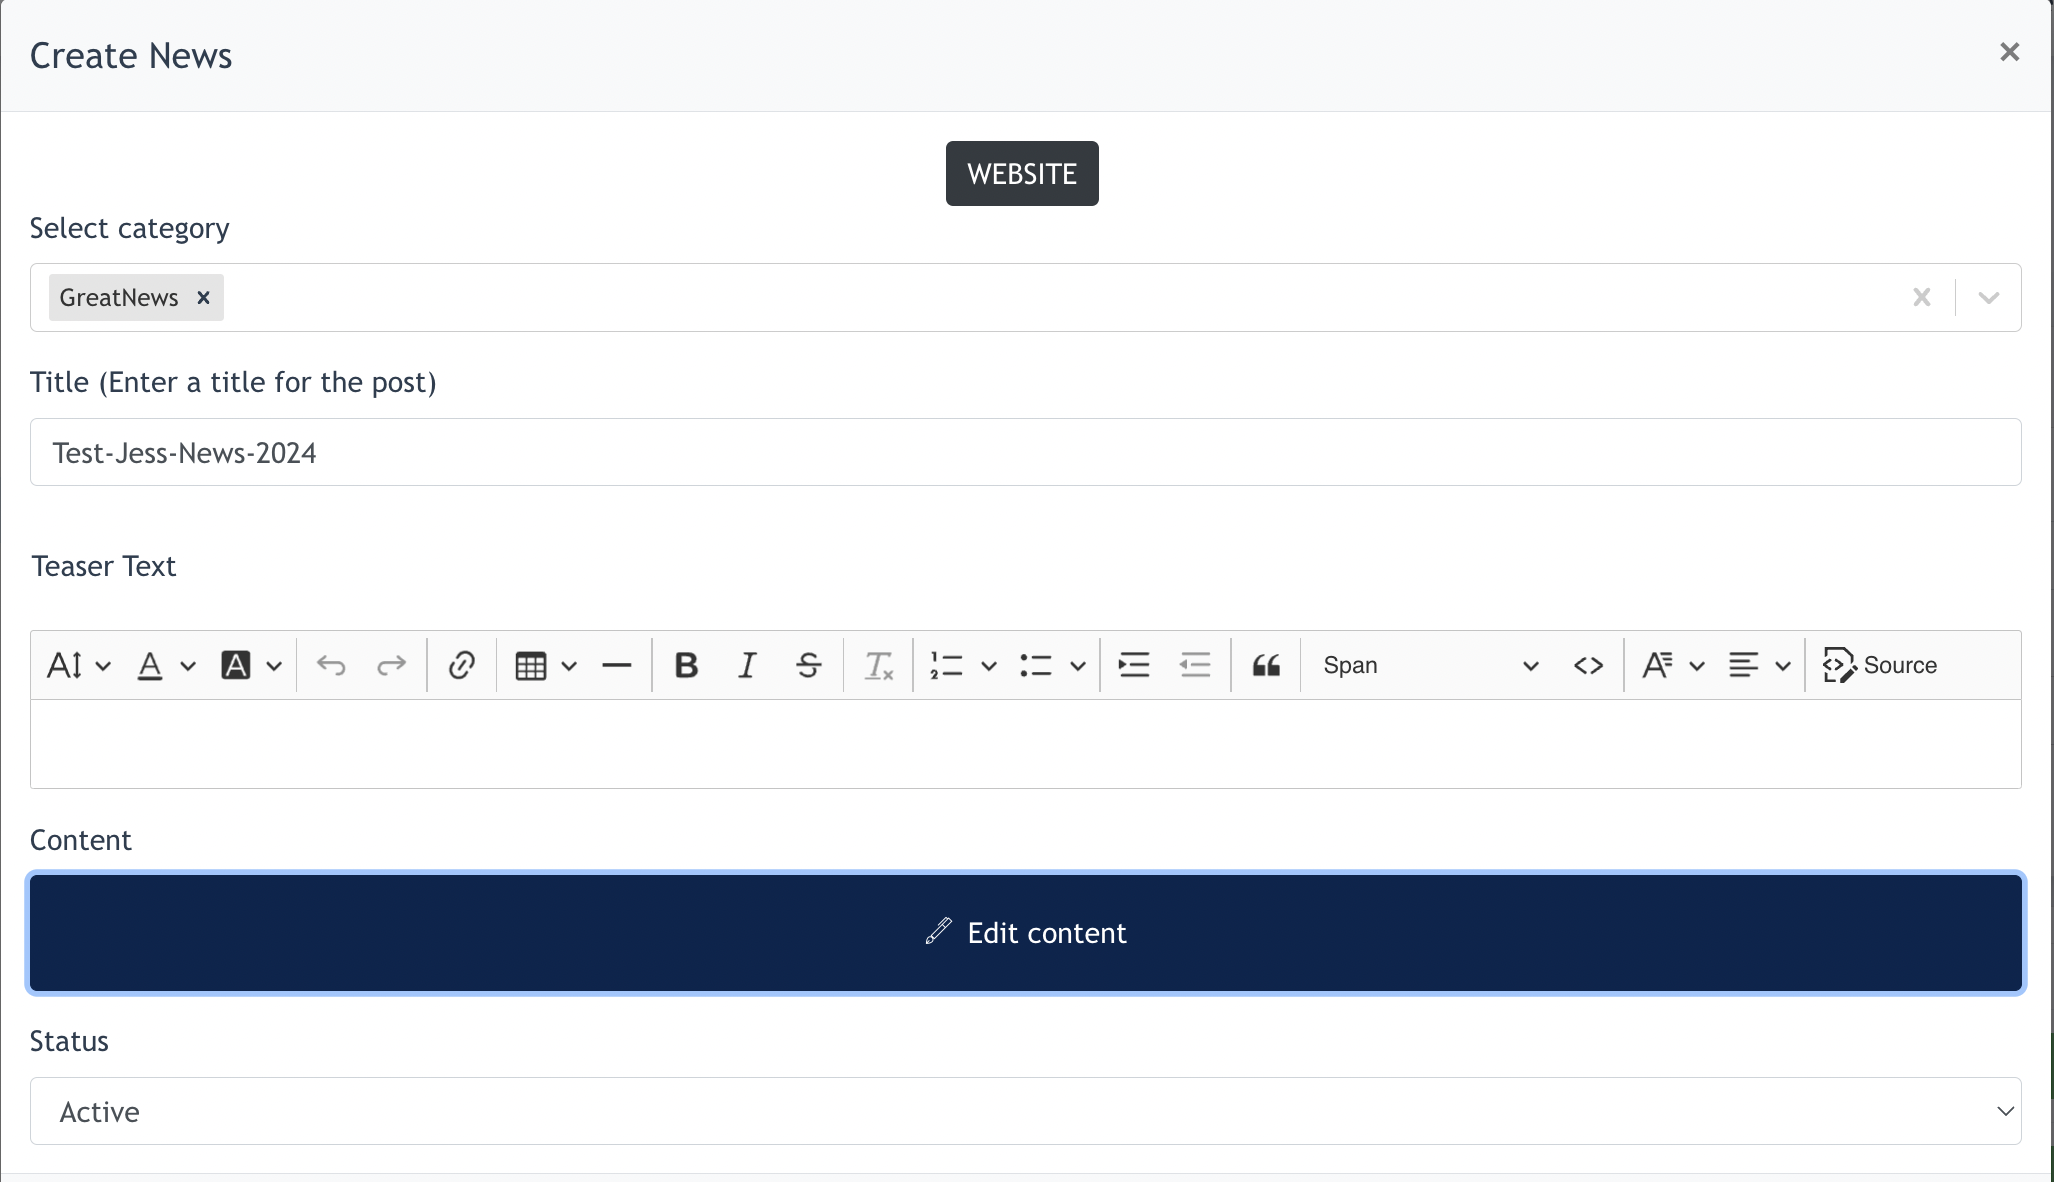
Click "Website" and click "Next" if we want to create from scratch.
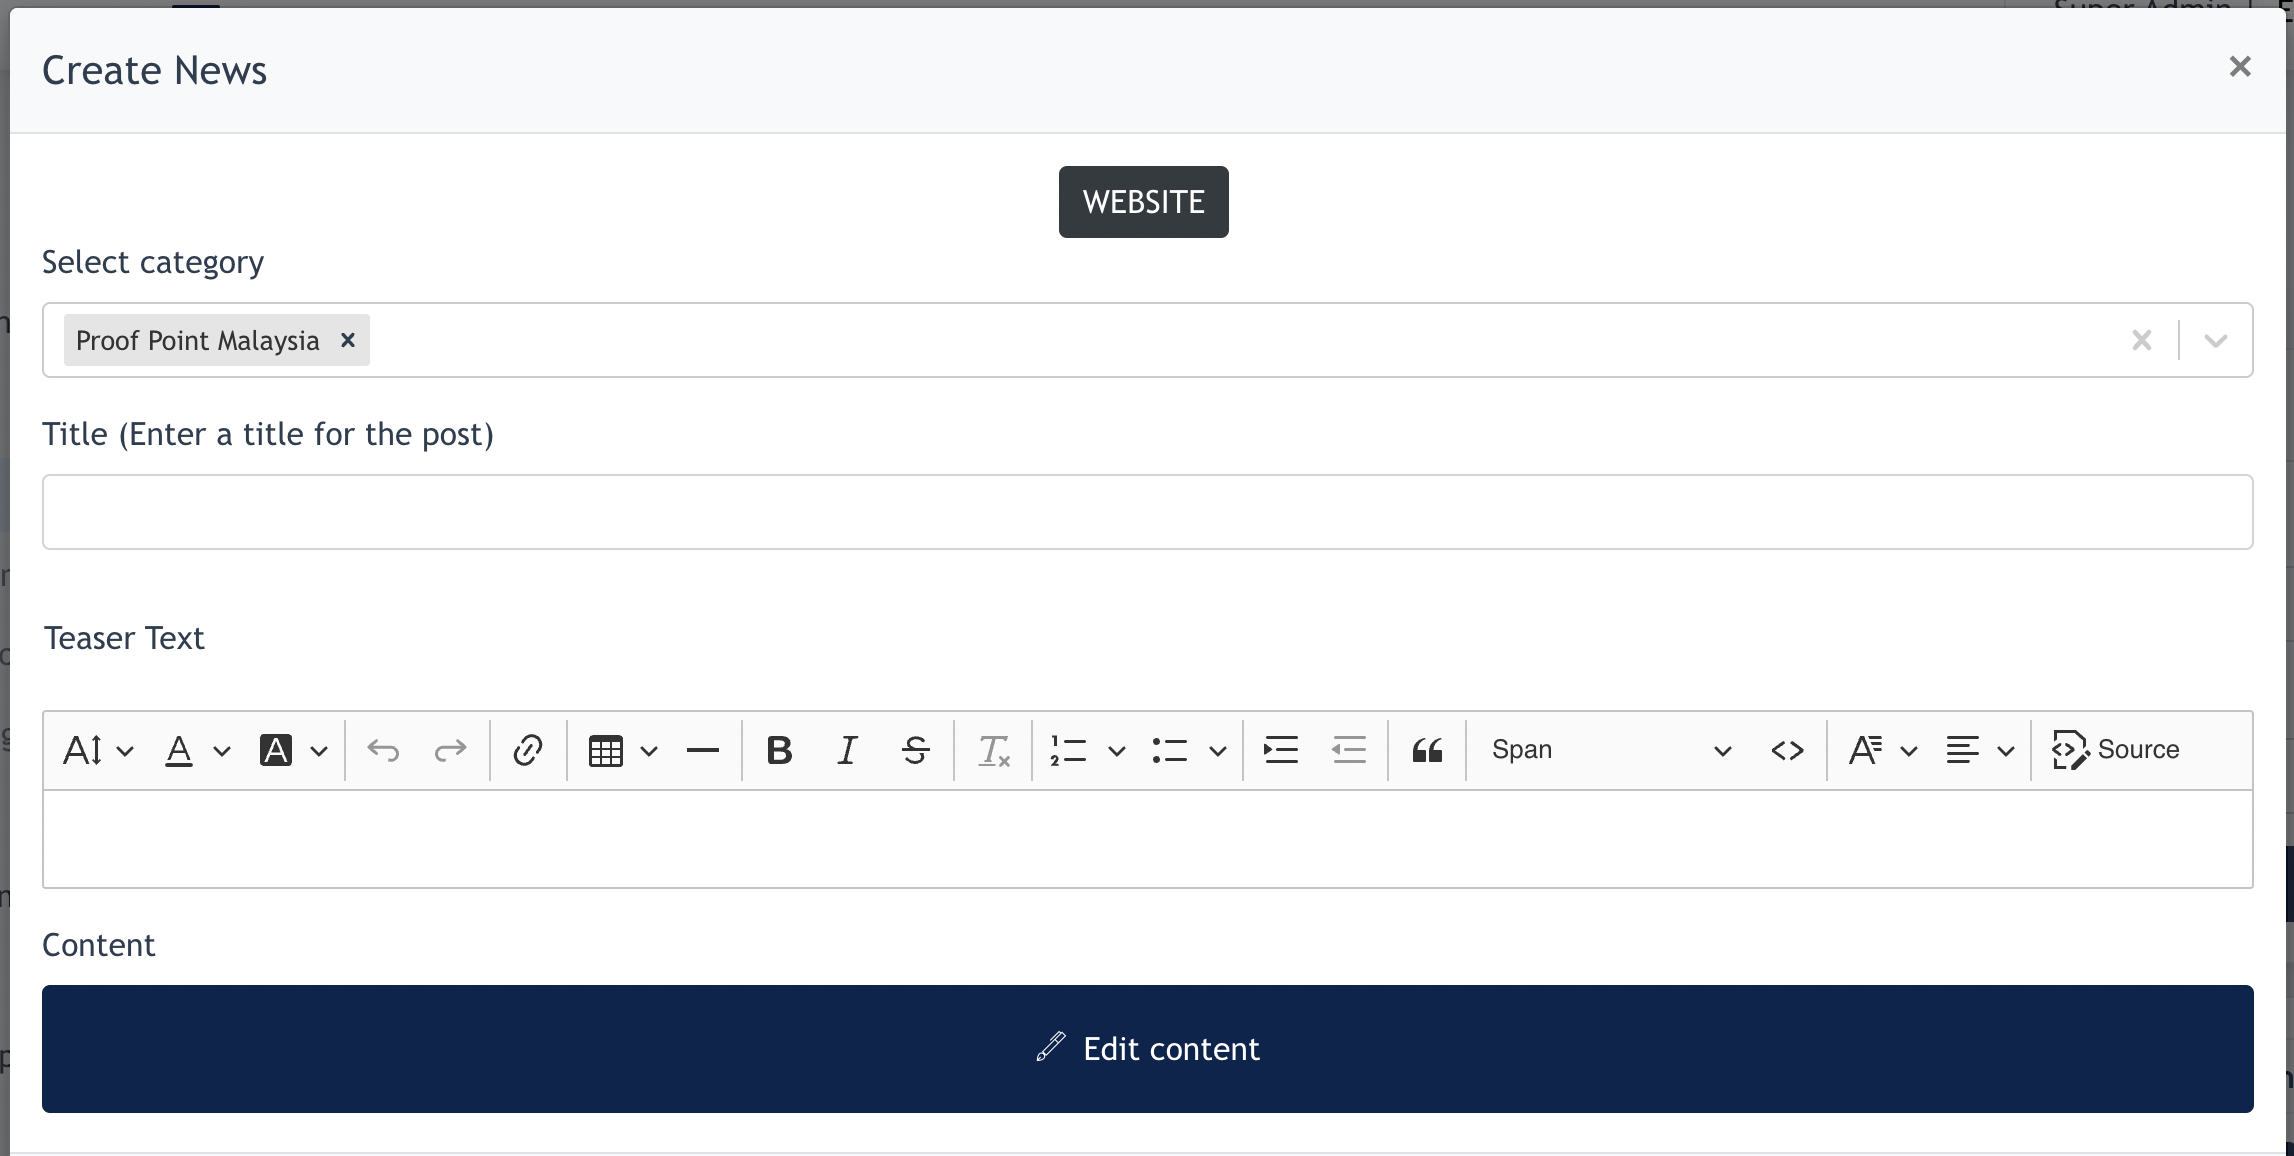
In the form :
- Select Category : Every news item has to belong to at least one or more categories.
- Title : The title of your news
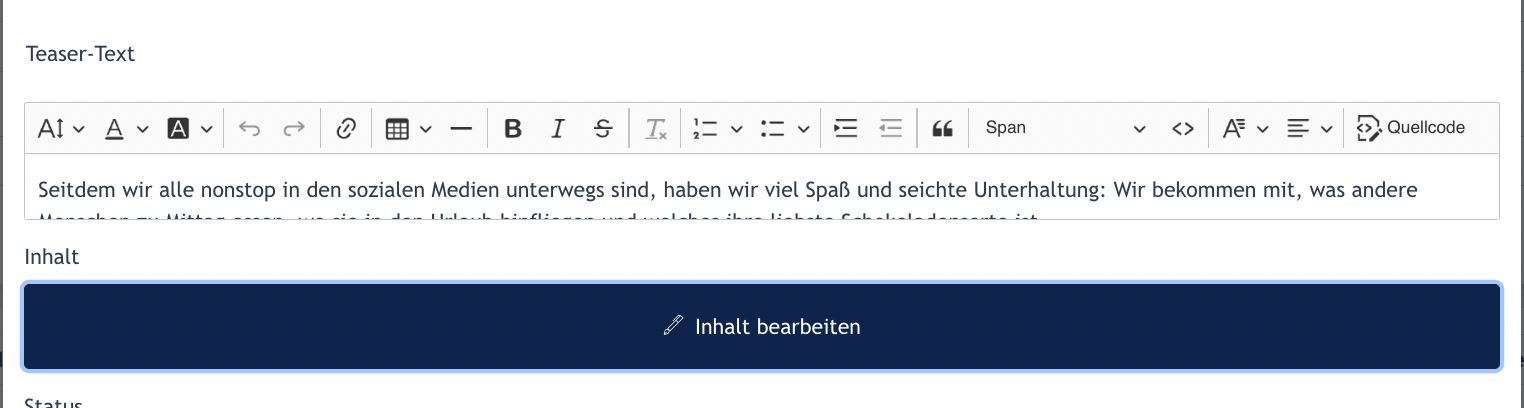
- Teaser text : Short description for preview under News title
- Content : Content editor of the news
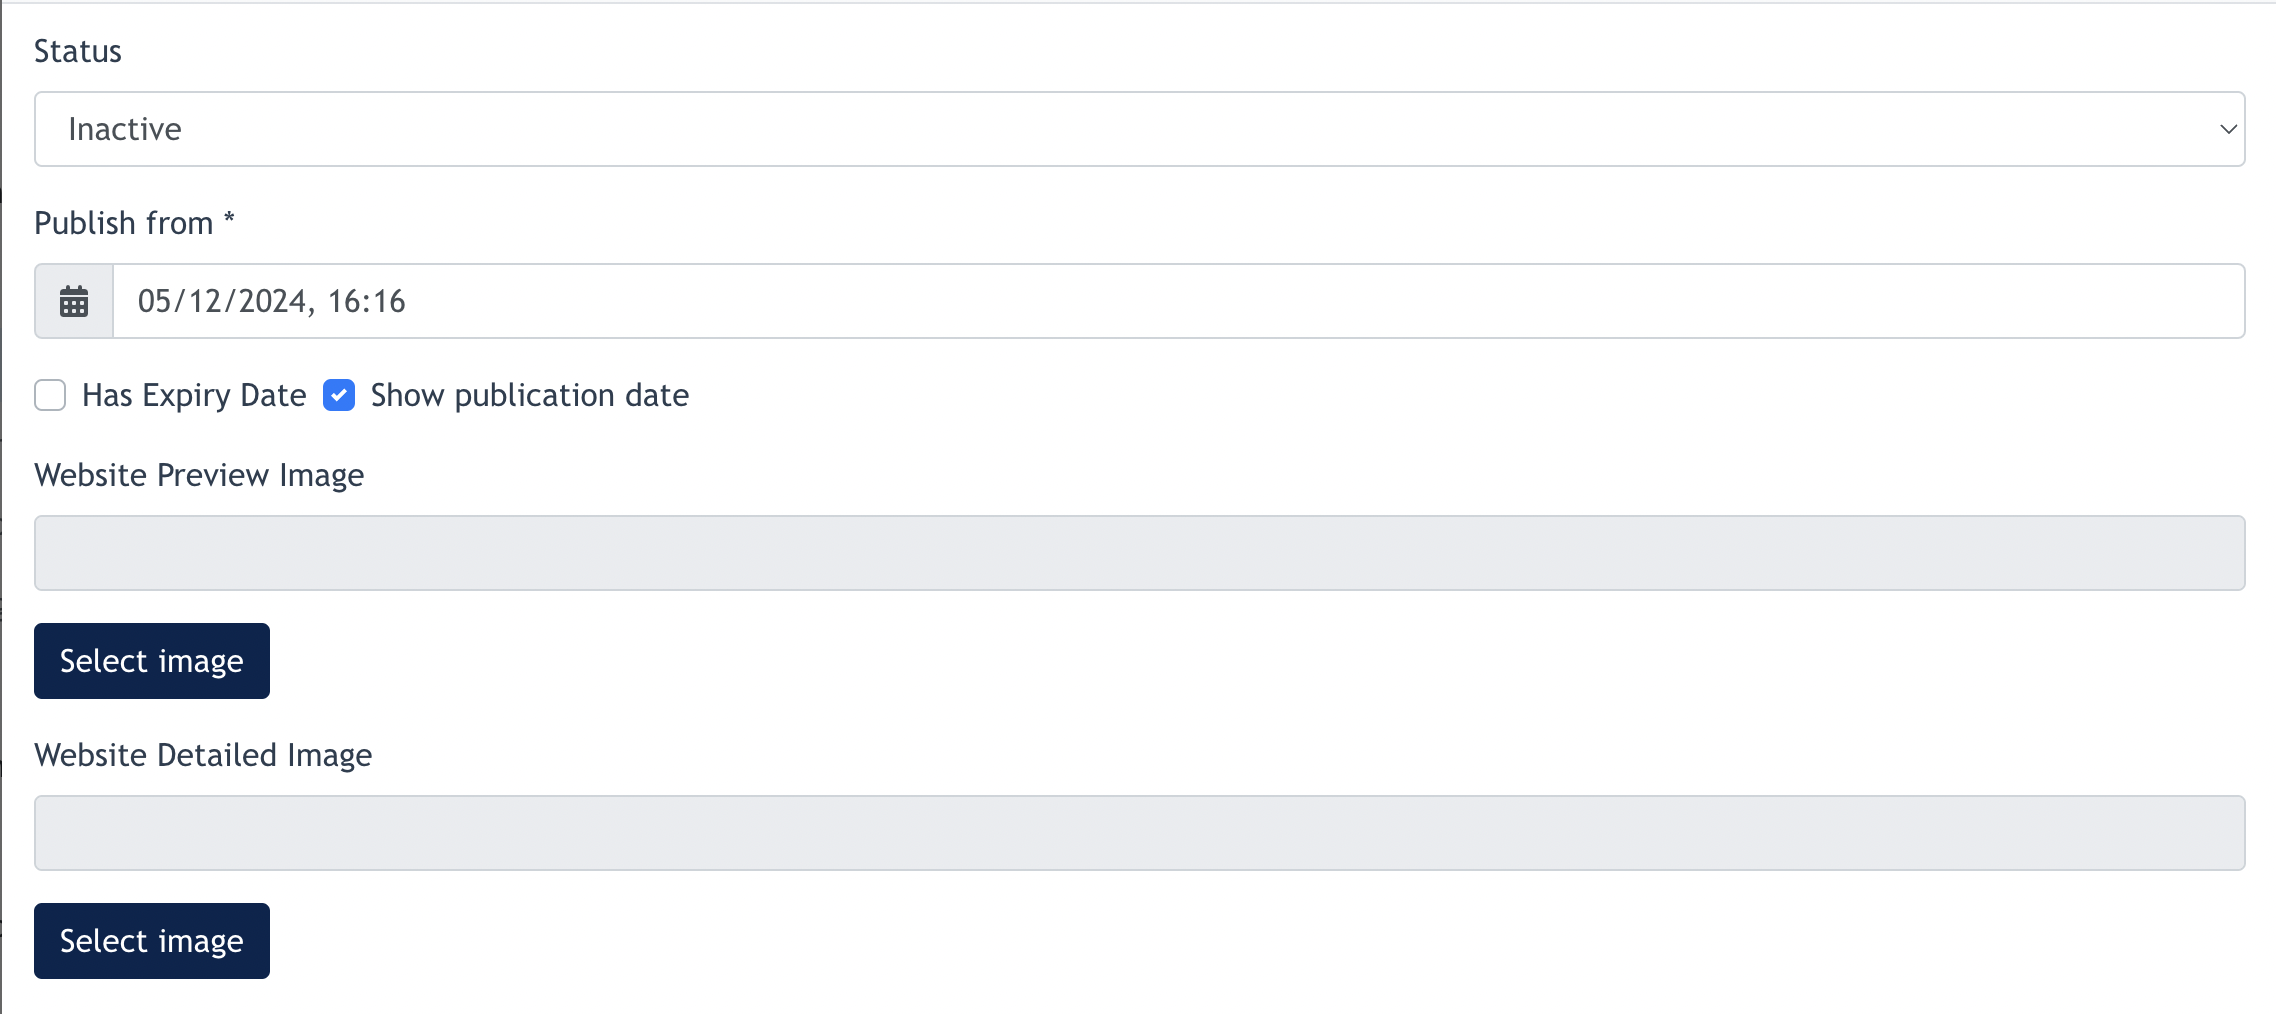
- Status : Set this news as active / inactive ( by default it is active ) . Only active news will be displayed.
- Publish from : Set a publish date ( it is by default to publish the news at current time if user does nothing on this )
- Show publication date - when this is checked, every news will show when this article is published.
- Example :

- Has Expiry Date : Set an expiry date for this news. News will be removed from the website (status set to inactive) when this date & time is reached.
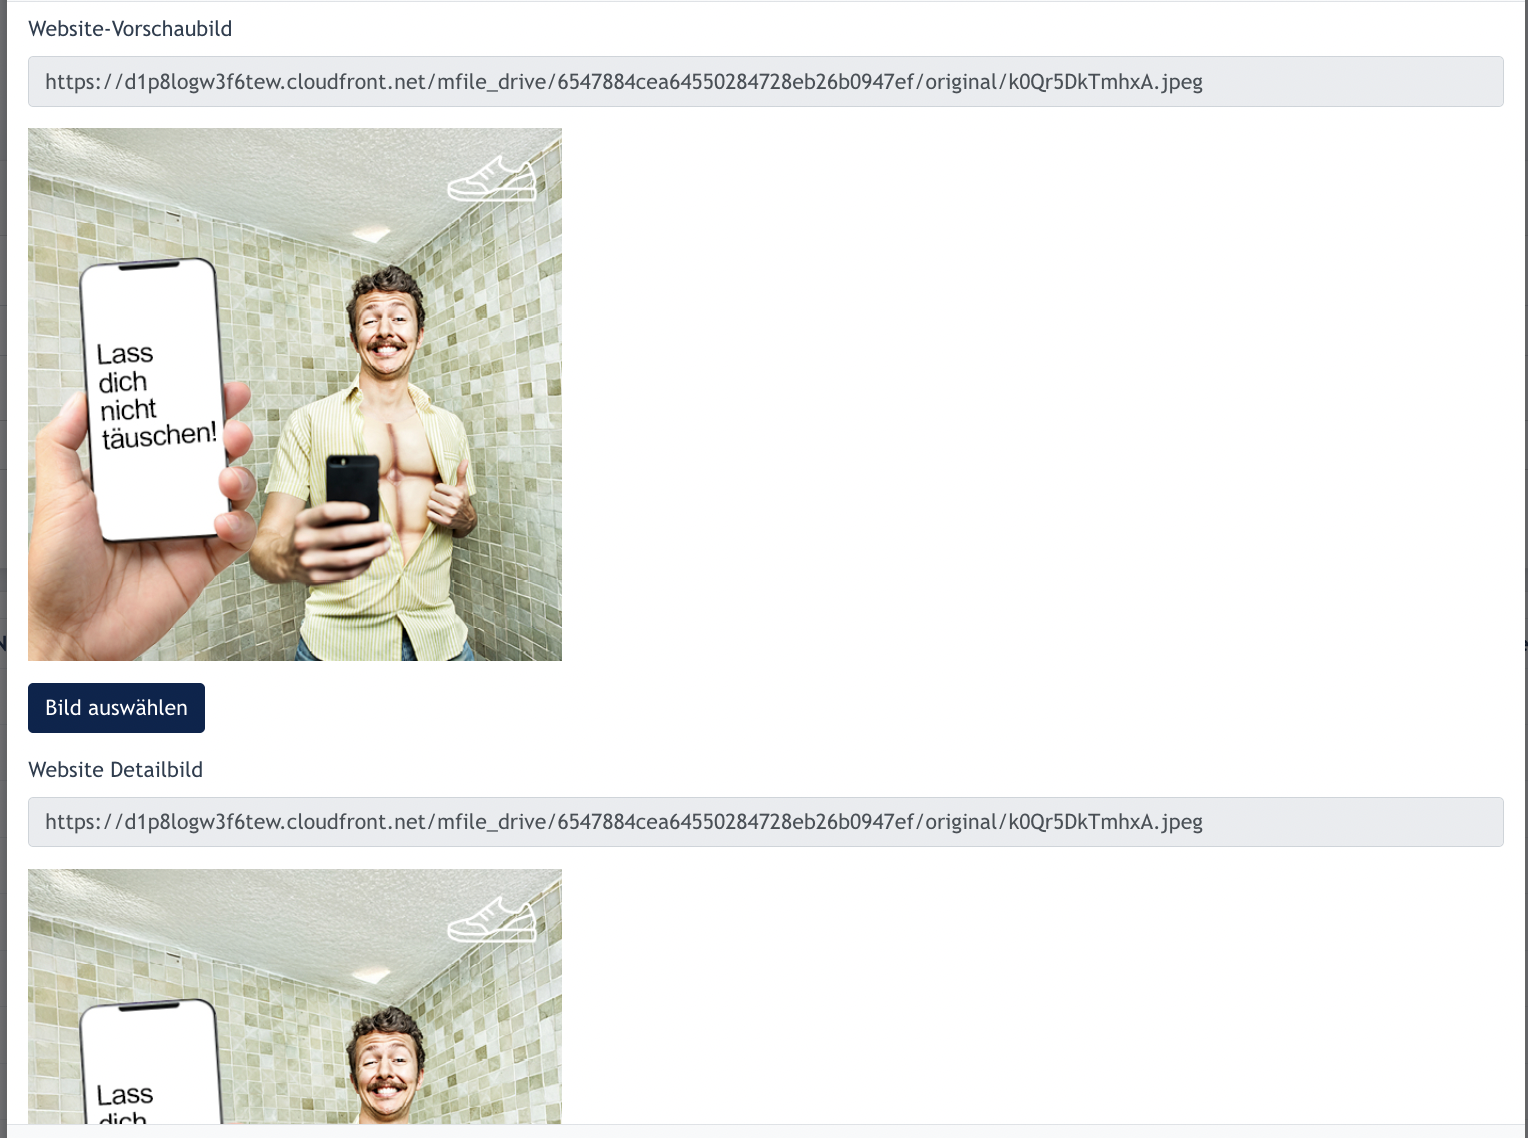
- Website Previewed image & Detailed image : Website previewed image is for /news page and Detailed image is for /news/:id page

Click "Submit" after all the above are configured. The news will be published and display on the news listing.
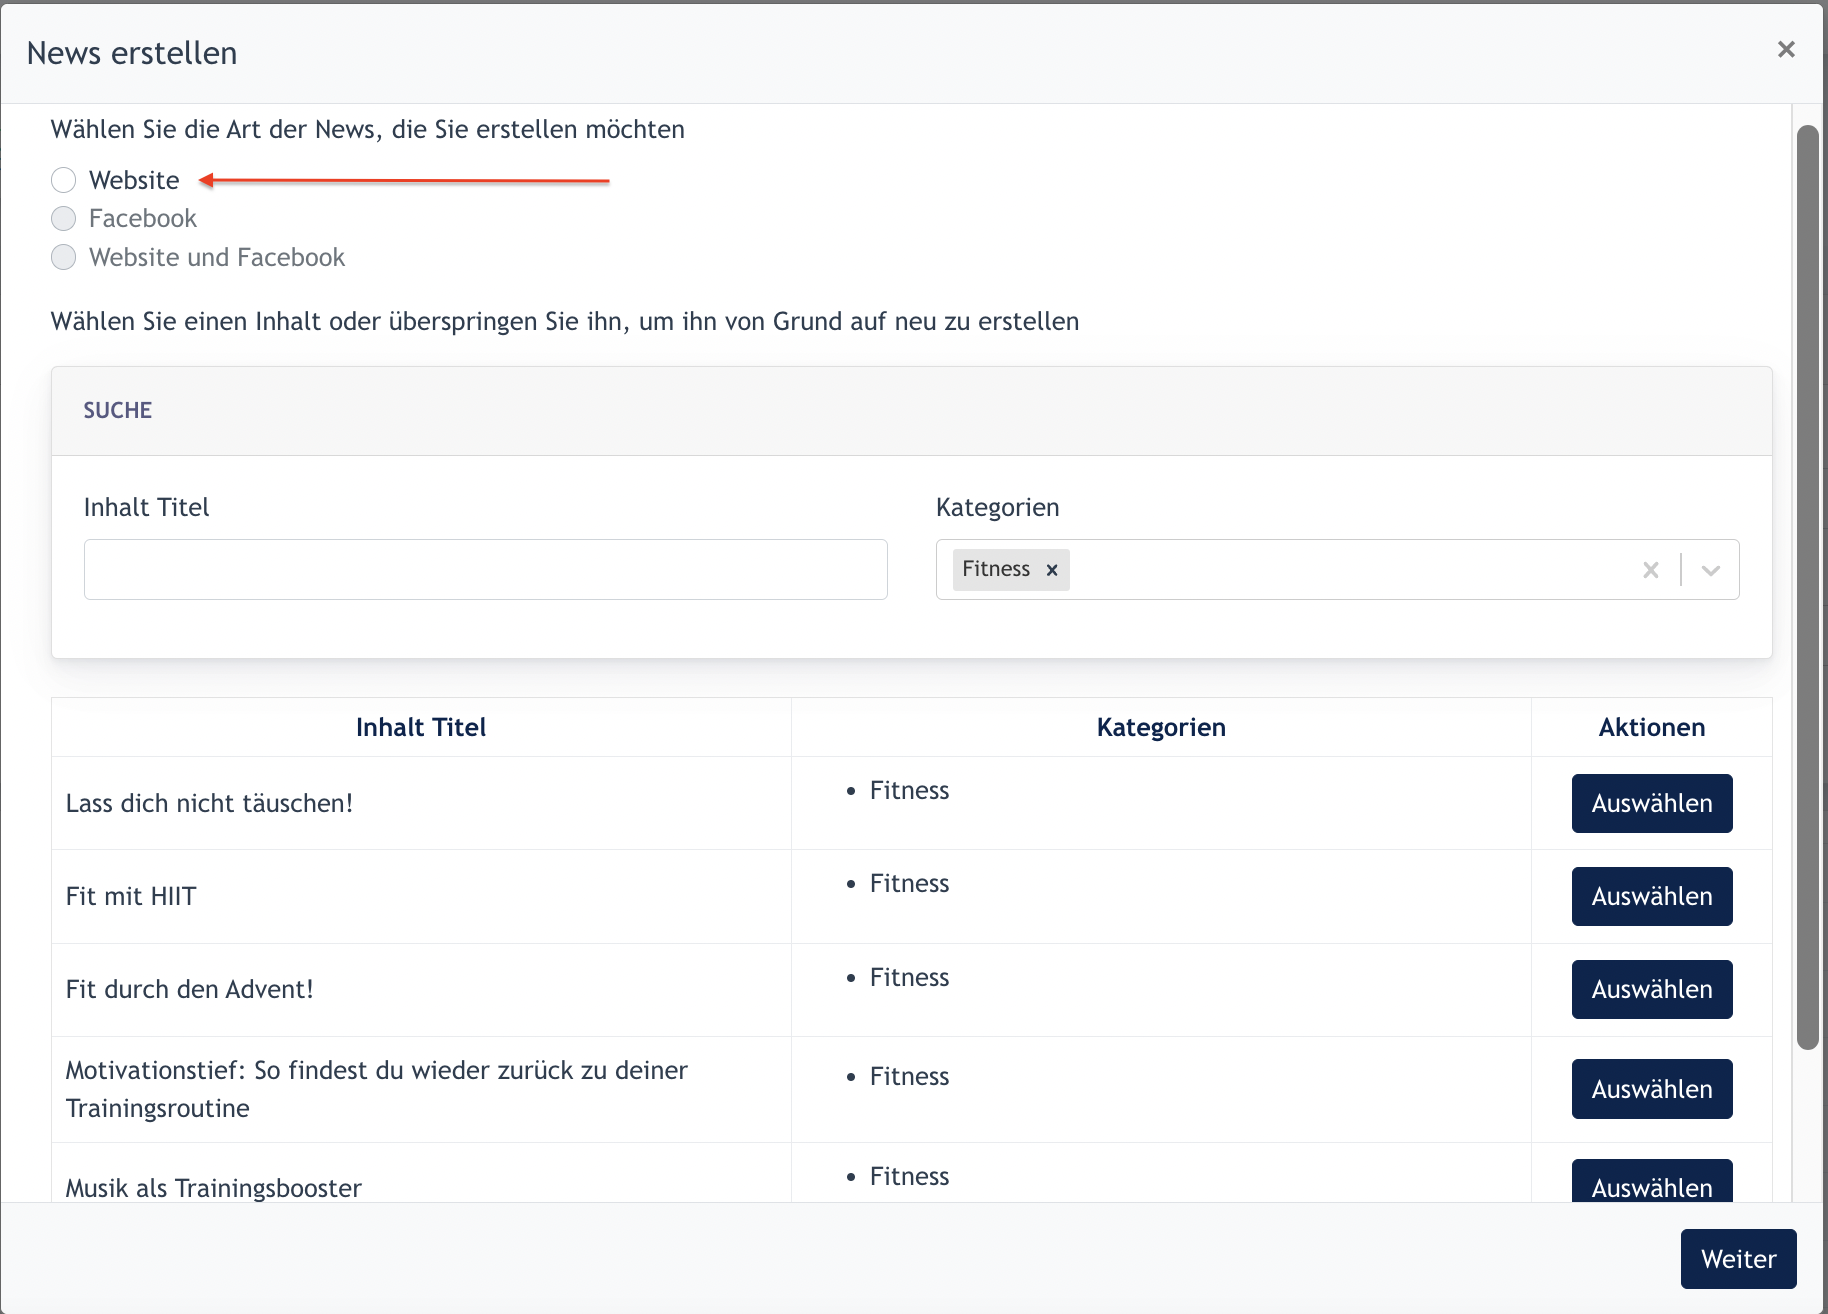
1.2 Create News from Content Service
- Tick "Website".
- Select which categories of content you're looking for.
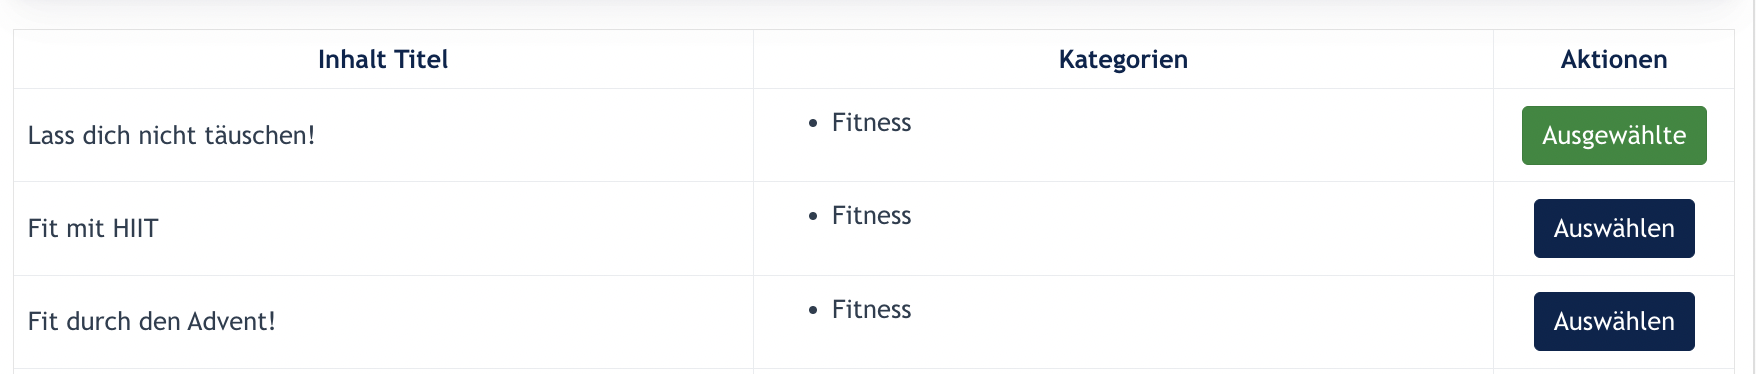
- Content listed on the listing --> users may click on the button to select the content
4. Content is selected, click next.
5. Content selected will automatically fill in the News Configuration modal. See screenshots below :
Content text is filled:
Preview & Detailed image are also filled:
After review the content, Center Admin may choose to Edit existing content, or publish directly.
Additional Info :
Website news are displayed under www.url.com/news and Facebook news are news solely published to Facebook. The system needs the user needs to link their Facebook ID via News > Setting
There are 2 methods to create news :
- Create from Scratch
- Create from Content Service
1.3 Categories
This are the news categories configuration page.
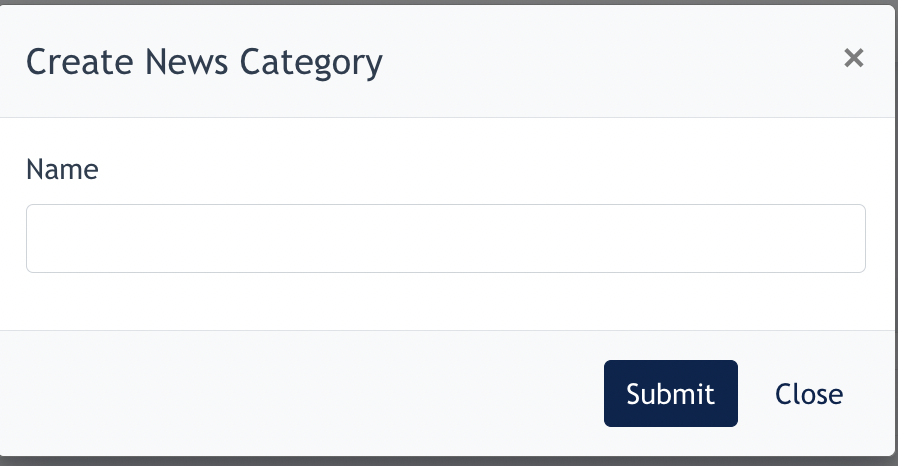
Click on "Create News Category"

Input text to name your category, and click Submit to save.
1.4 Setting (Facebook ID)
Center Admin may add Facebook ID by filling in the field here, after click on the [ Add ] button.
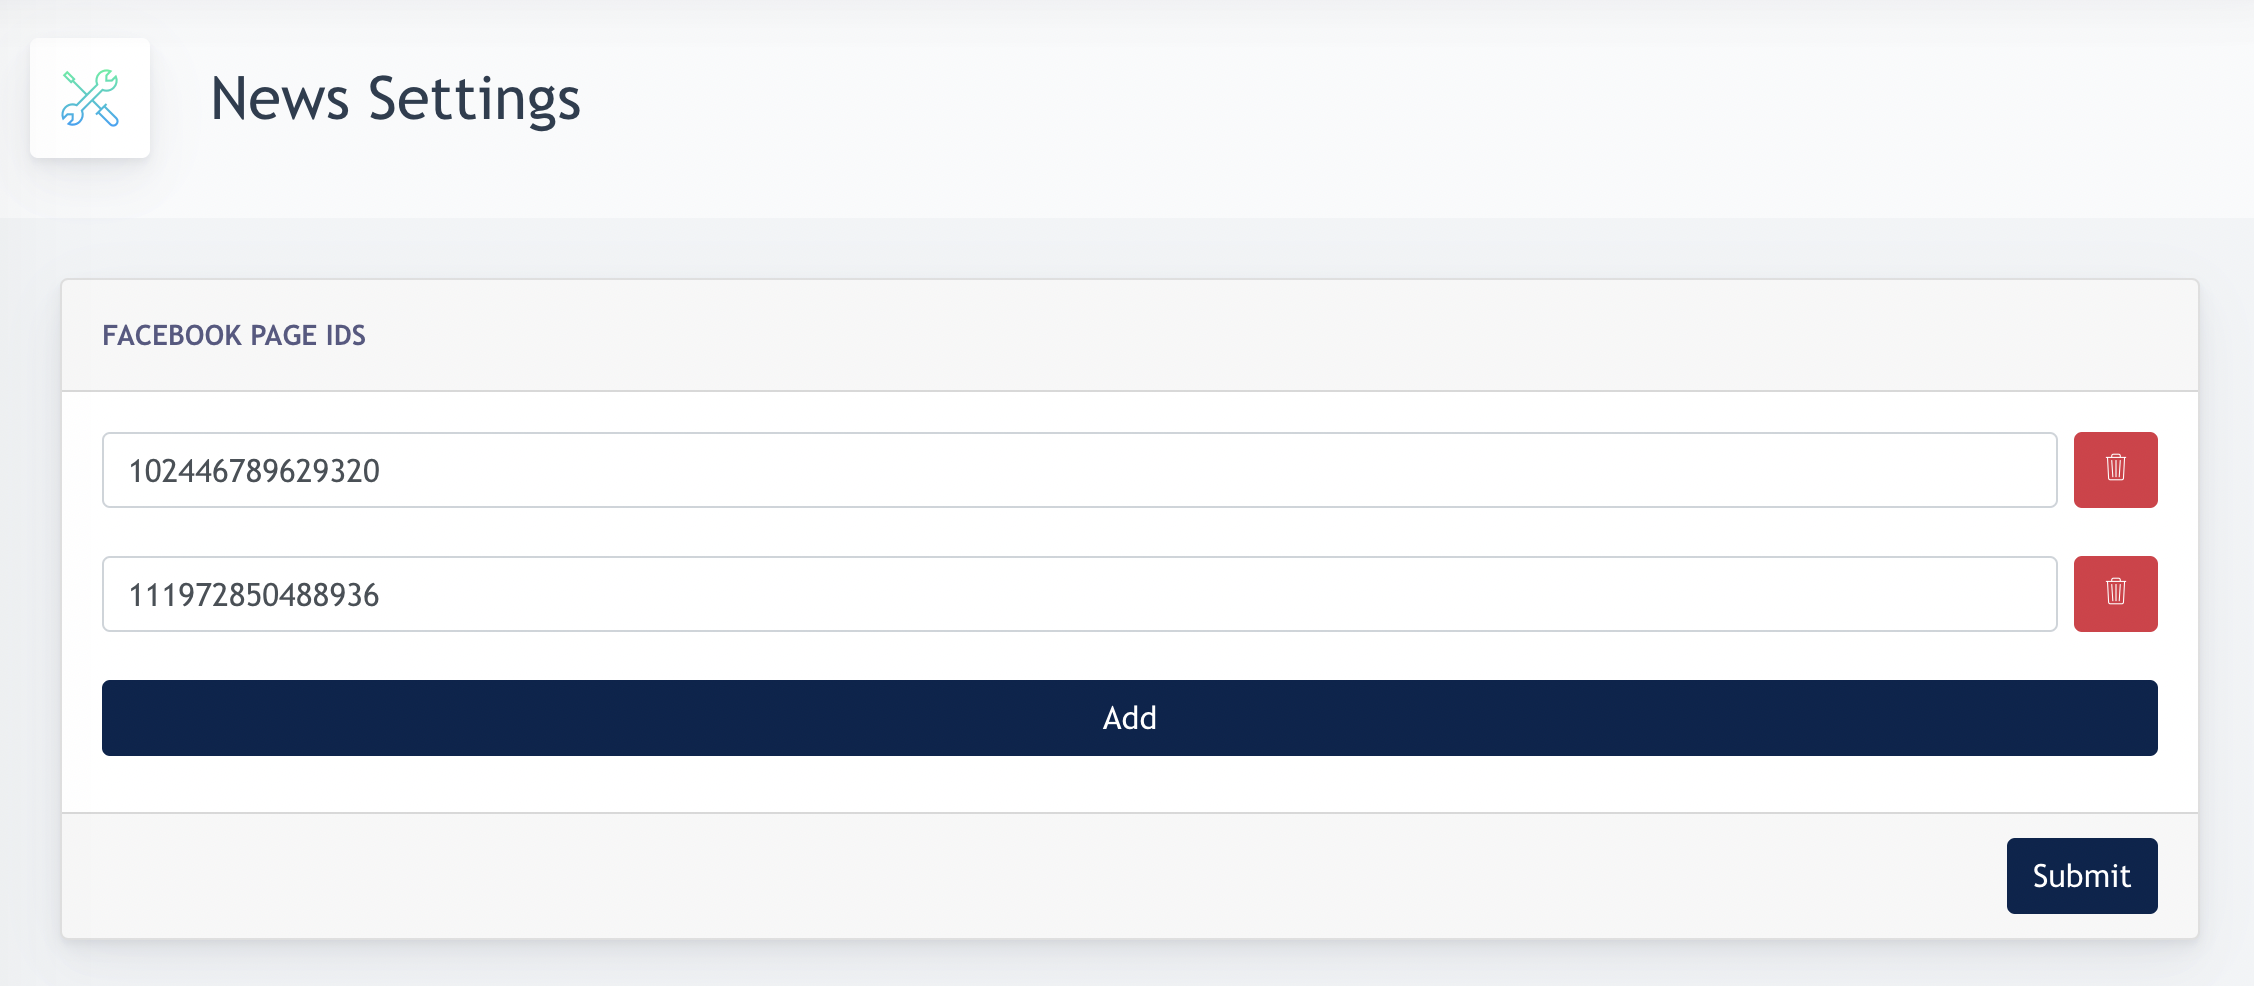
Remarks : There are procedure required to ensure FB ID added is working, kindly check with your consultant.
2. Creating News Content
Click on the "Edit Content" button to create a news/ edit existing content from "content service"
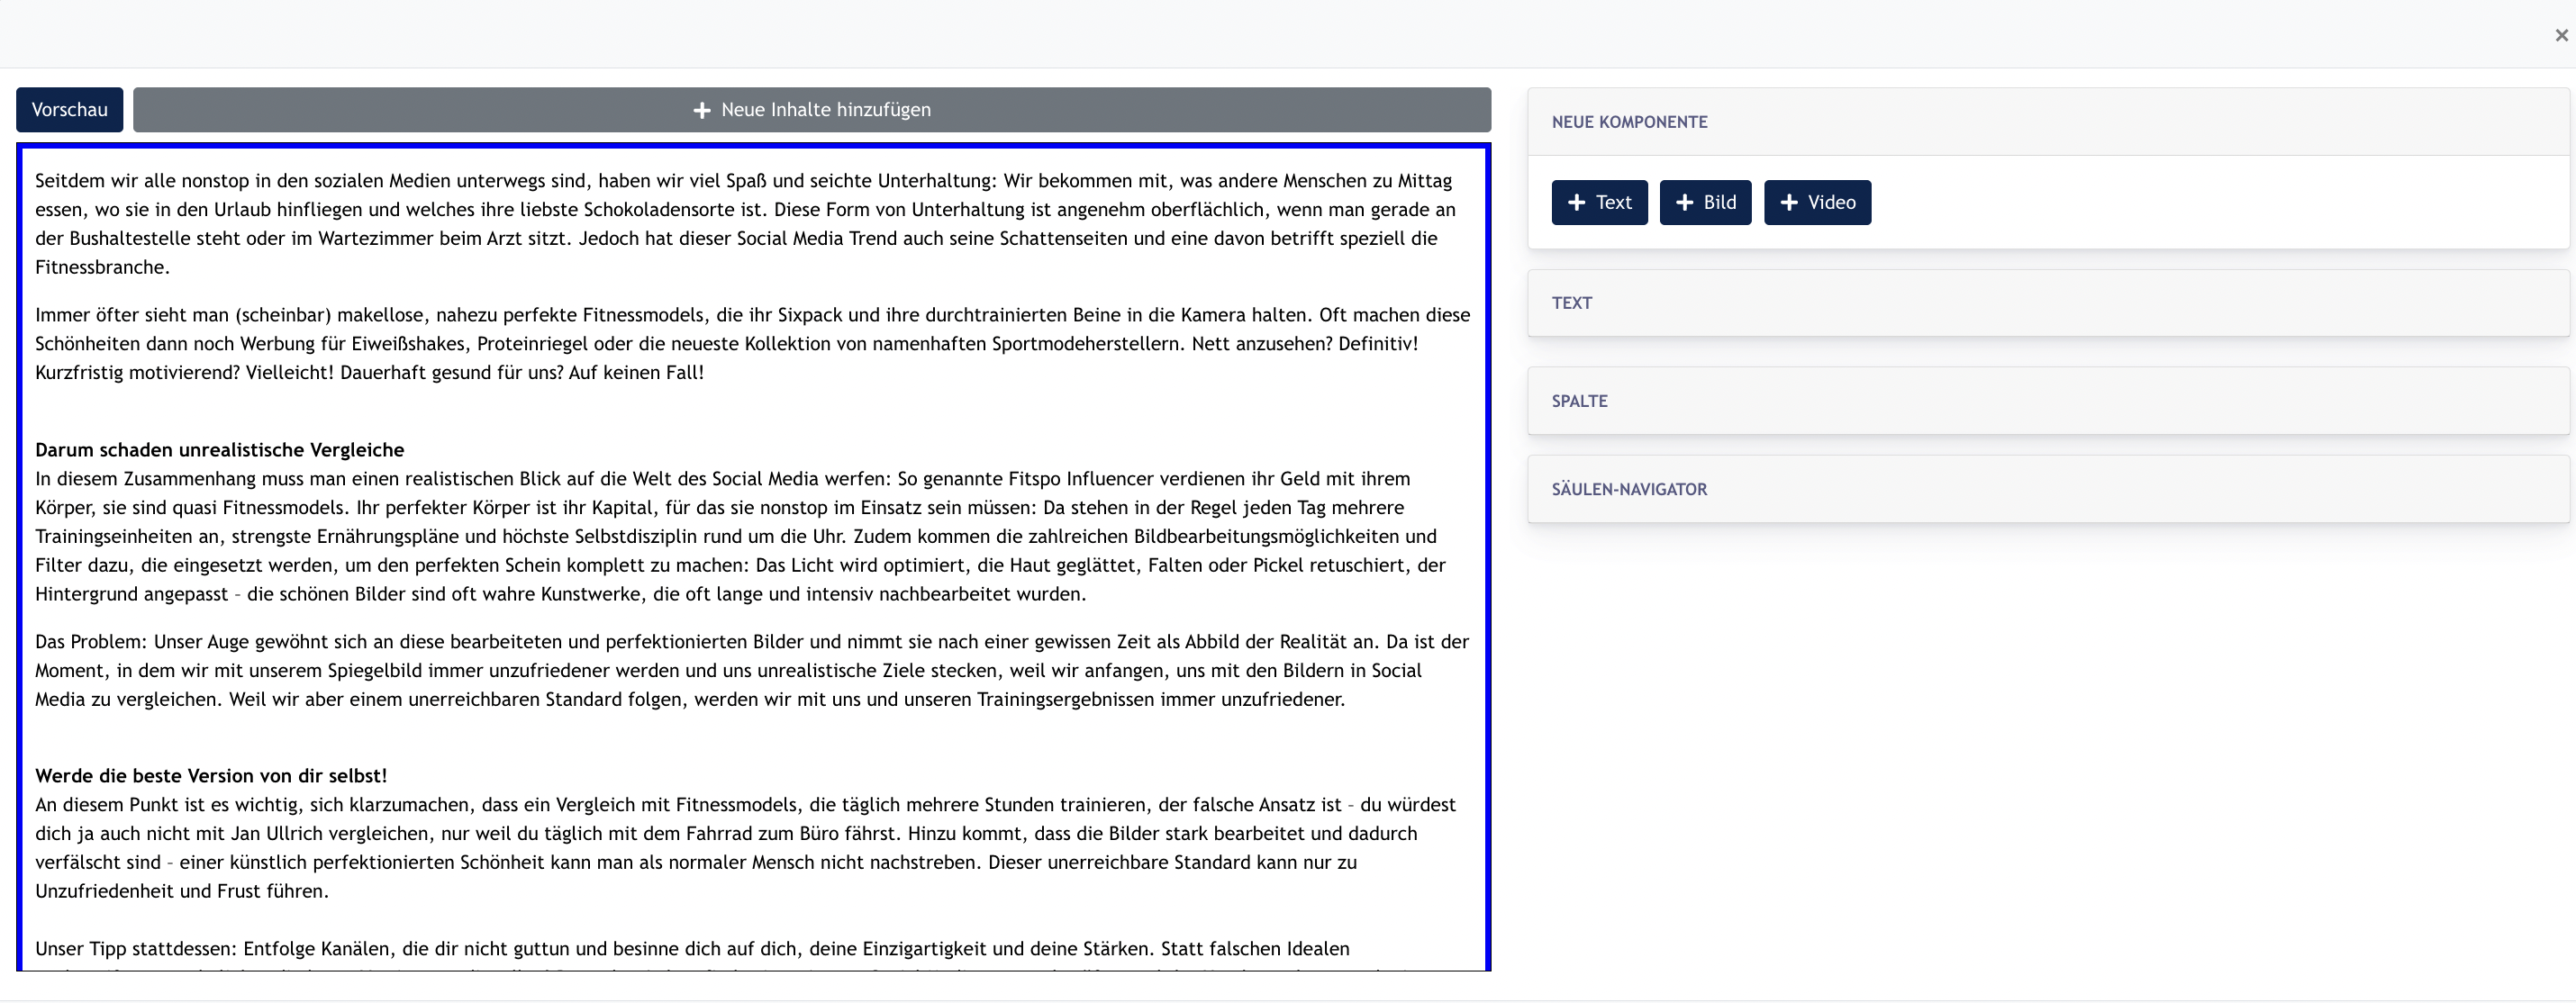
After clicking the button, the following modal will be opened up:

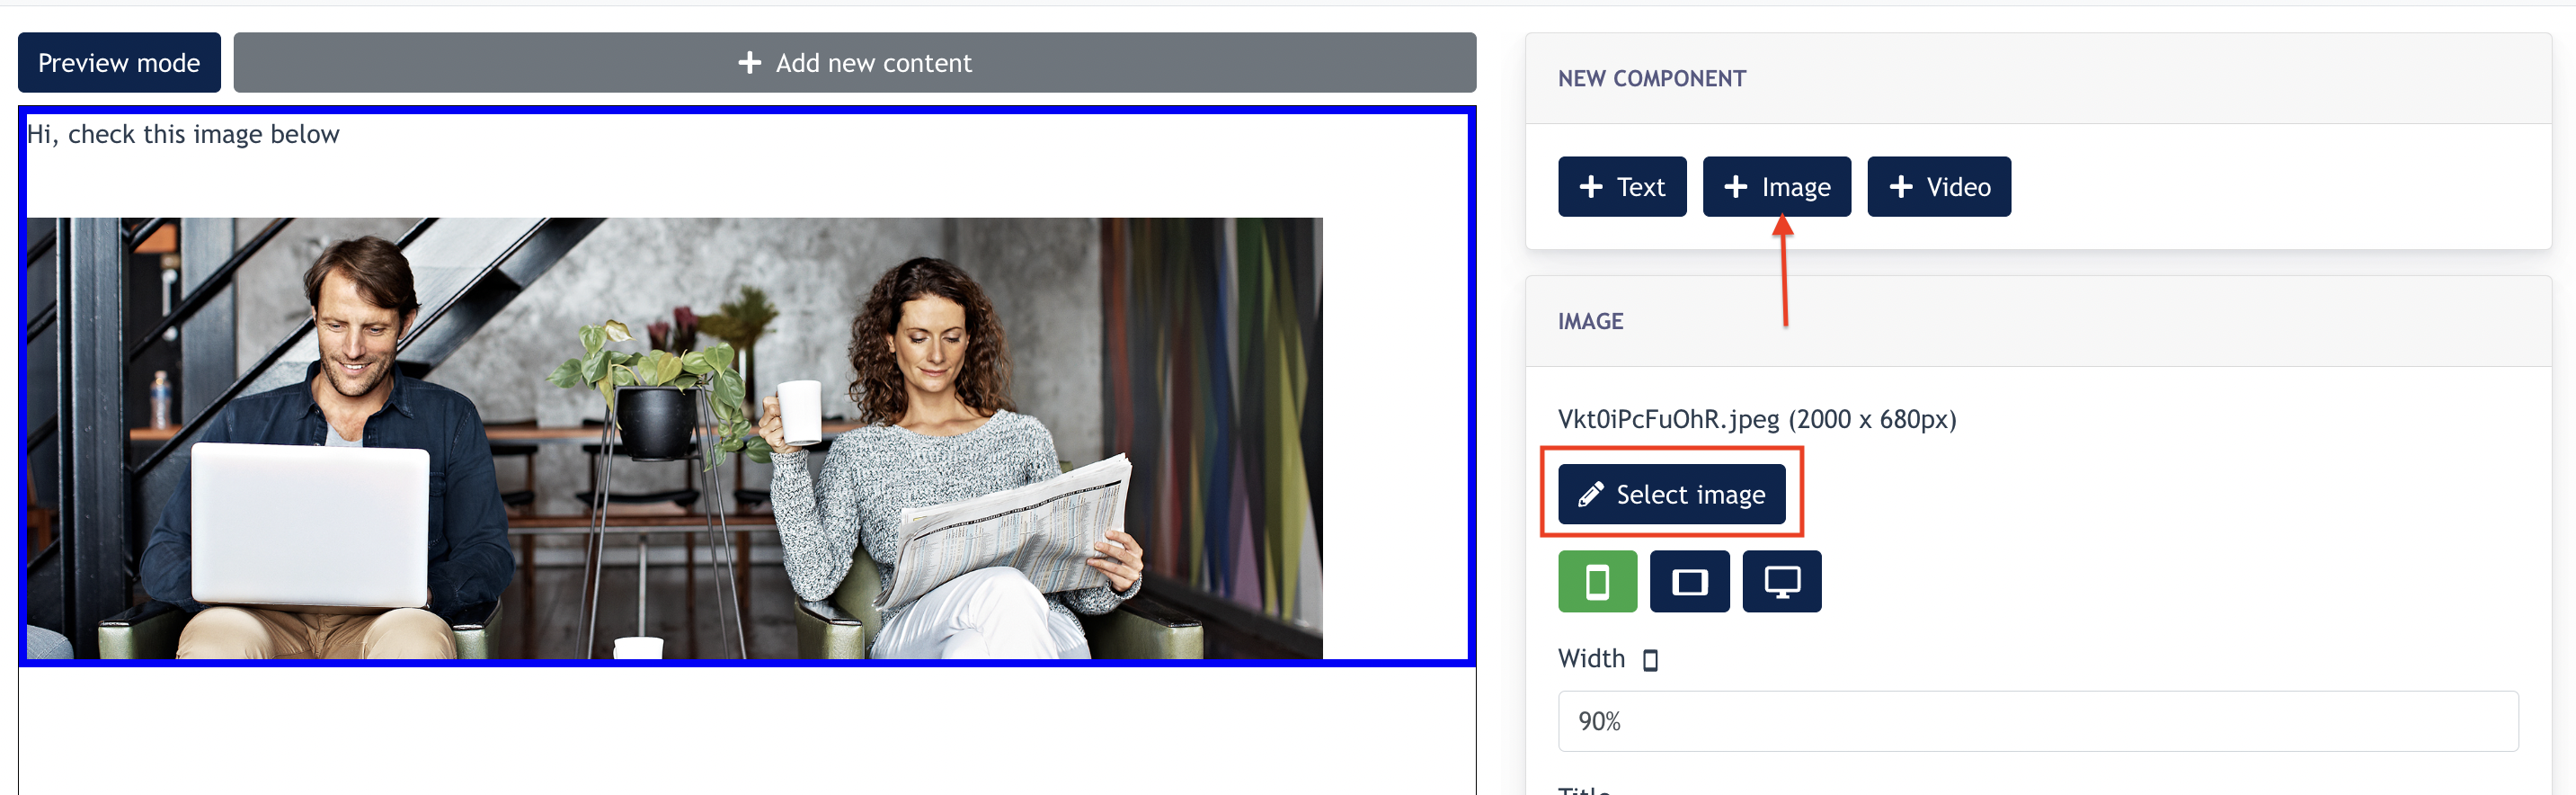
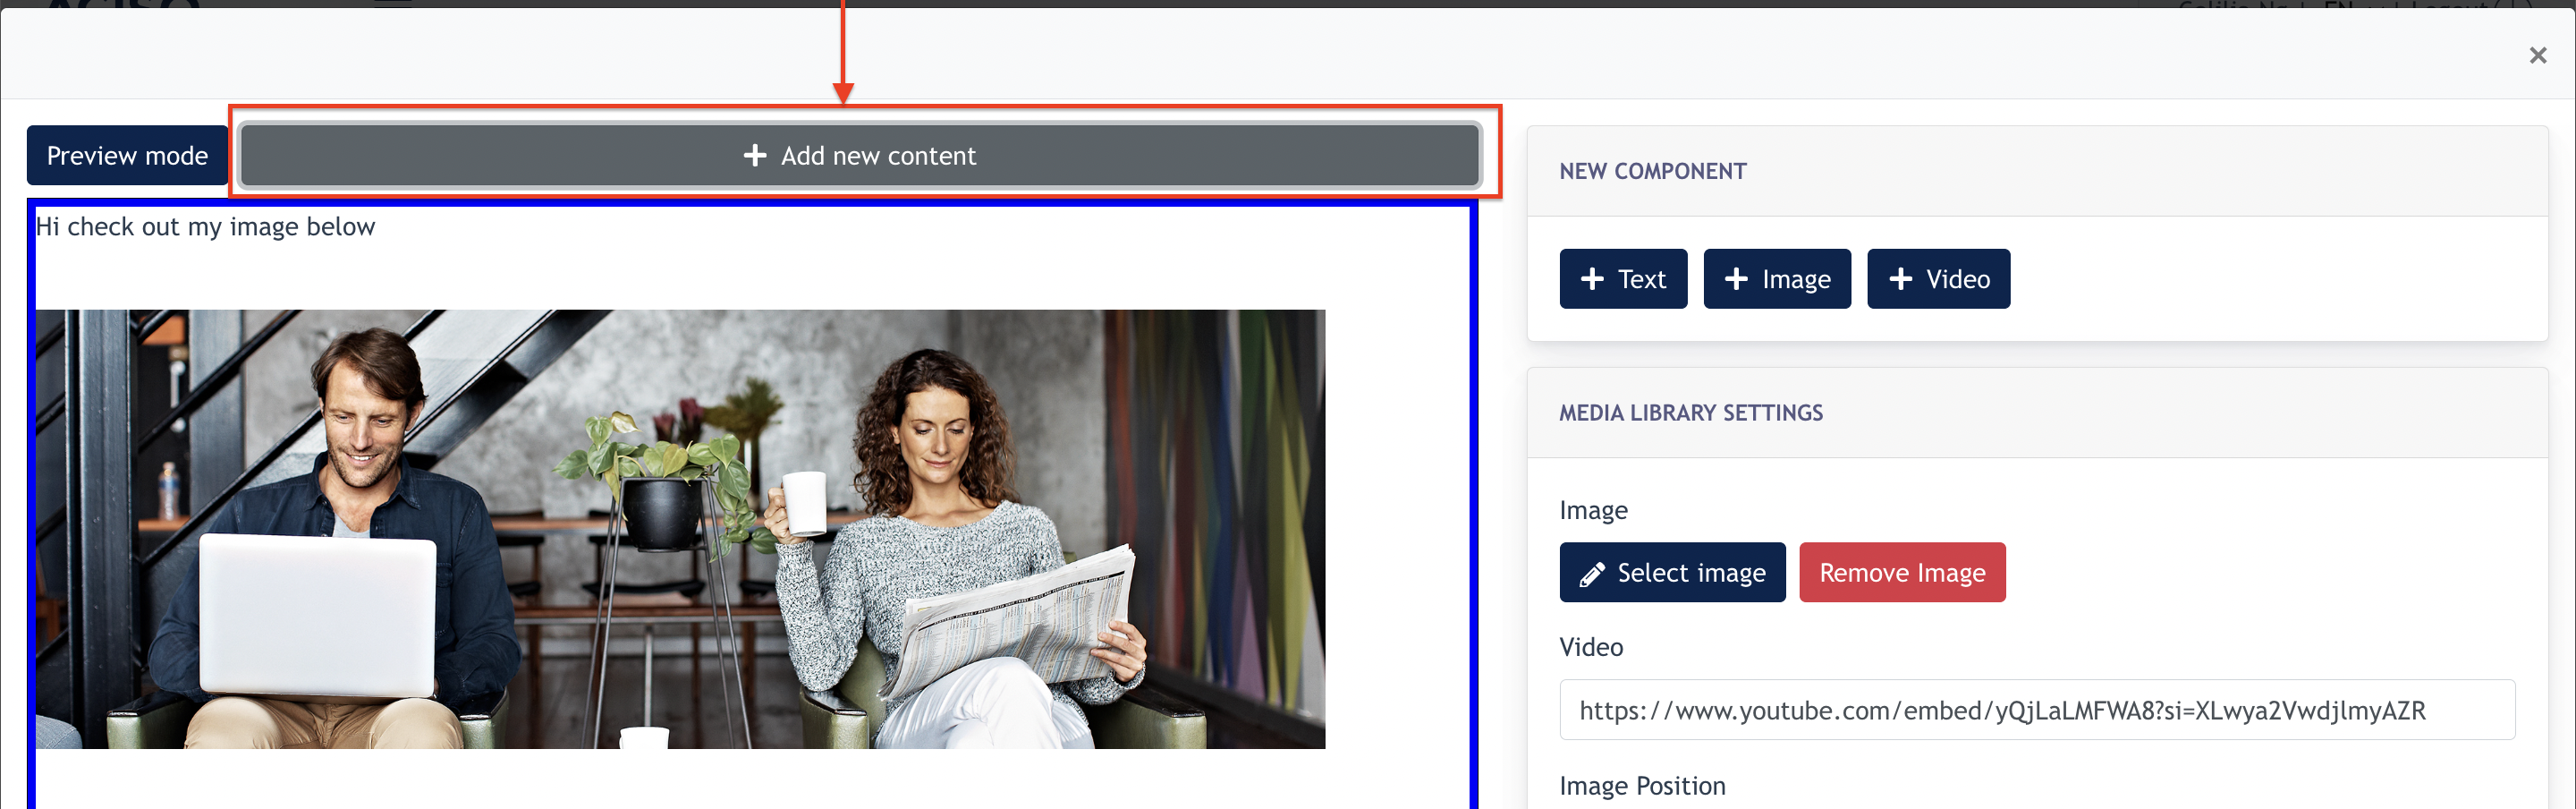
A default row is ready for Center Admin to add either [ text ], [ image ] or video into the link.
If text is added, Admin may edit the text using the text editor, or add/configure bullet point onto the text.

If [ +Image ] is added to the same row, Admin may choose/upload an image for this by clicking "upload image"
If [+video ] is selected, Admin can upload a video cover image by clicking "select image" and fill in the Youtube video embed link.
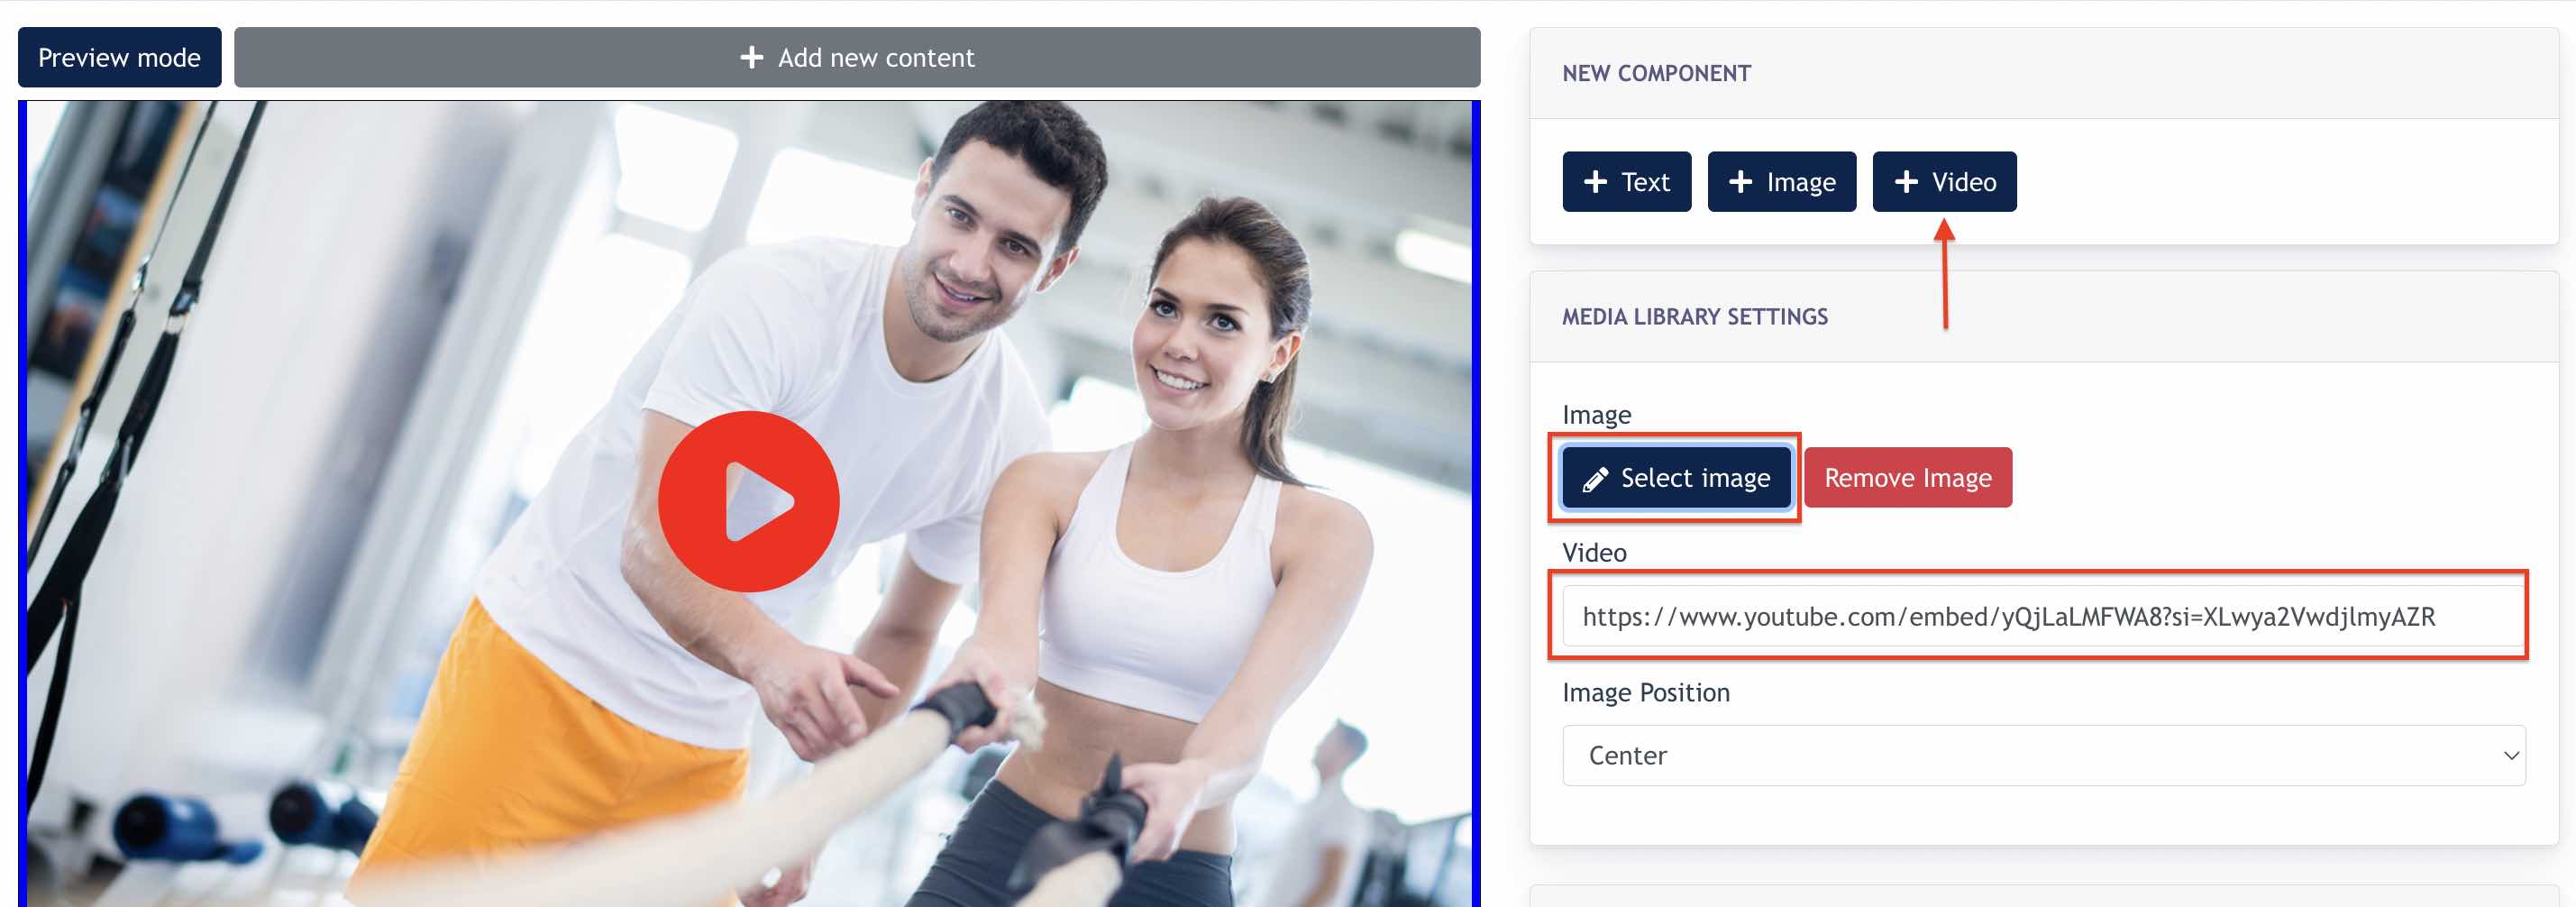
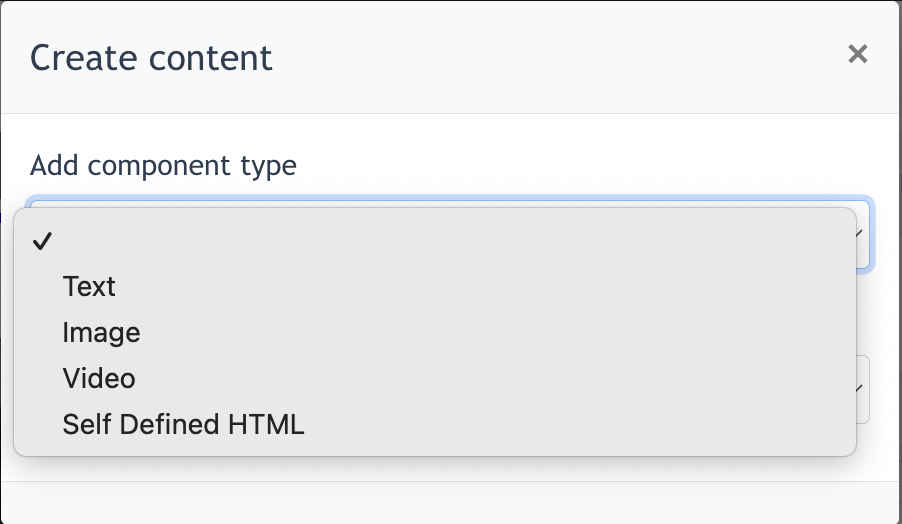
To add a new row with new component, Admin may click on "Add new content" and select component to add.
Admin may continue to configure the news content via the above ways.
- the end -